Well, this will bring us up-to date with the work being done. We started work on November 14th, and this post will bring us right up to the work completed yesterday.
Now that I'm caught up I can more easily make regular posts to show our progress.
Enjoy, and keep coming back for more of the insanity.
So...after a couple days of using the 40lb media blaster tank Chris brought over, we quickly realized that although it worked great, it does take a really long time to blast for a few minutes, then spend 15-20 minutes to reclaim the media (i.e. sweep it up, sift it and dump it back into the tank). We were blasting outside the shop and that also works great with this seasonal weather we're having, but that isn't going to last, so we needed an alternative.
Well serendipity stepped in and while perusing Craigslist I found a post with someone selling a complete blast cabinet, 110lb blast tank and dust separator setup with a bunch of extras (100lbs of media, extra blasting tips, 50' of air hose, etc.) all for $200. The bonus - he only used the whole setup 3 times, so it's essentially like brand new. All in, new, for the same setup even with sales and coupons would cost around $400.
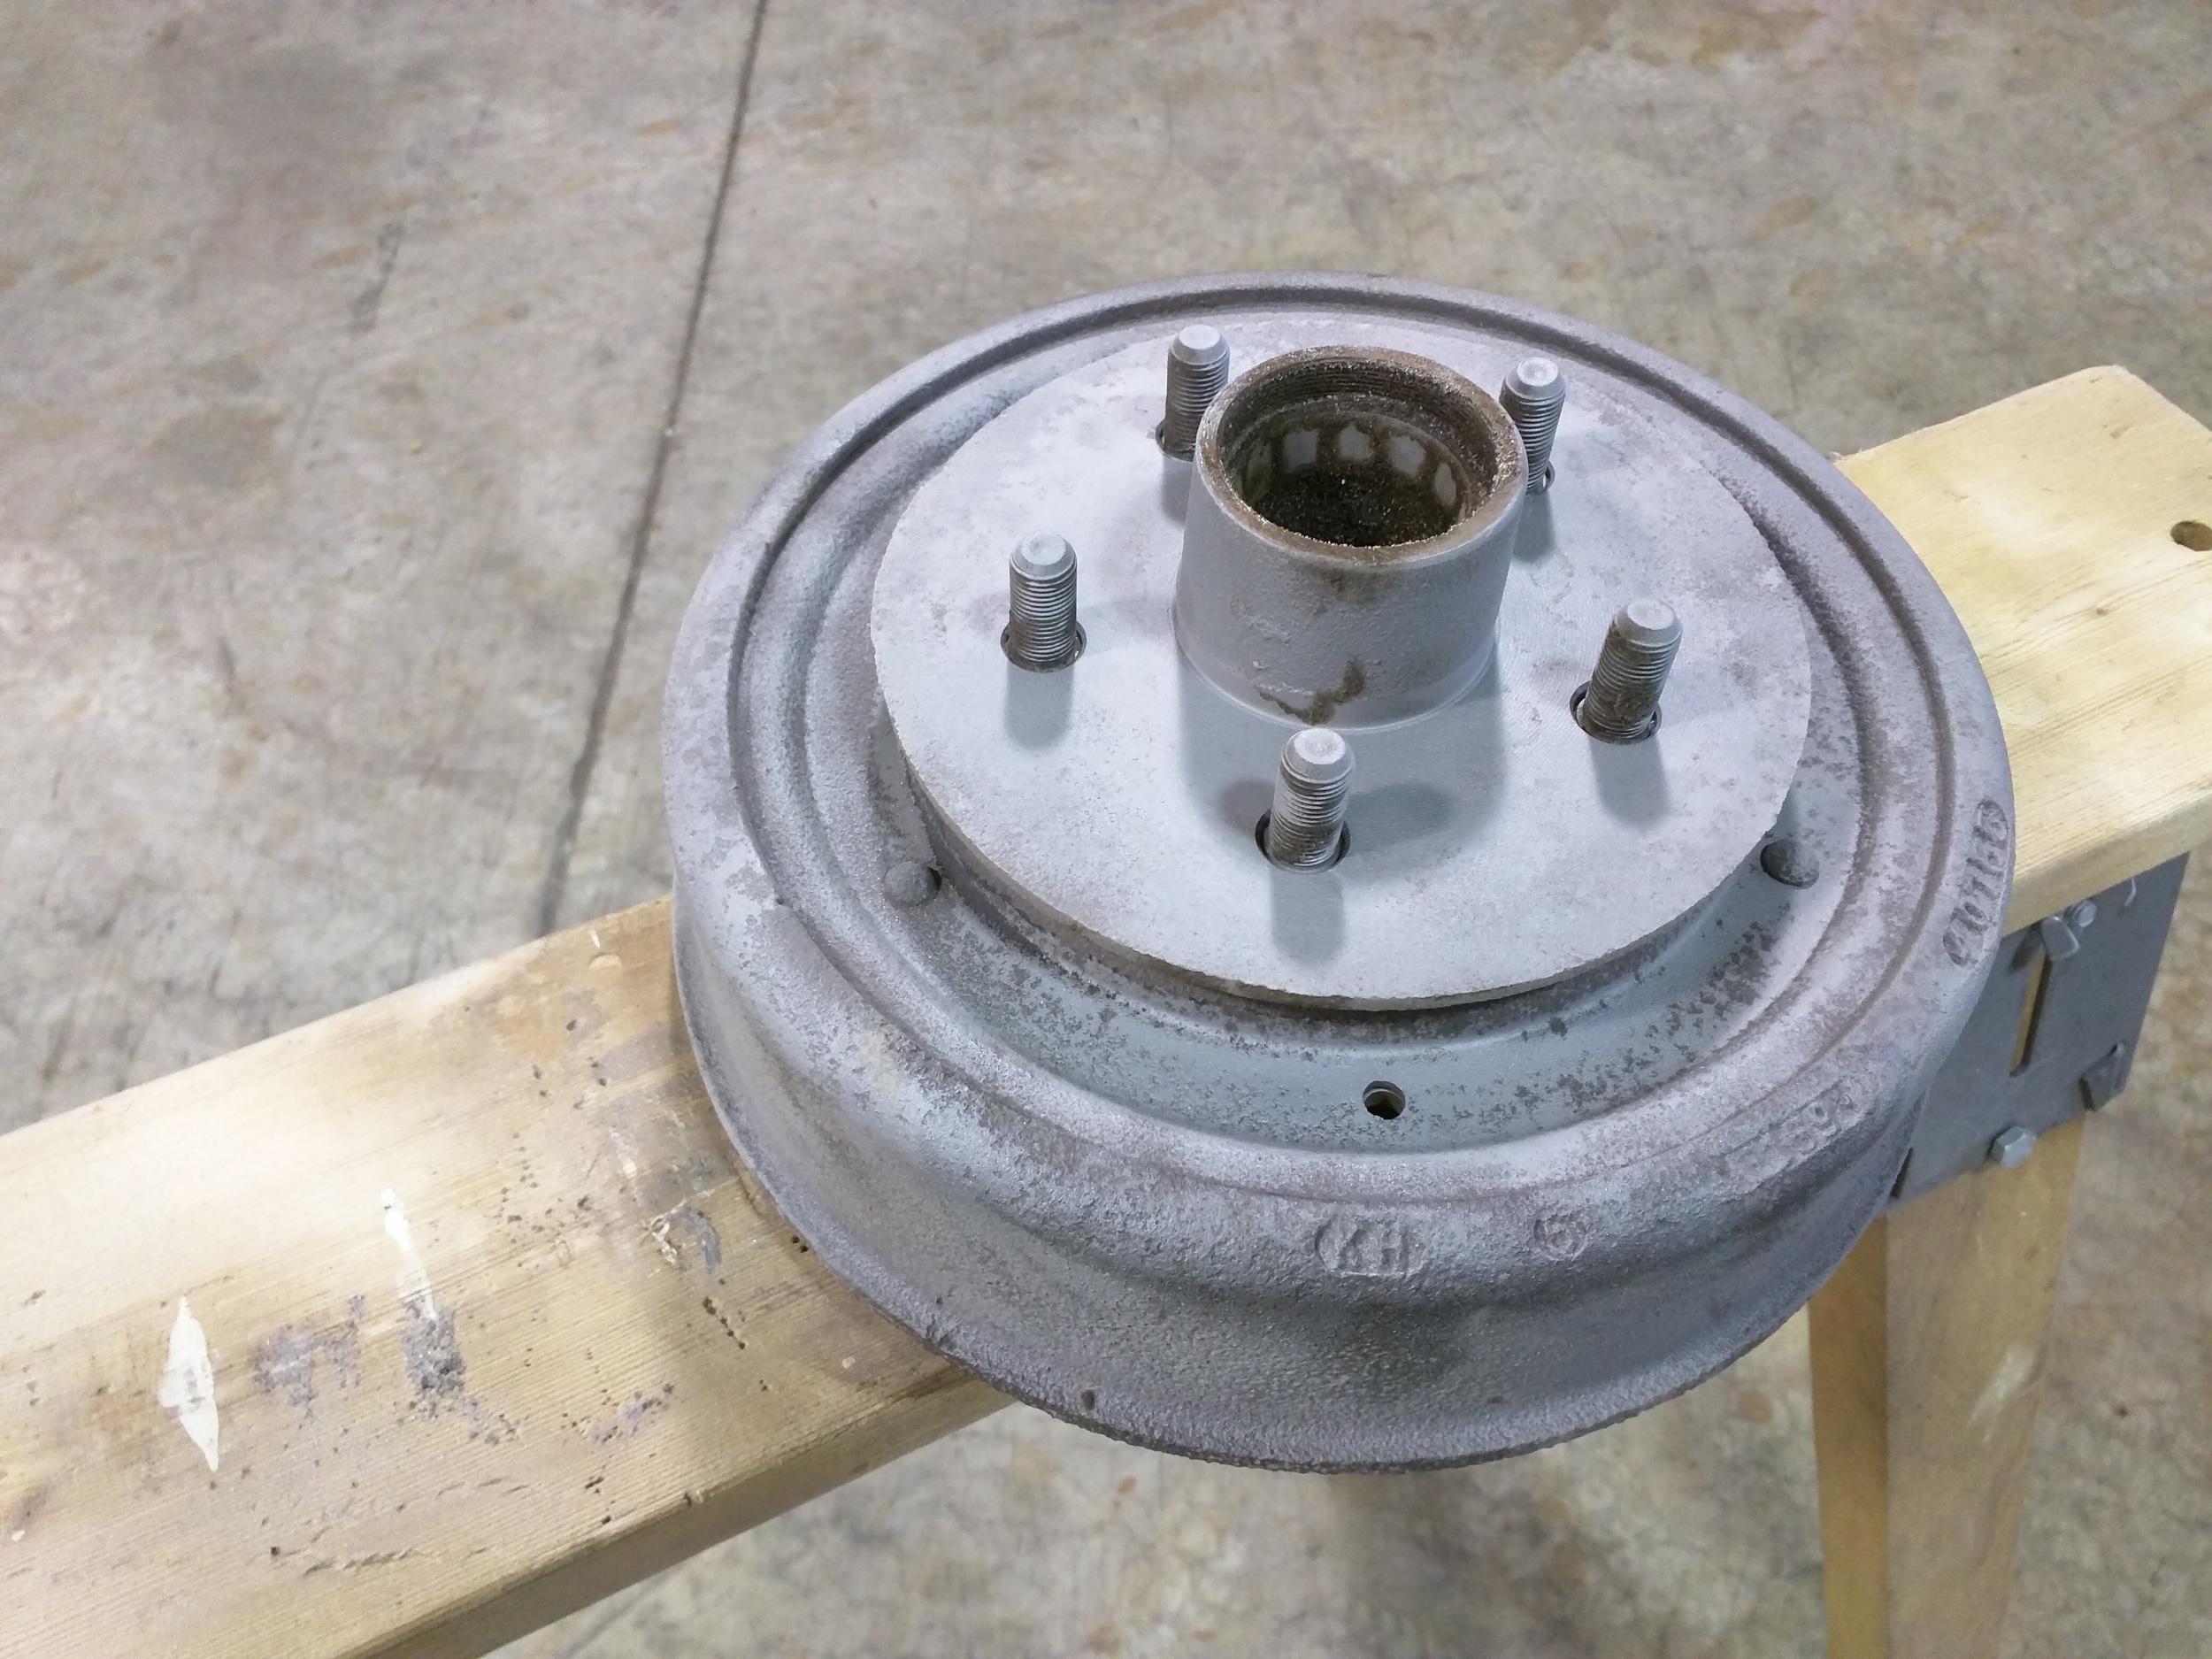
Granted we're talking about a Harbor Freight cabinet and blast tank, but I used it for about 4 hours yesterday and found it to be a great little setup. I'd heard lots of complaints about how leaky the cabinets are, how the tanks/hoses get clogged, etc, etc. I didn't have any of those problems.
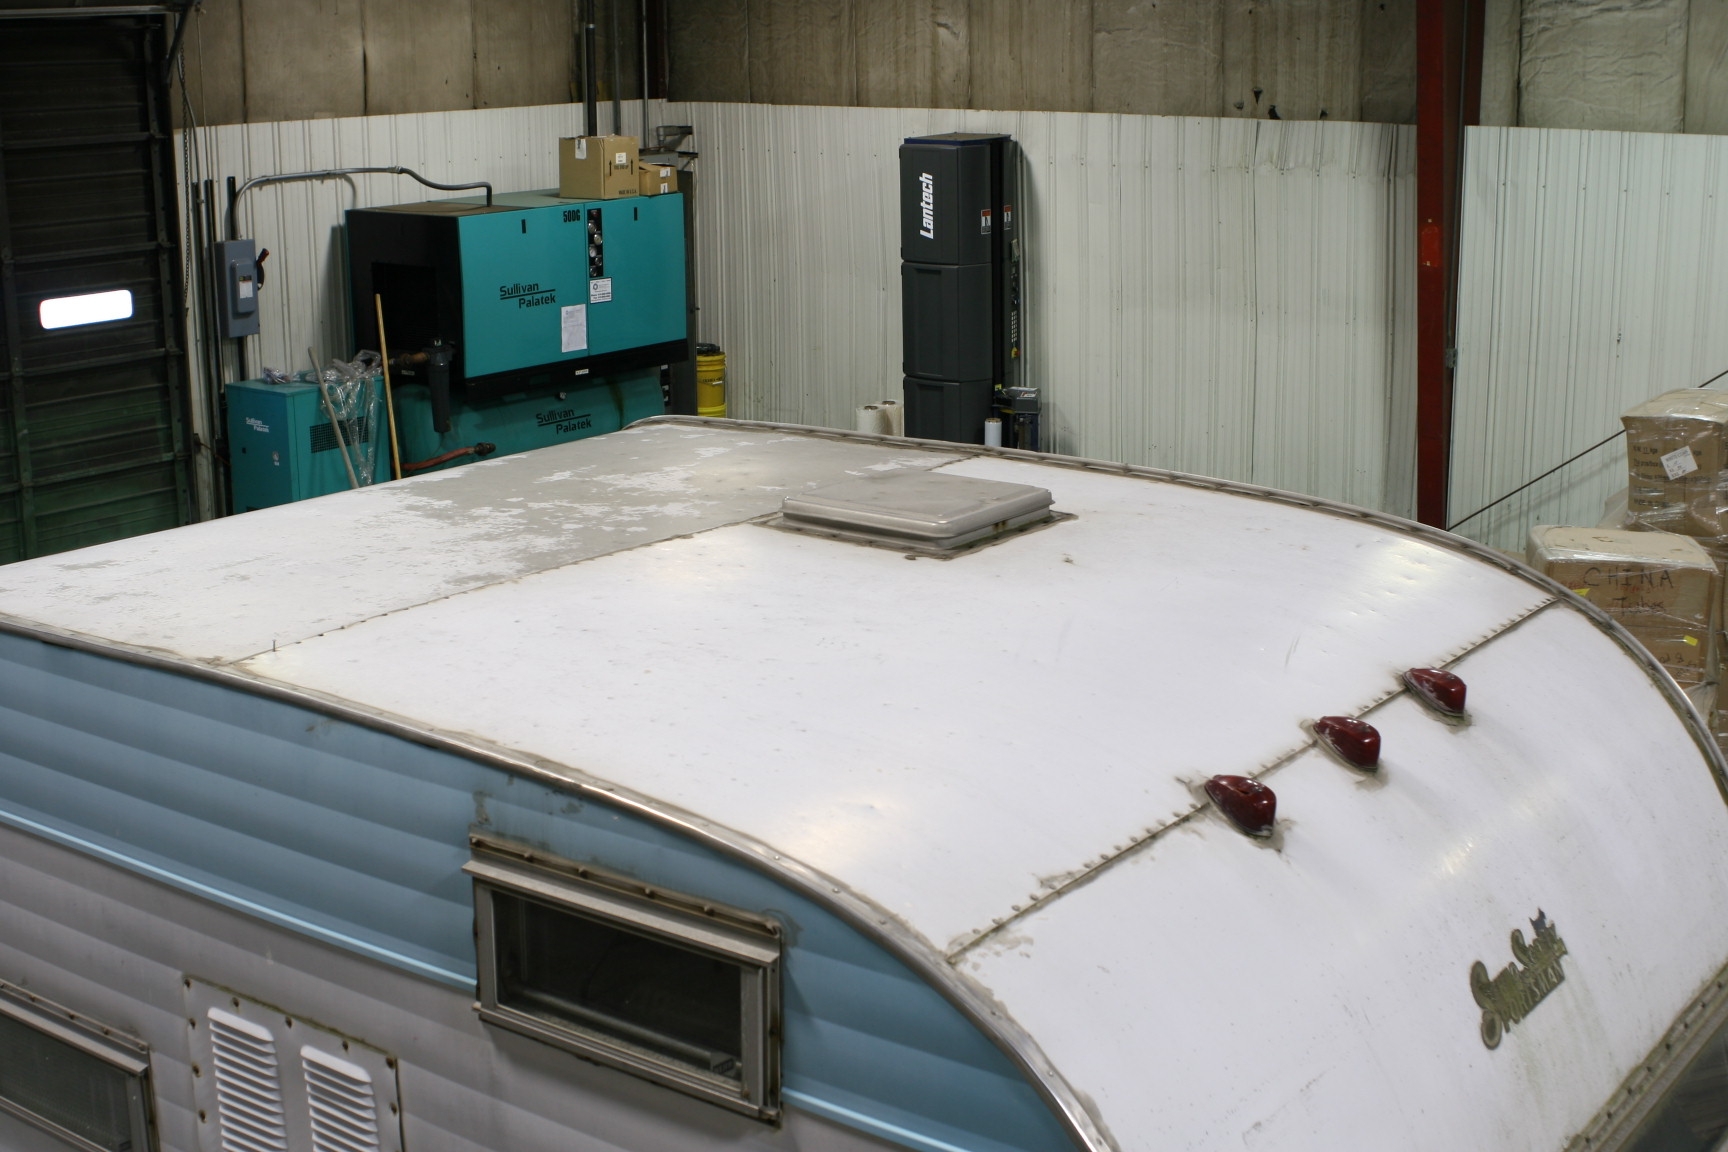
Now, I will confess this setup is currently being used with a 50HP, 225CFM Sullivan-Palatek air compressor, and a dedicated commercial air dryer unit. It is part of the equipment in the shop I'm doing the restoration in. So this of course has a very positive effect on how well this setup is working. I completely admit doing this with a 30gal, 6CFM home compressor would most likely not yield the same results (at least as easily). However, a lot of the other complaints I've heard regarding these tools have not been seen by me. Could it use a bit better light? Sure. Could is use a better gun? Sure. But, again, this is a budget setup and should be judged as such. I would have no problem recommending either and both as very valid options for a home shop.
(note I have no affiliation to HF in any way).
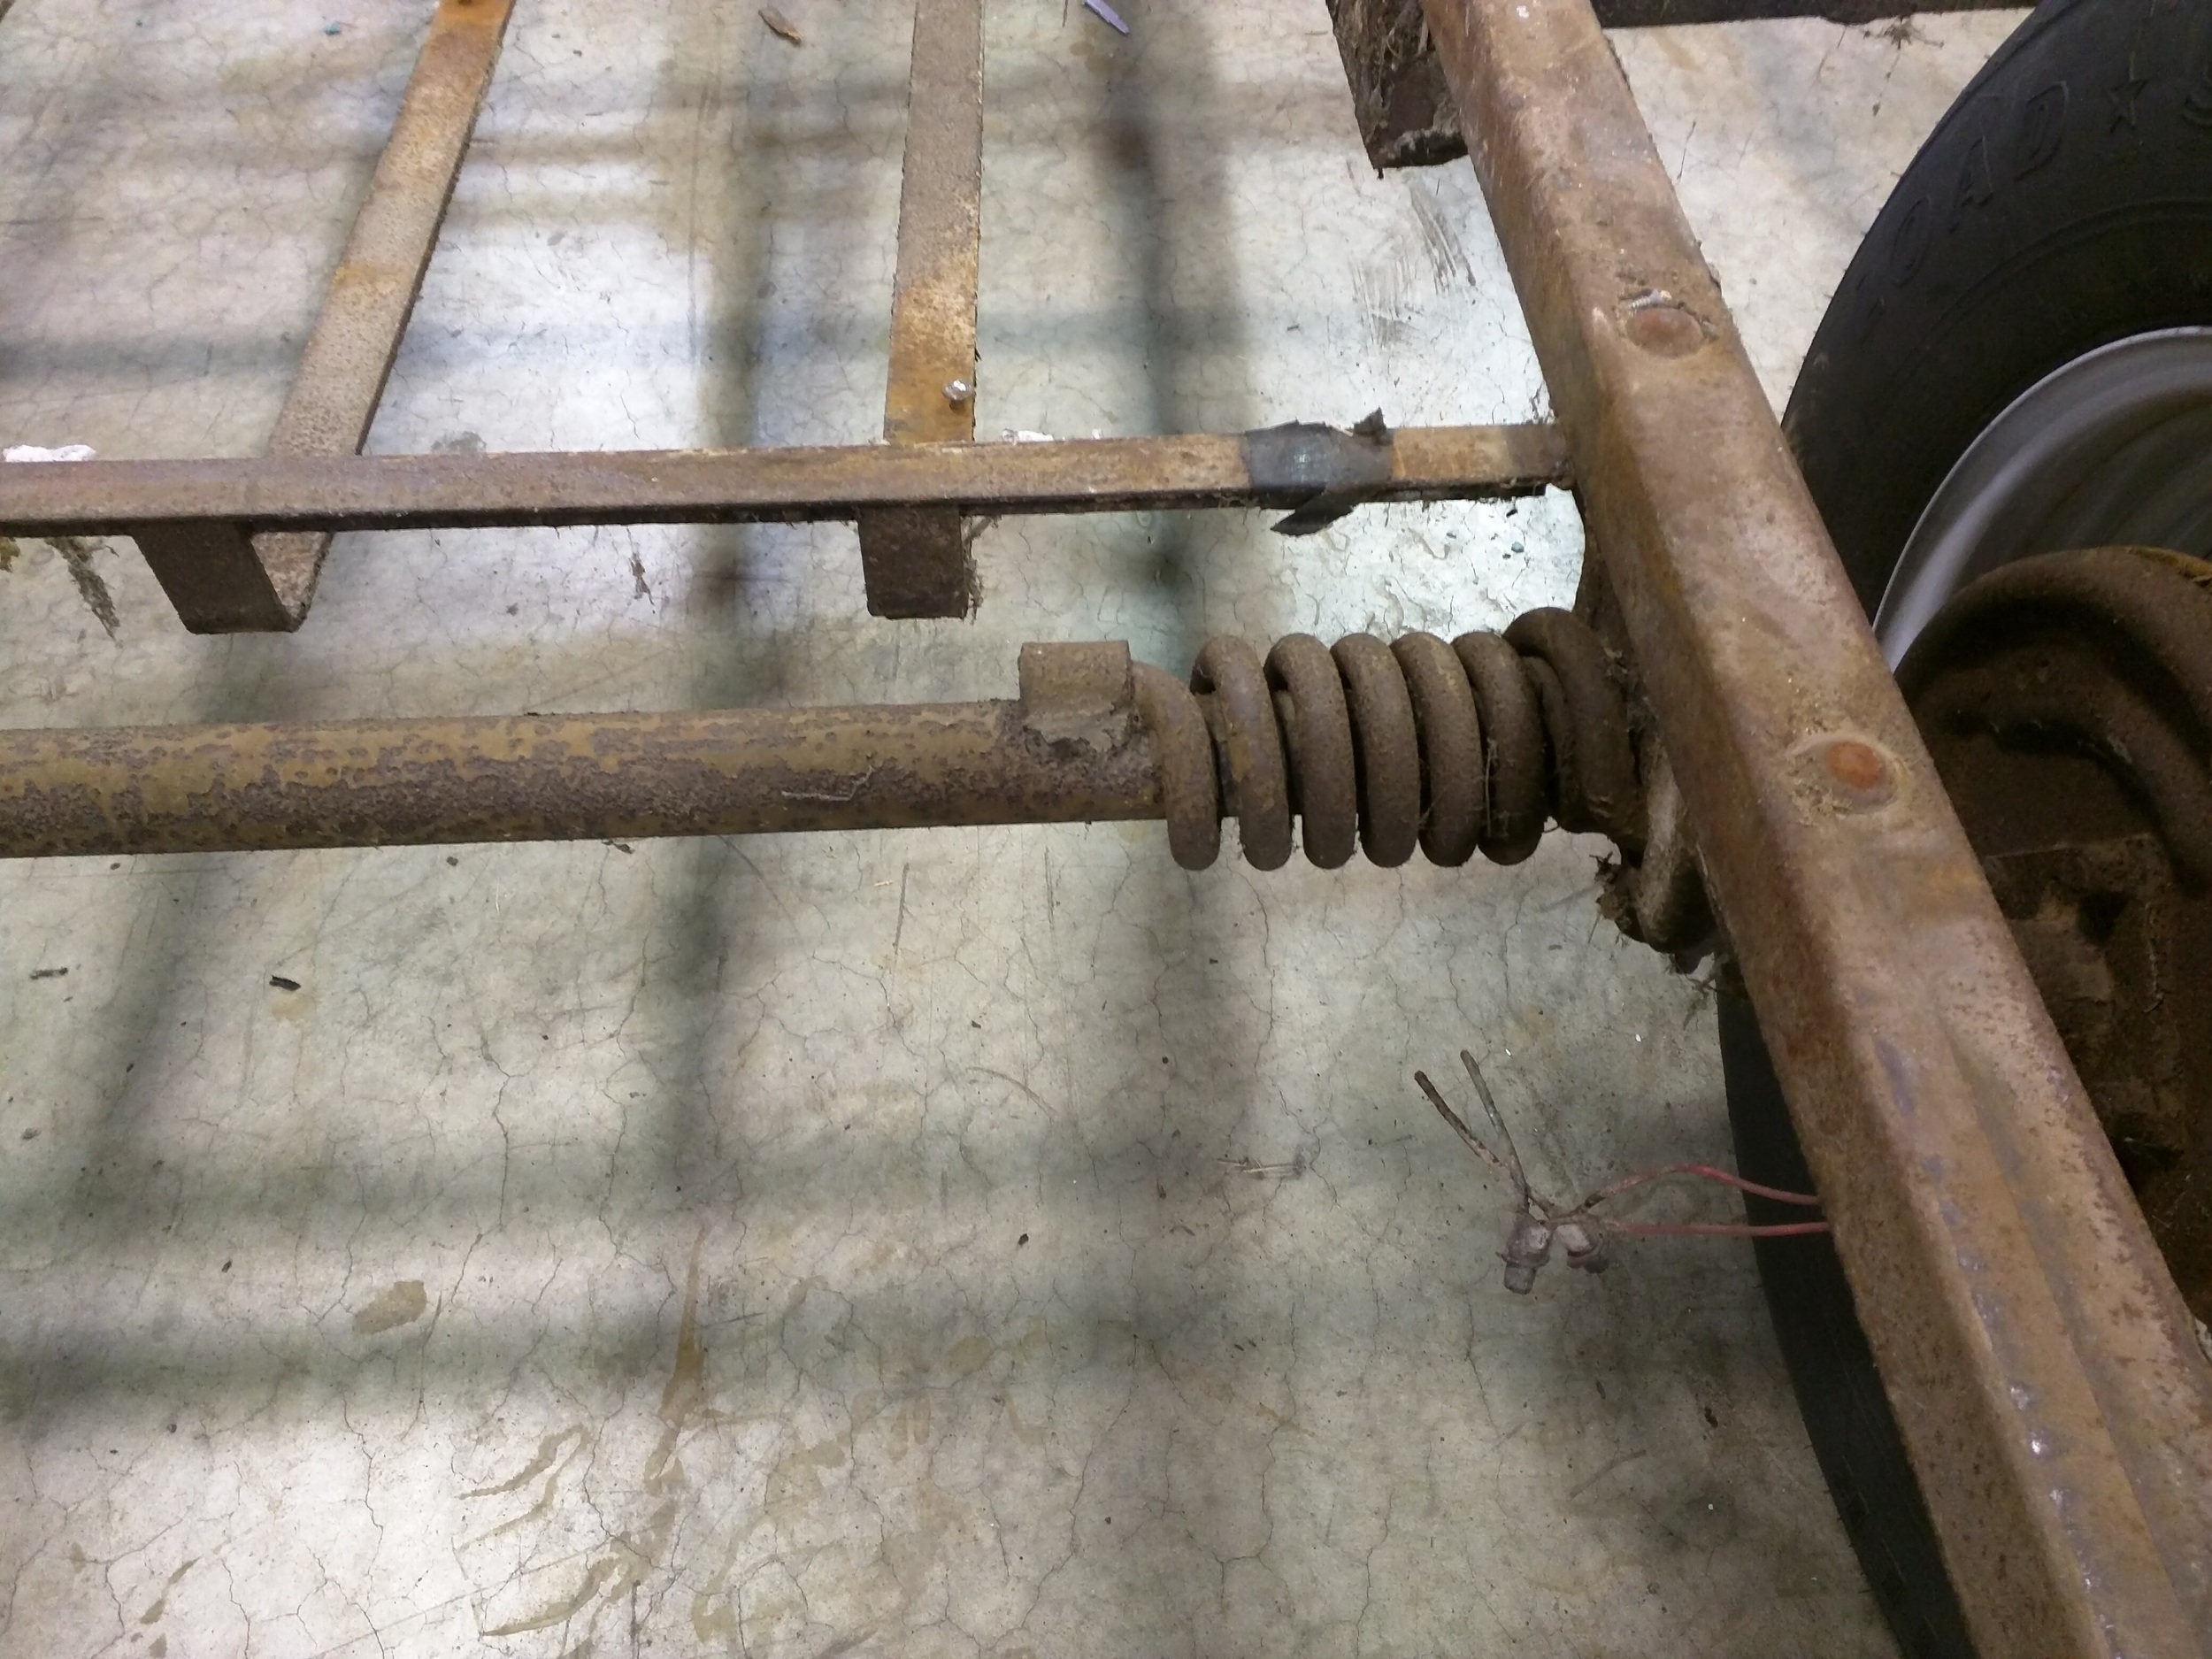
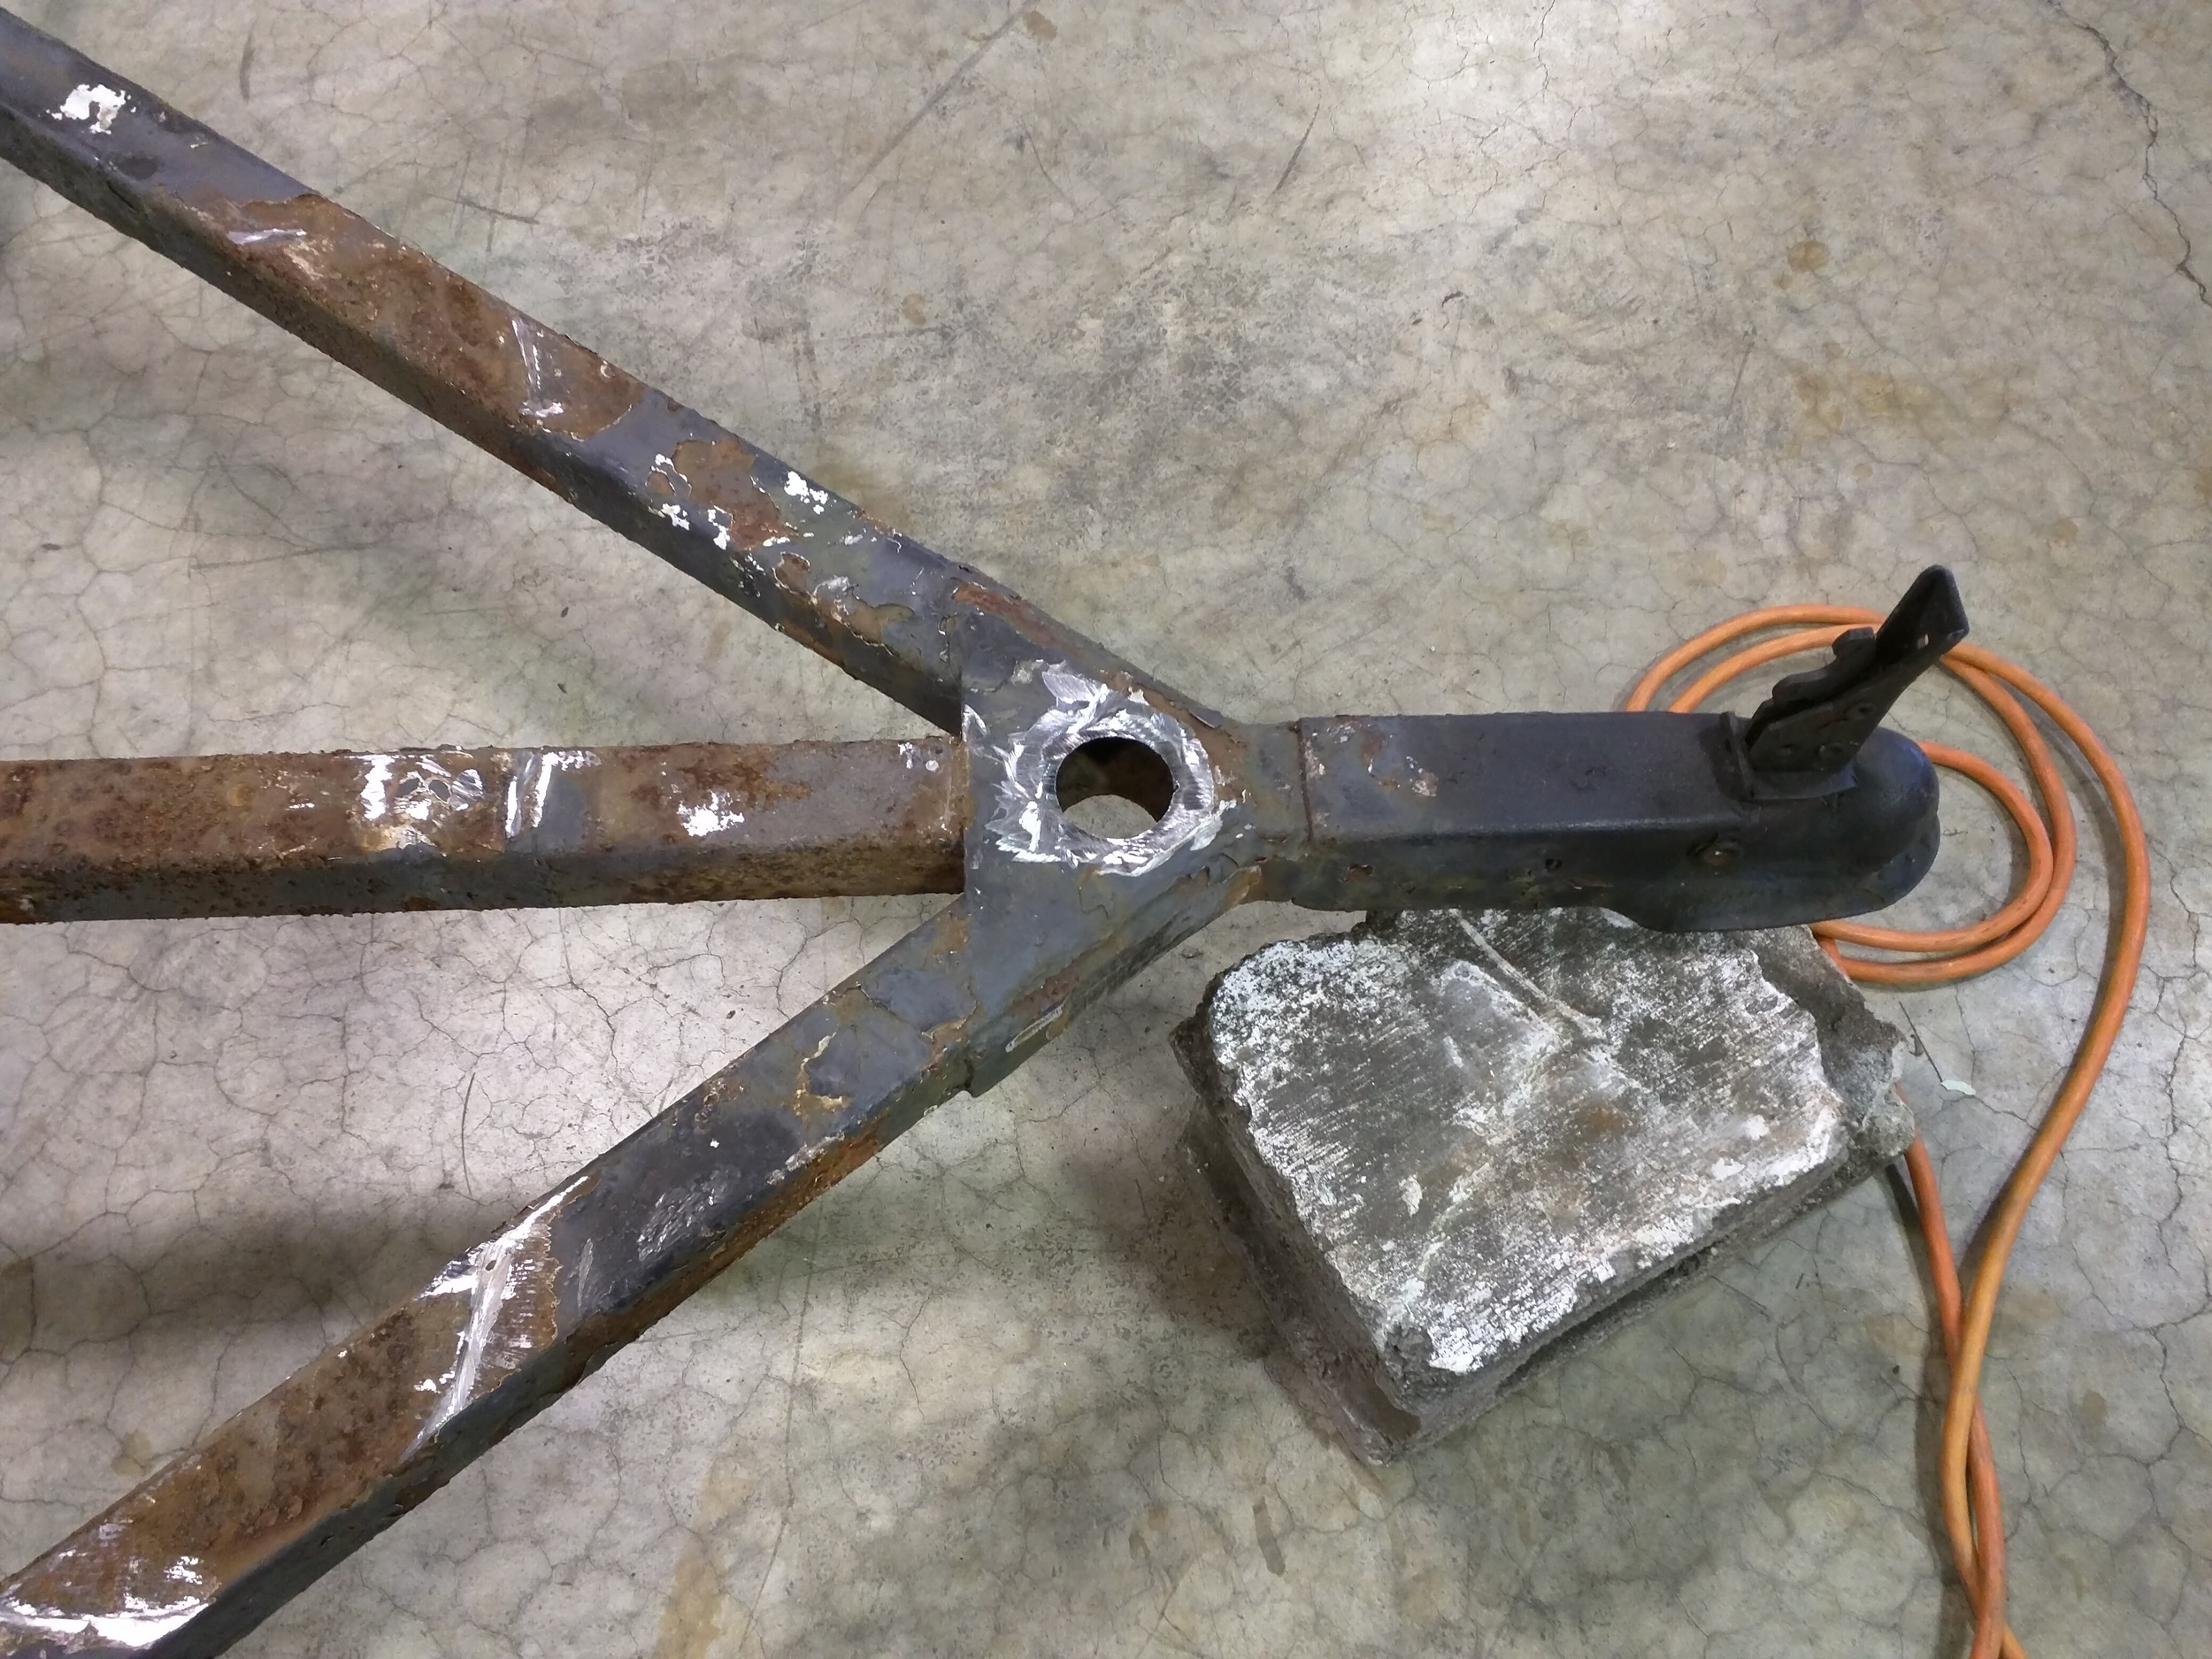
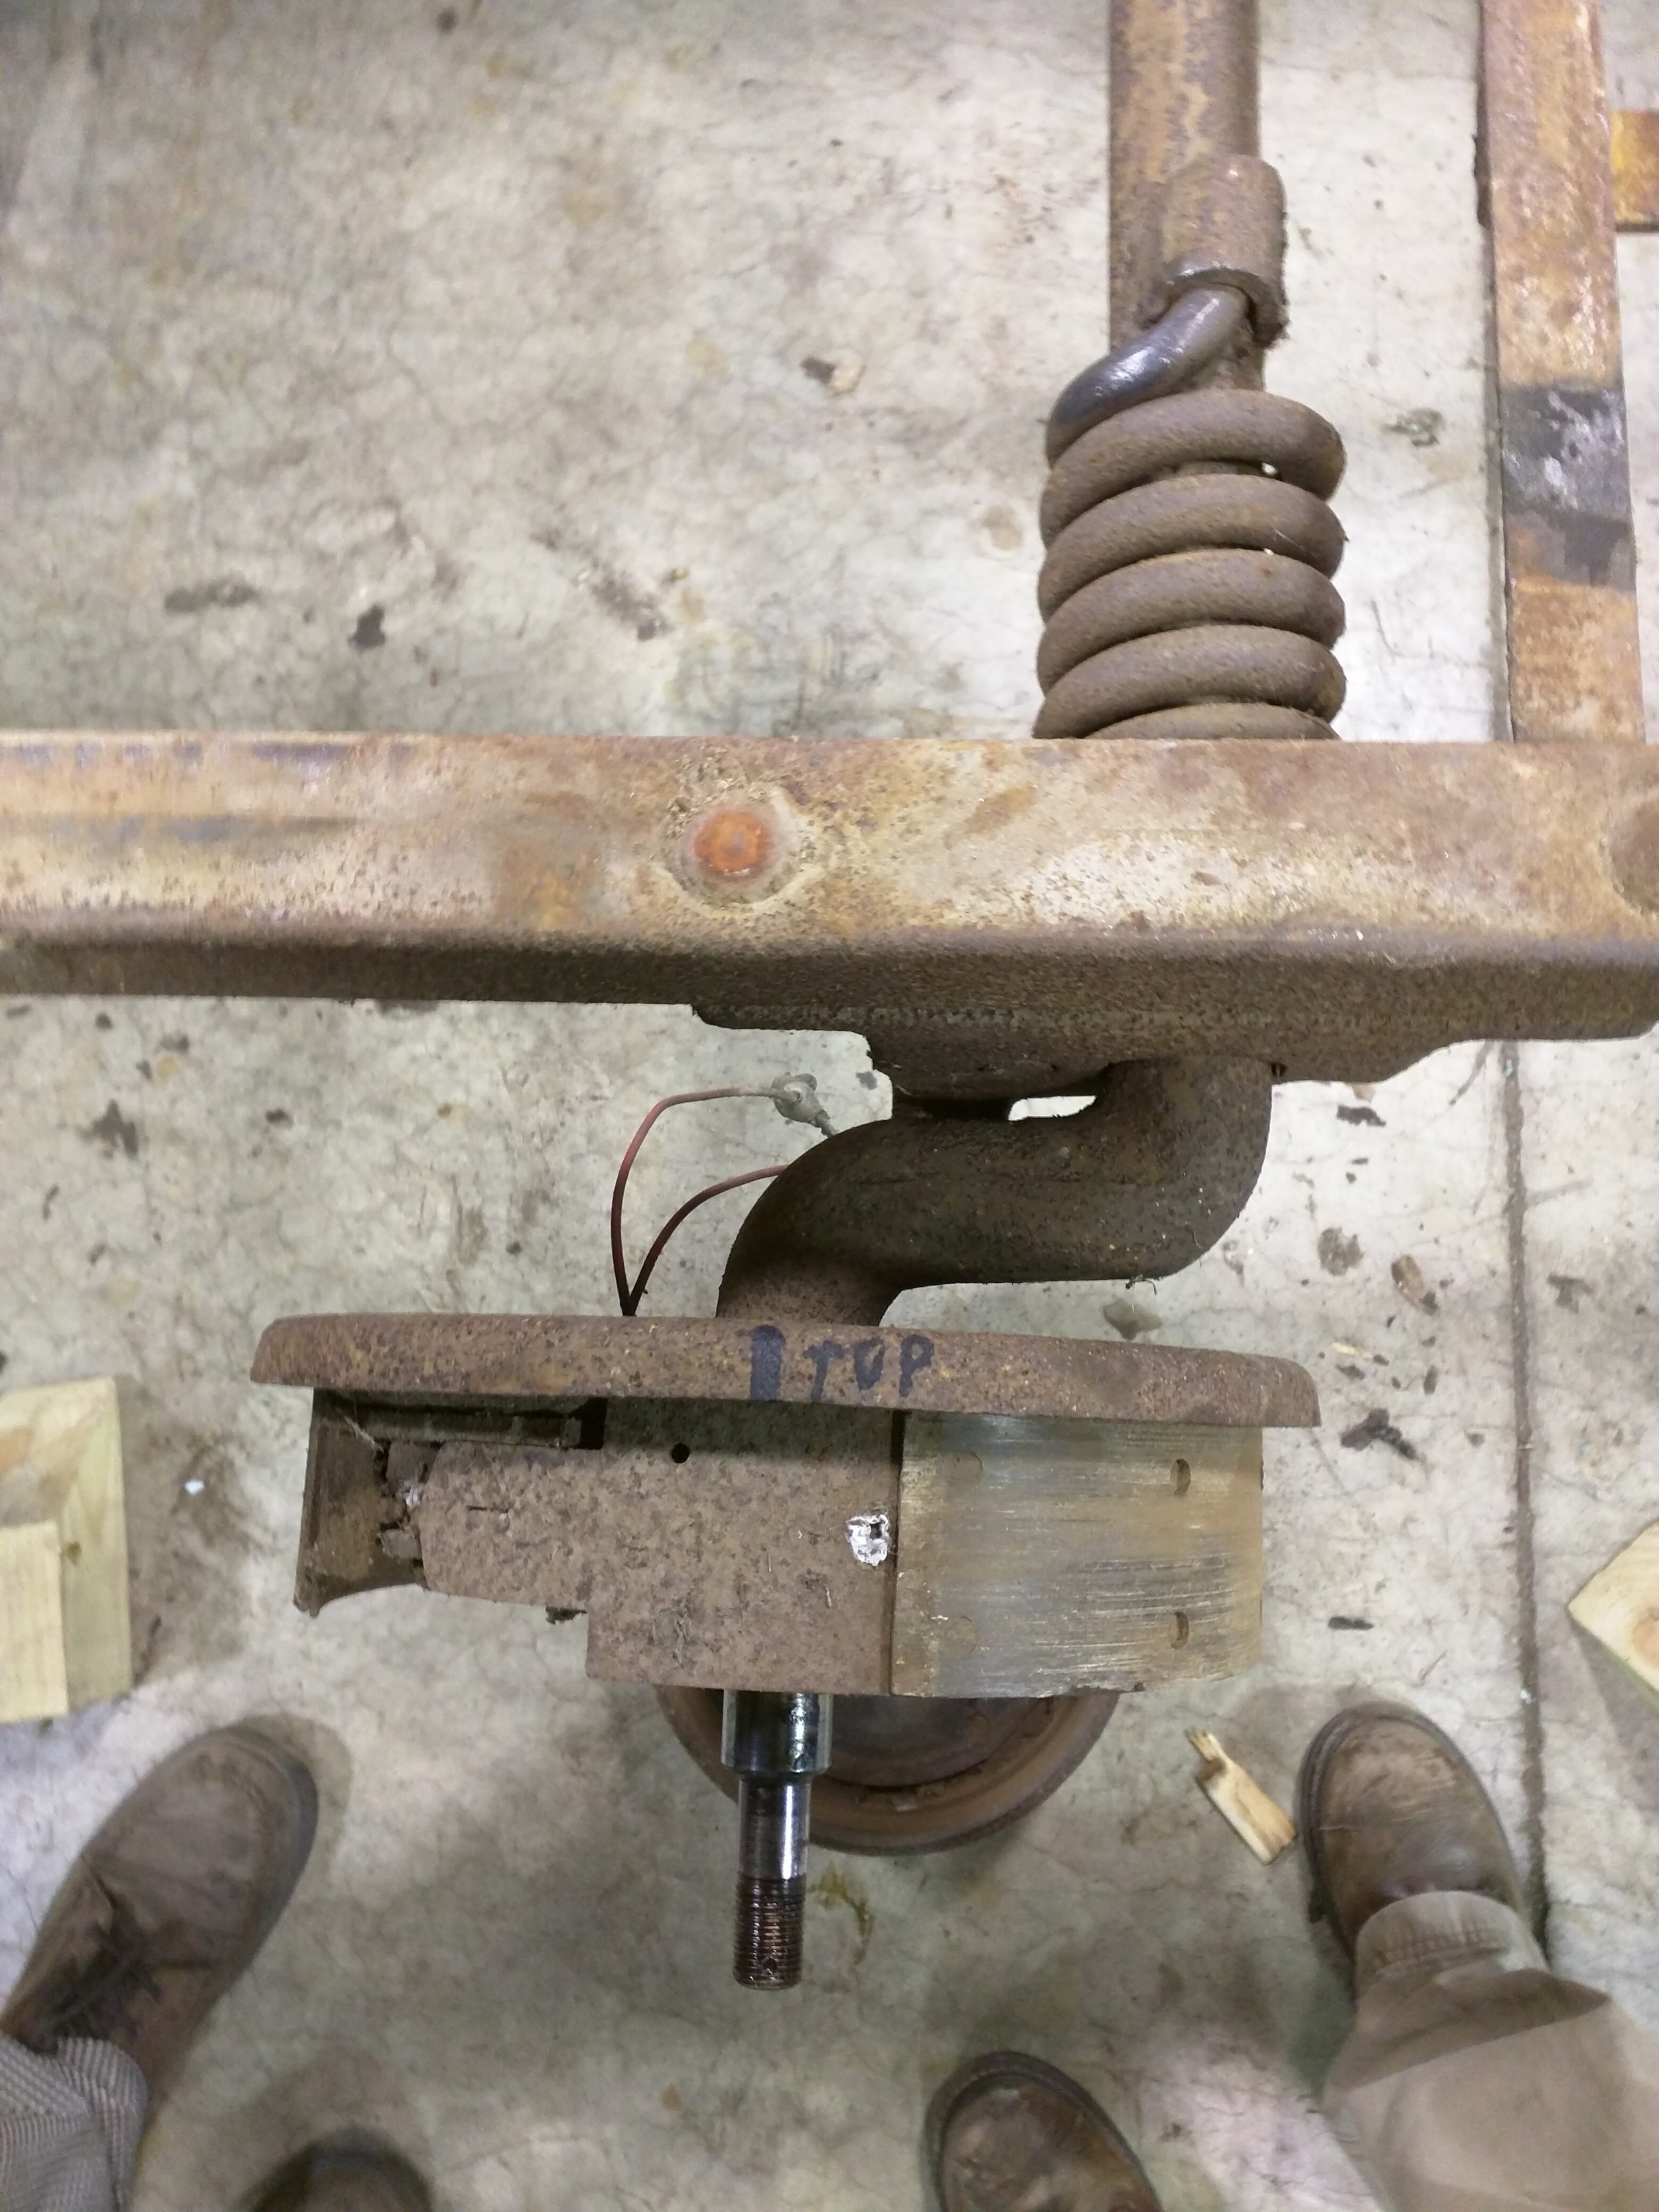
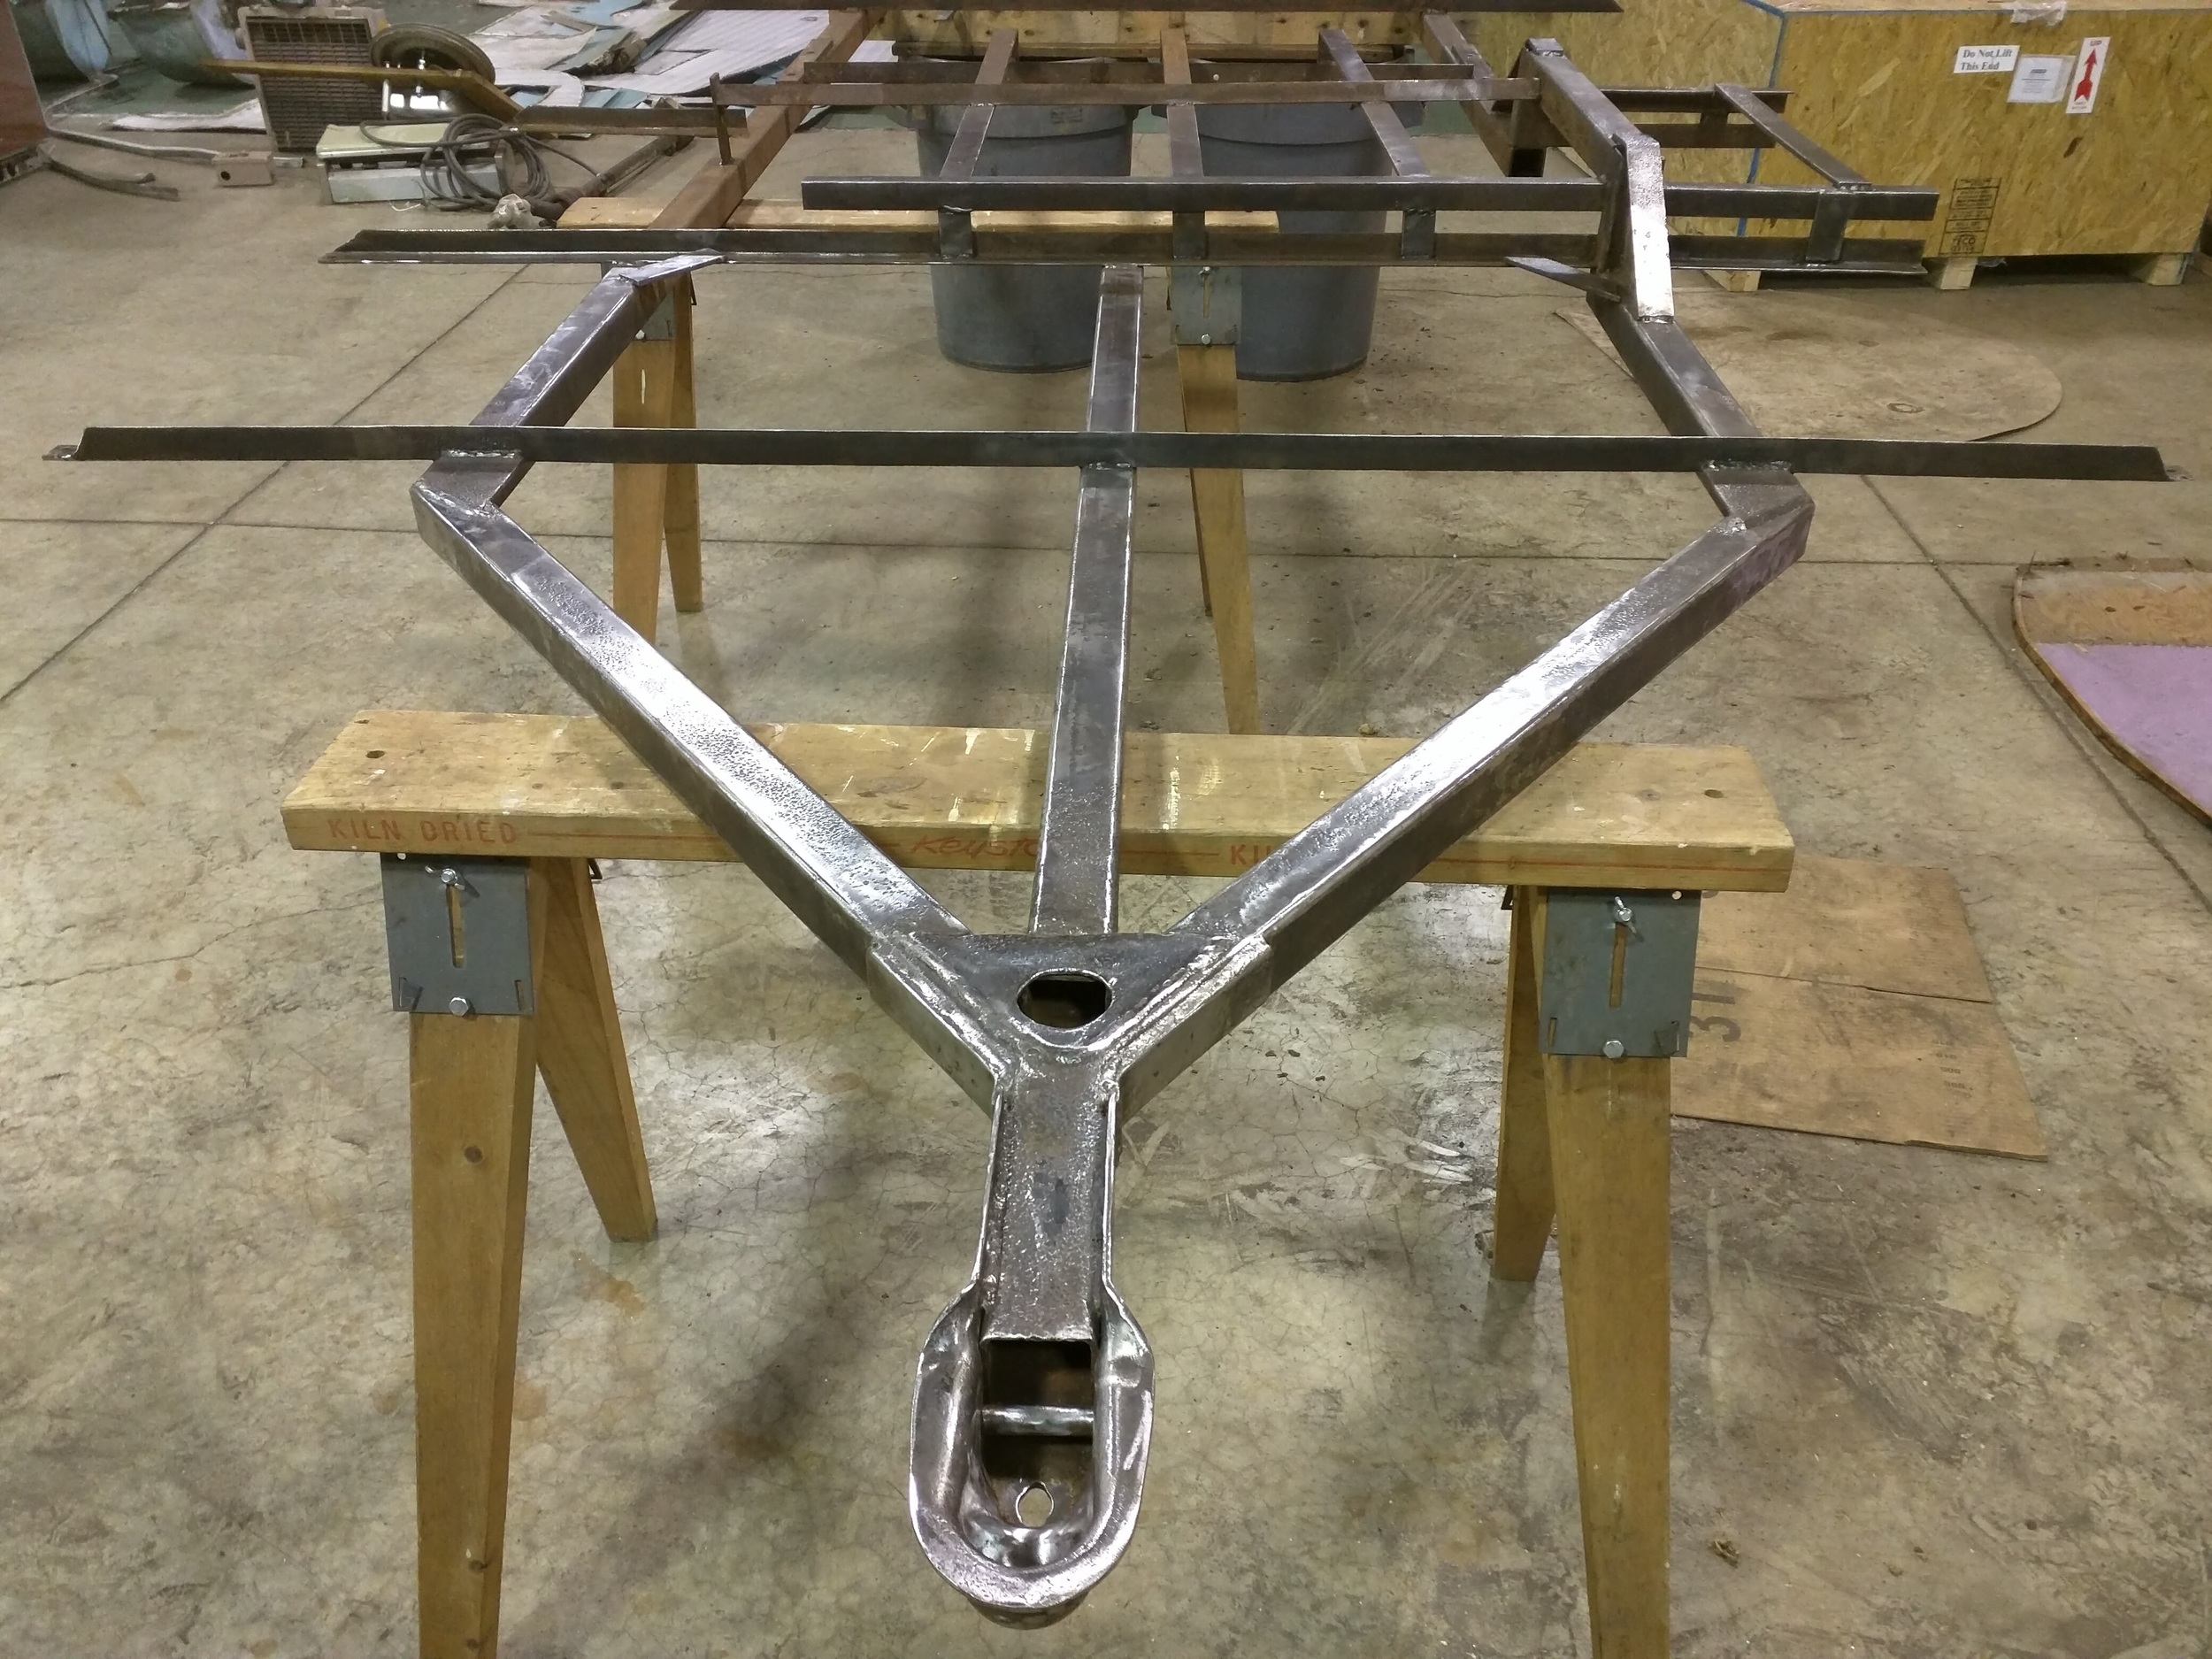
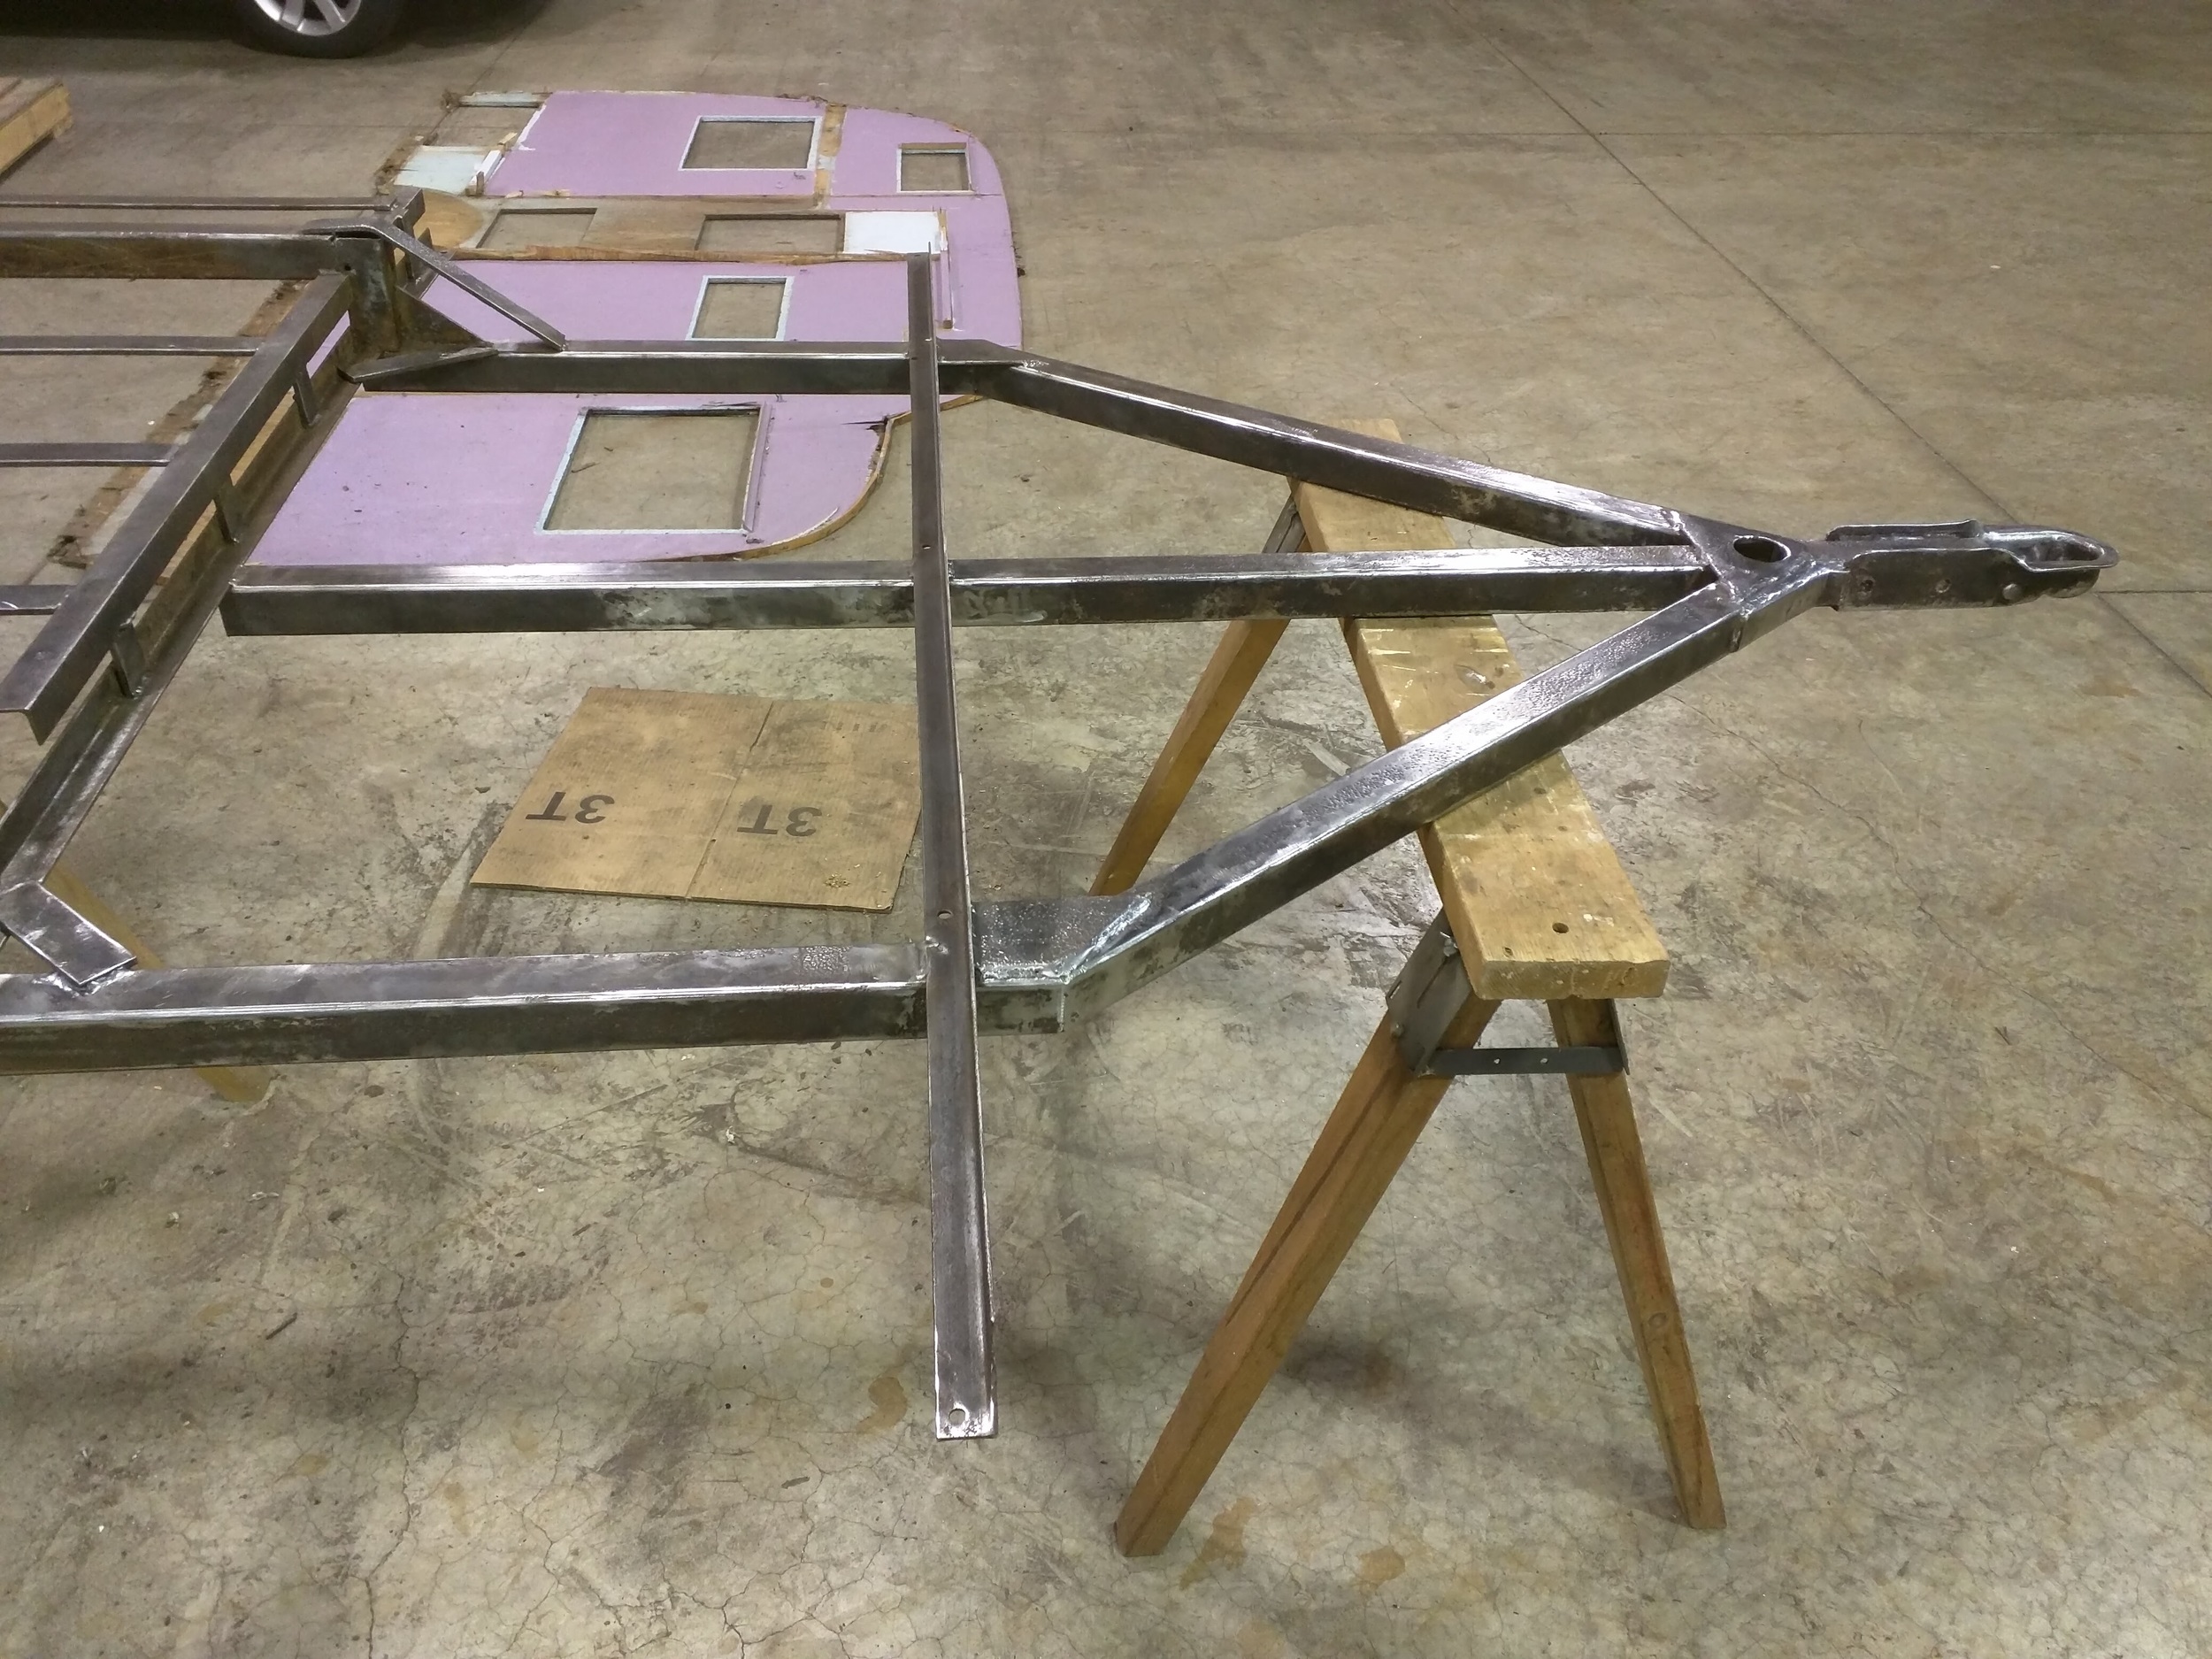
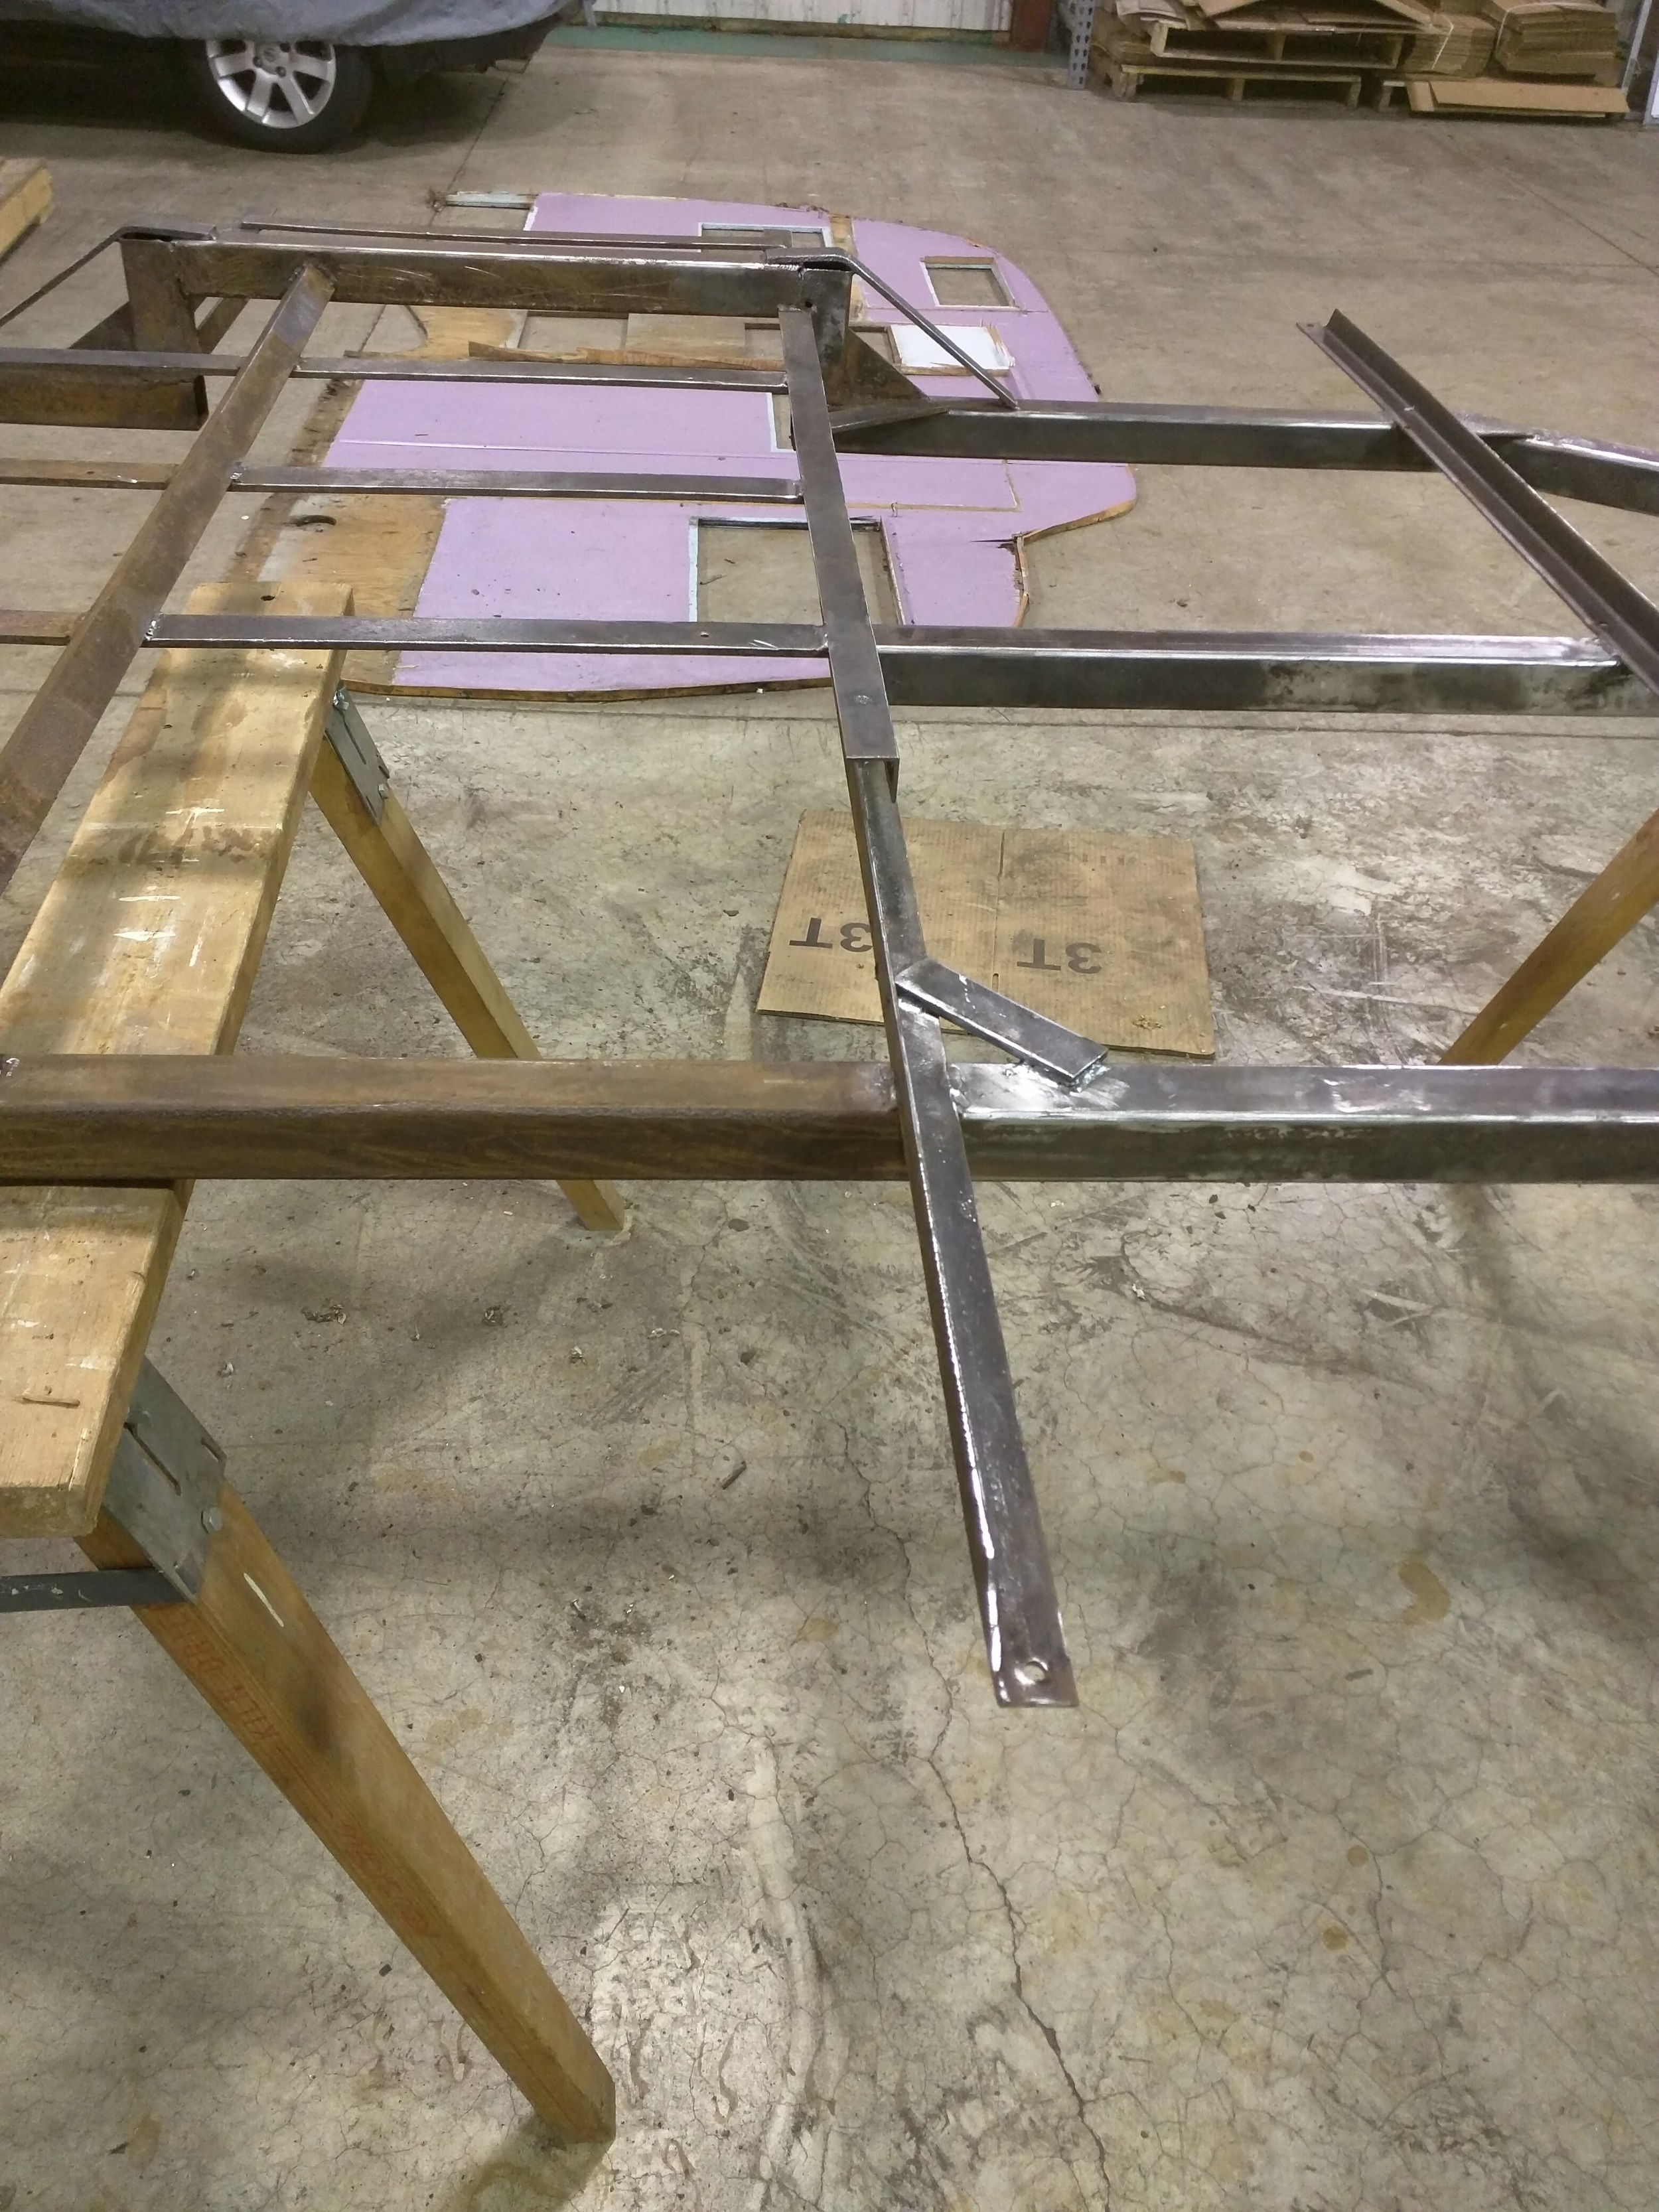
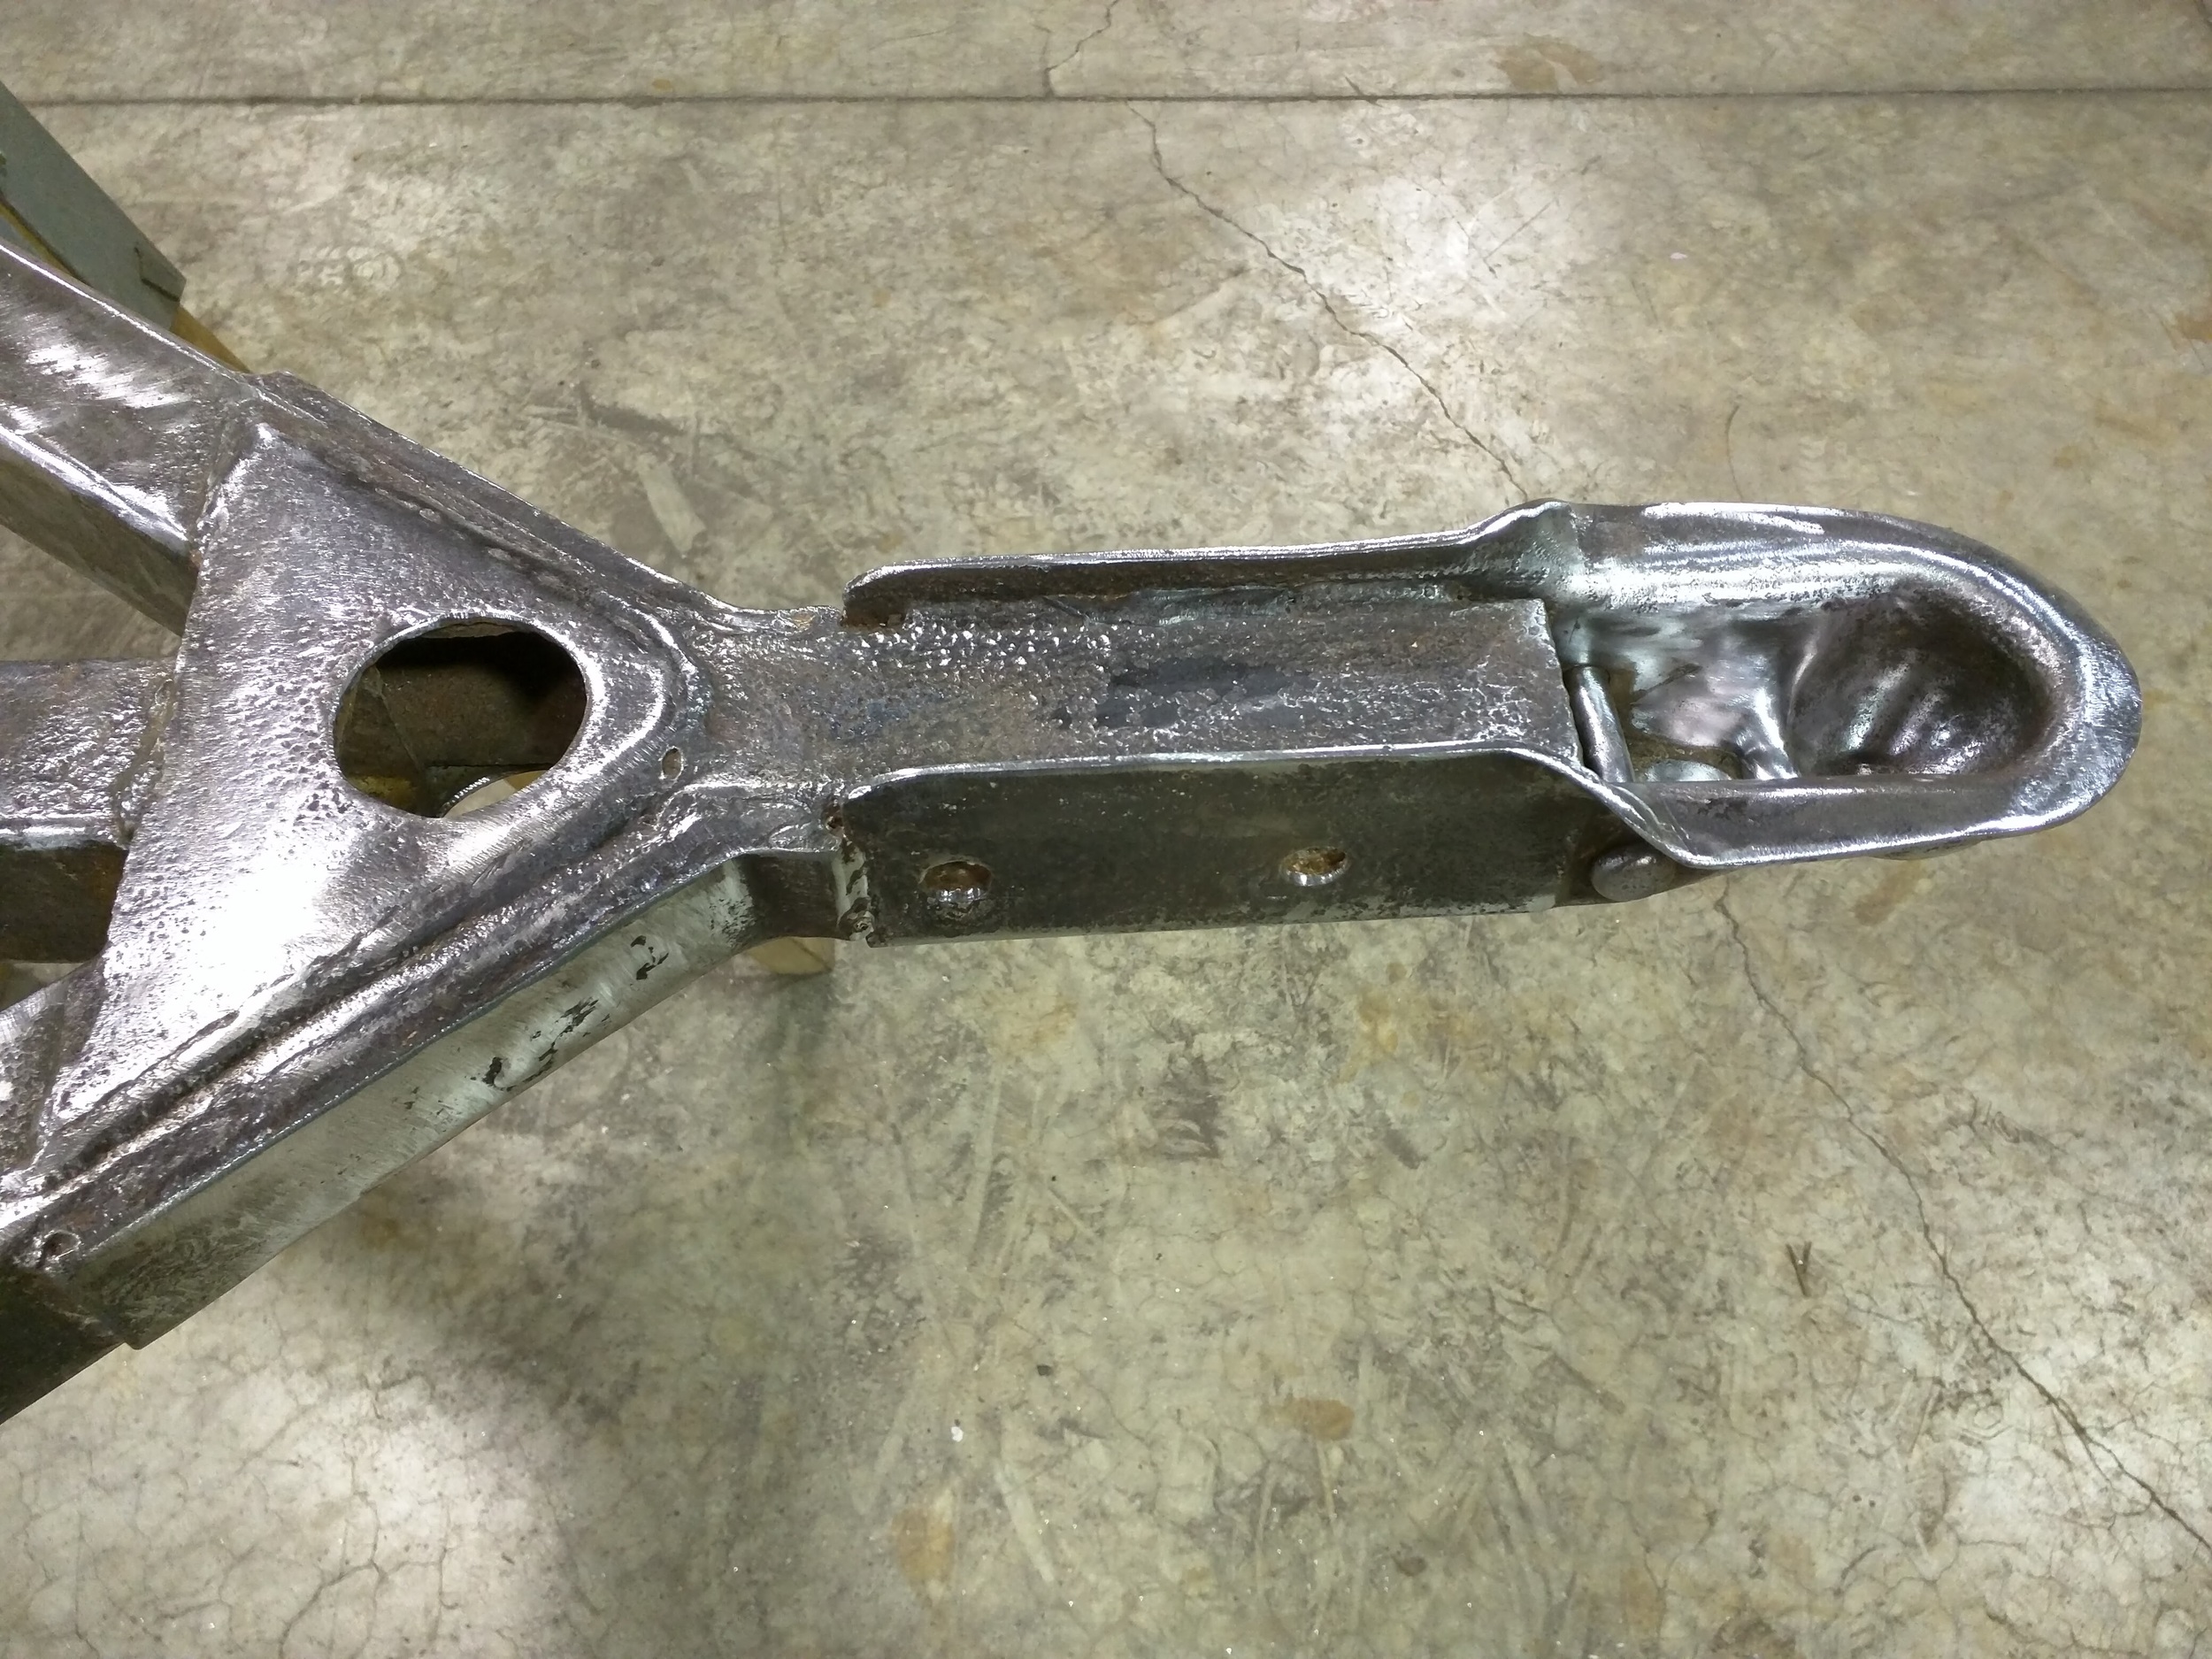
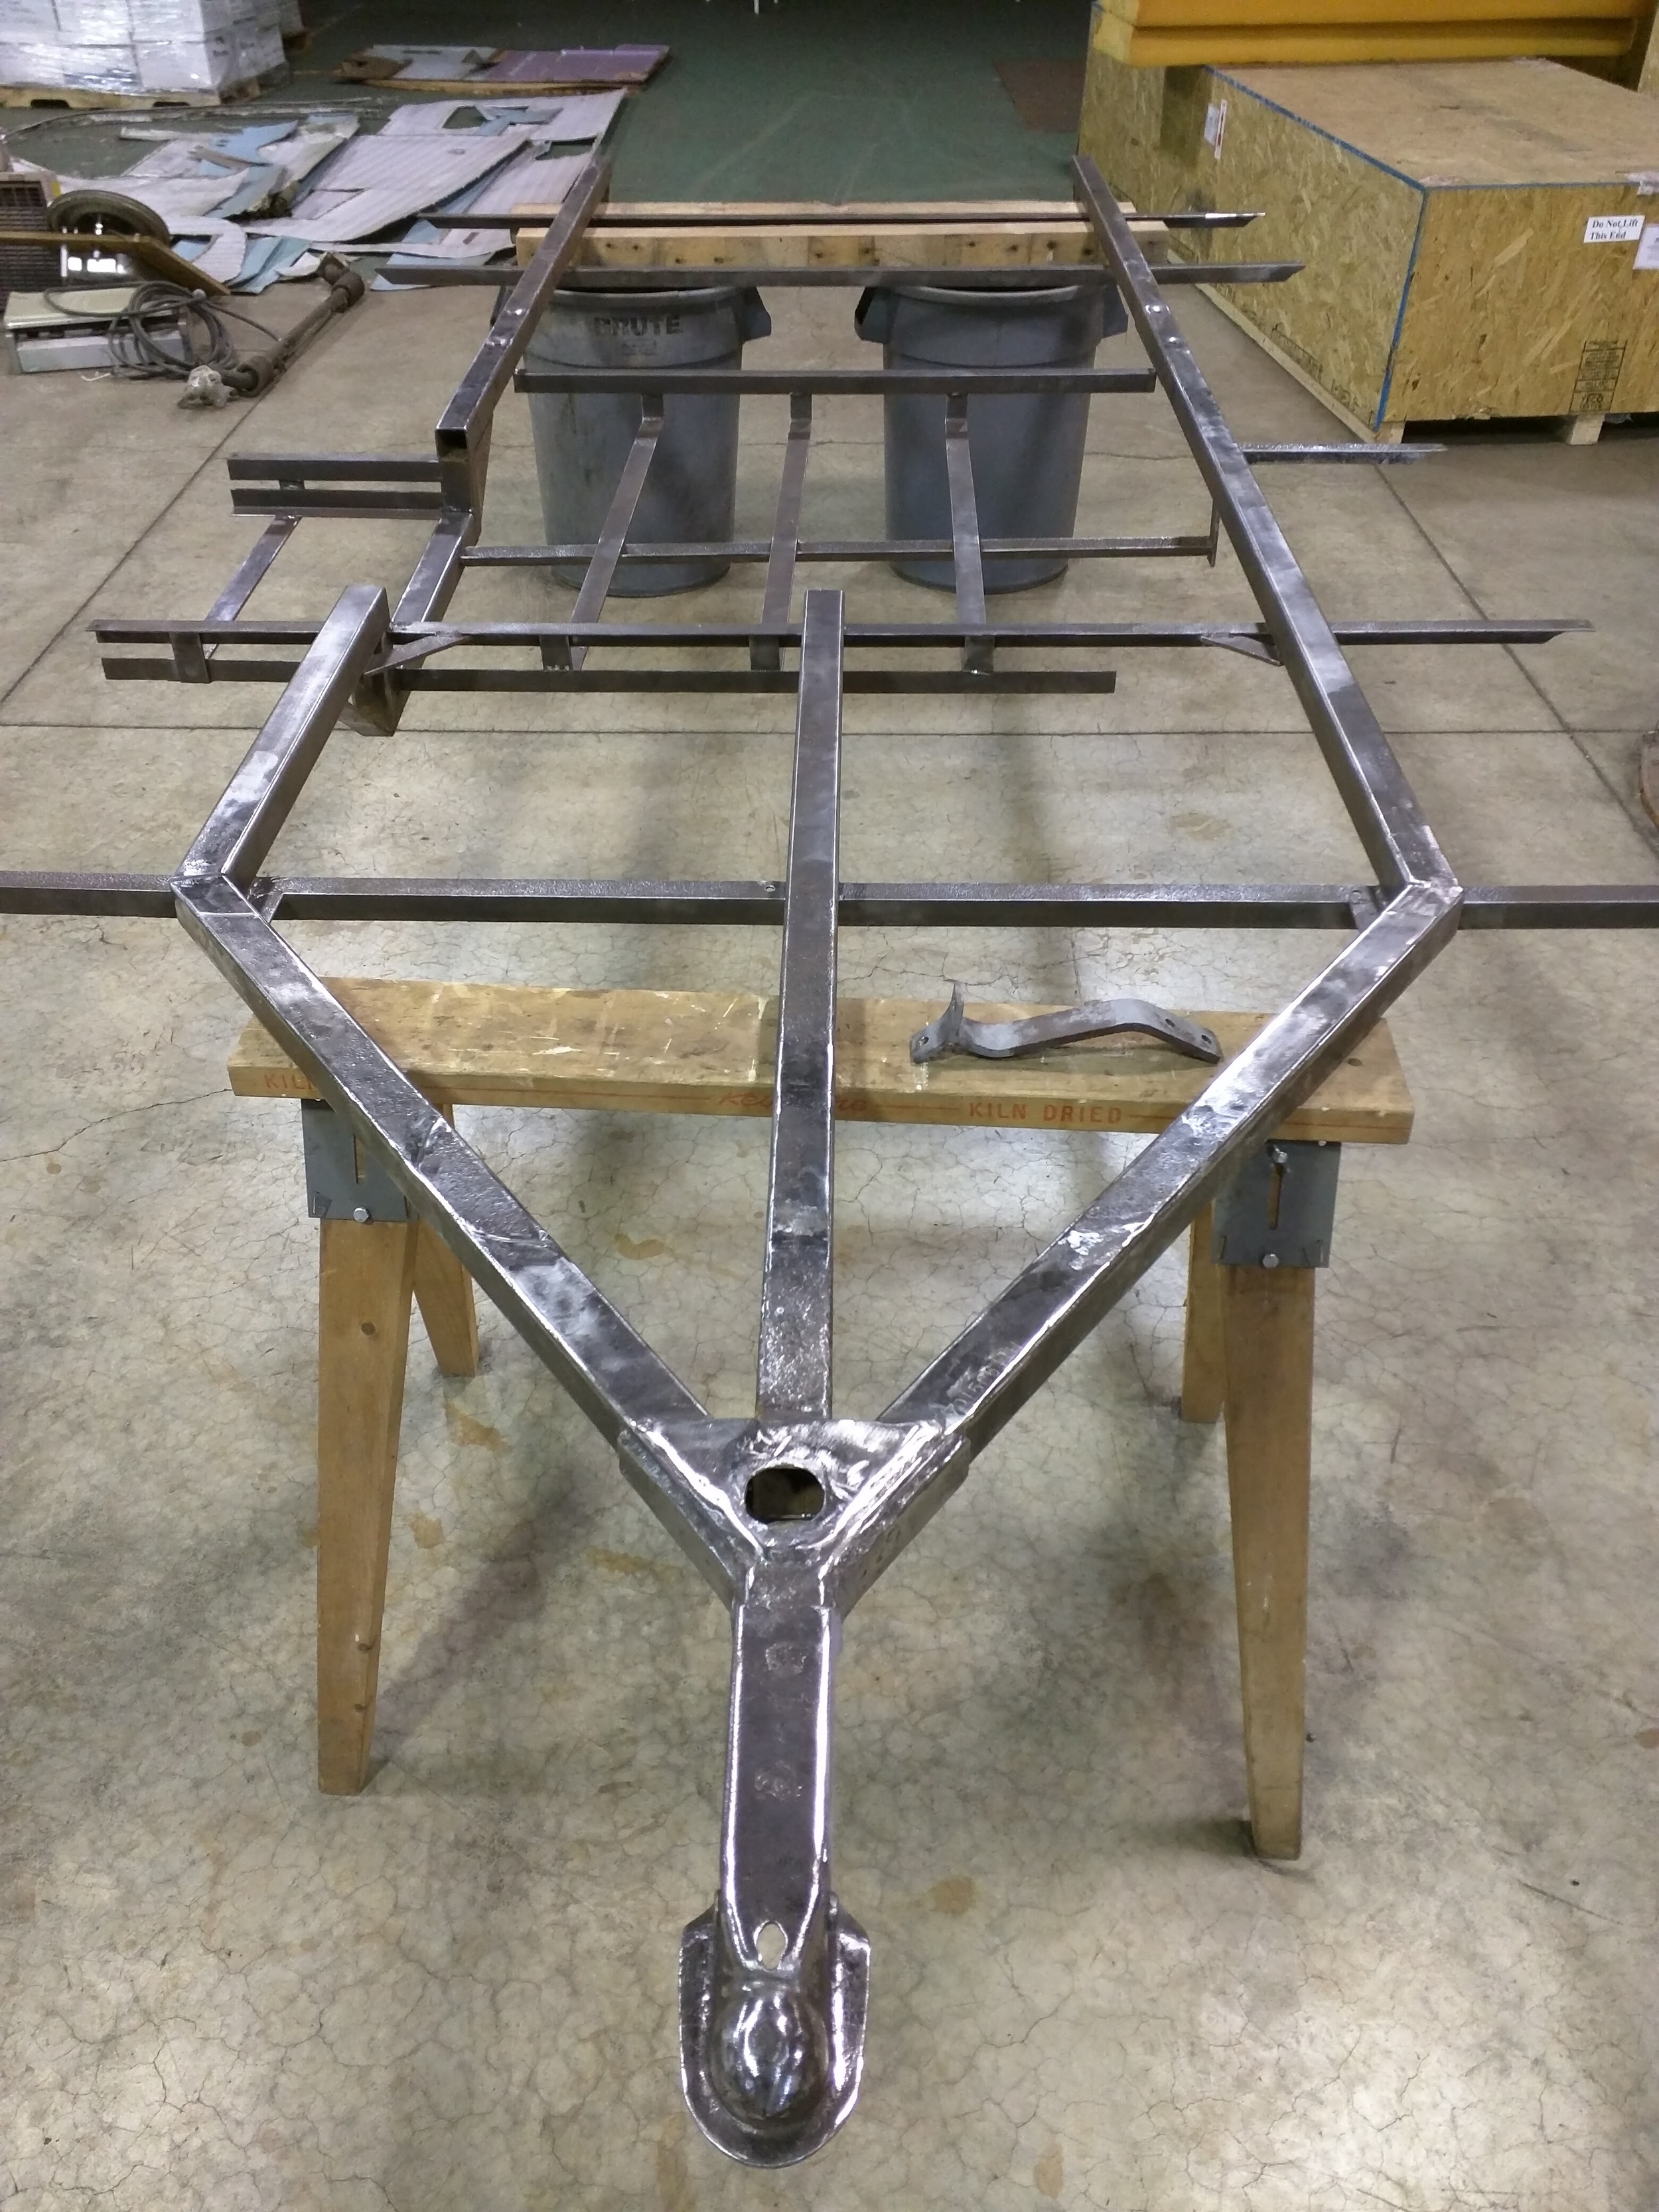
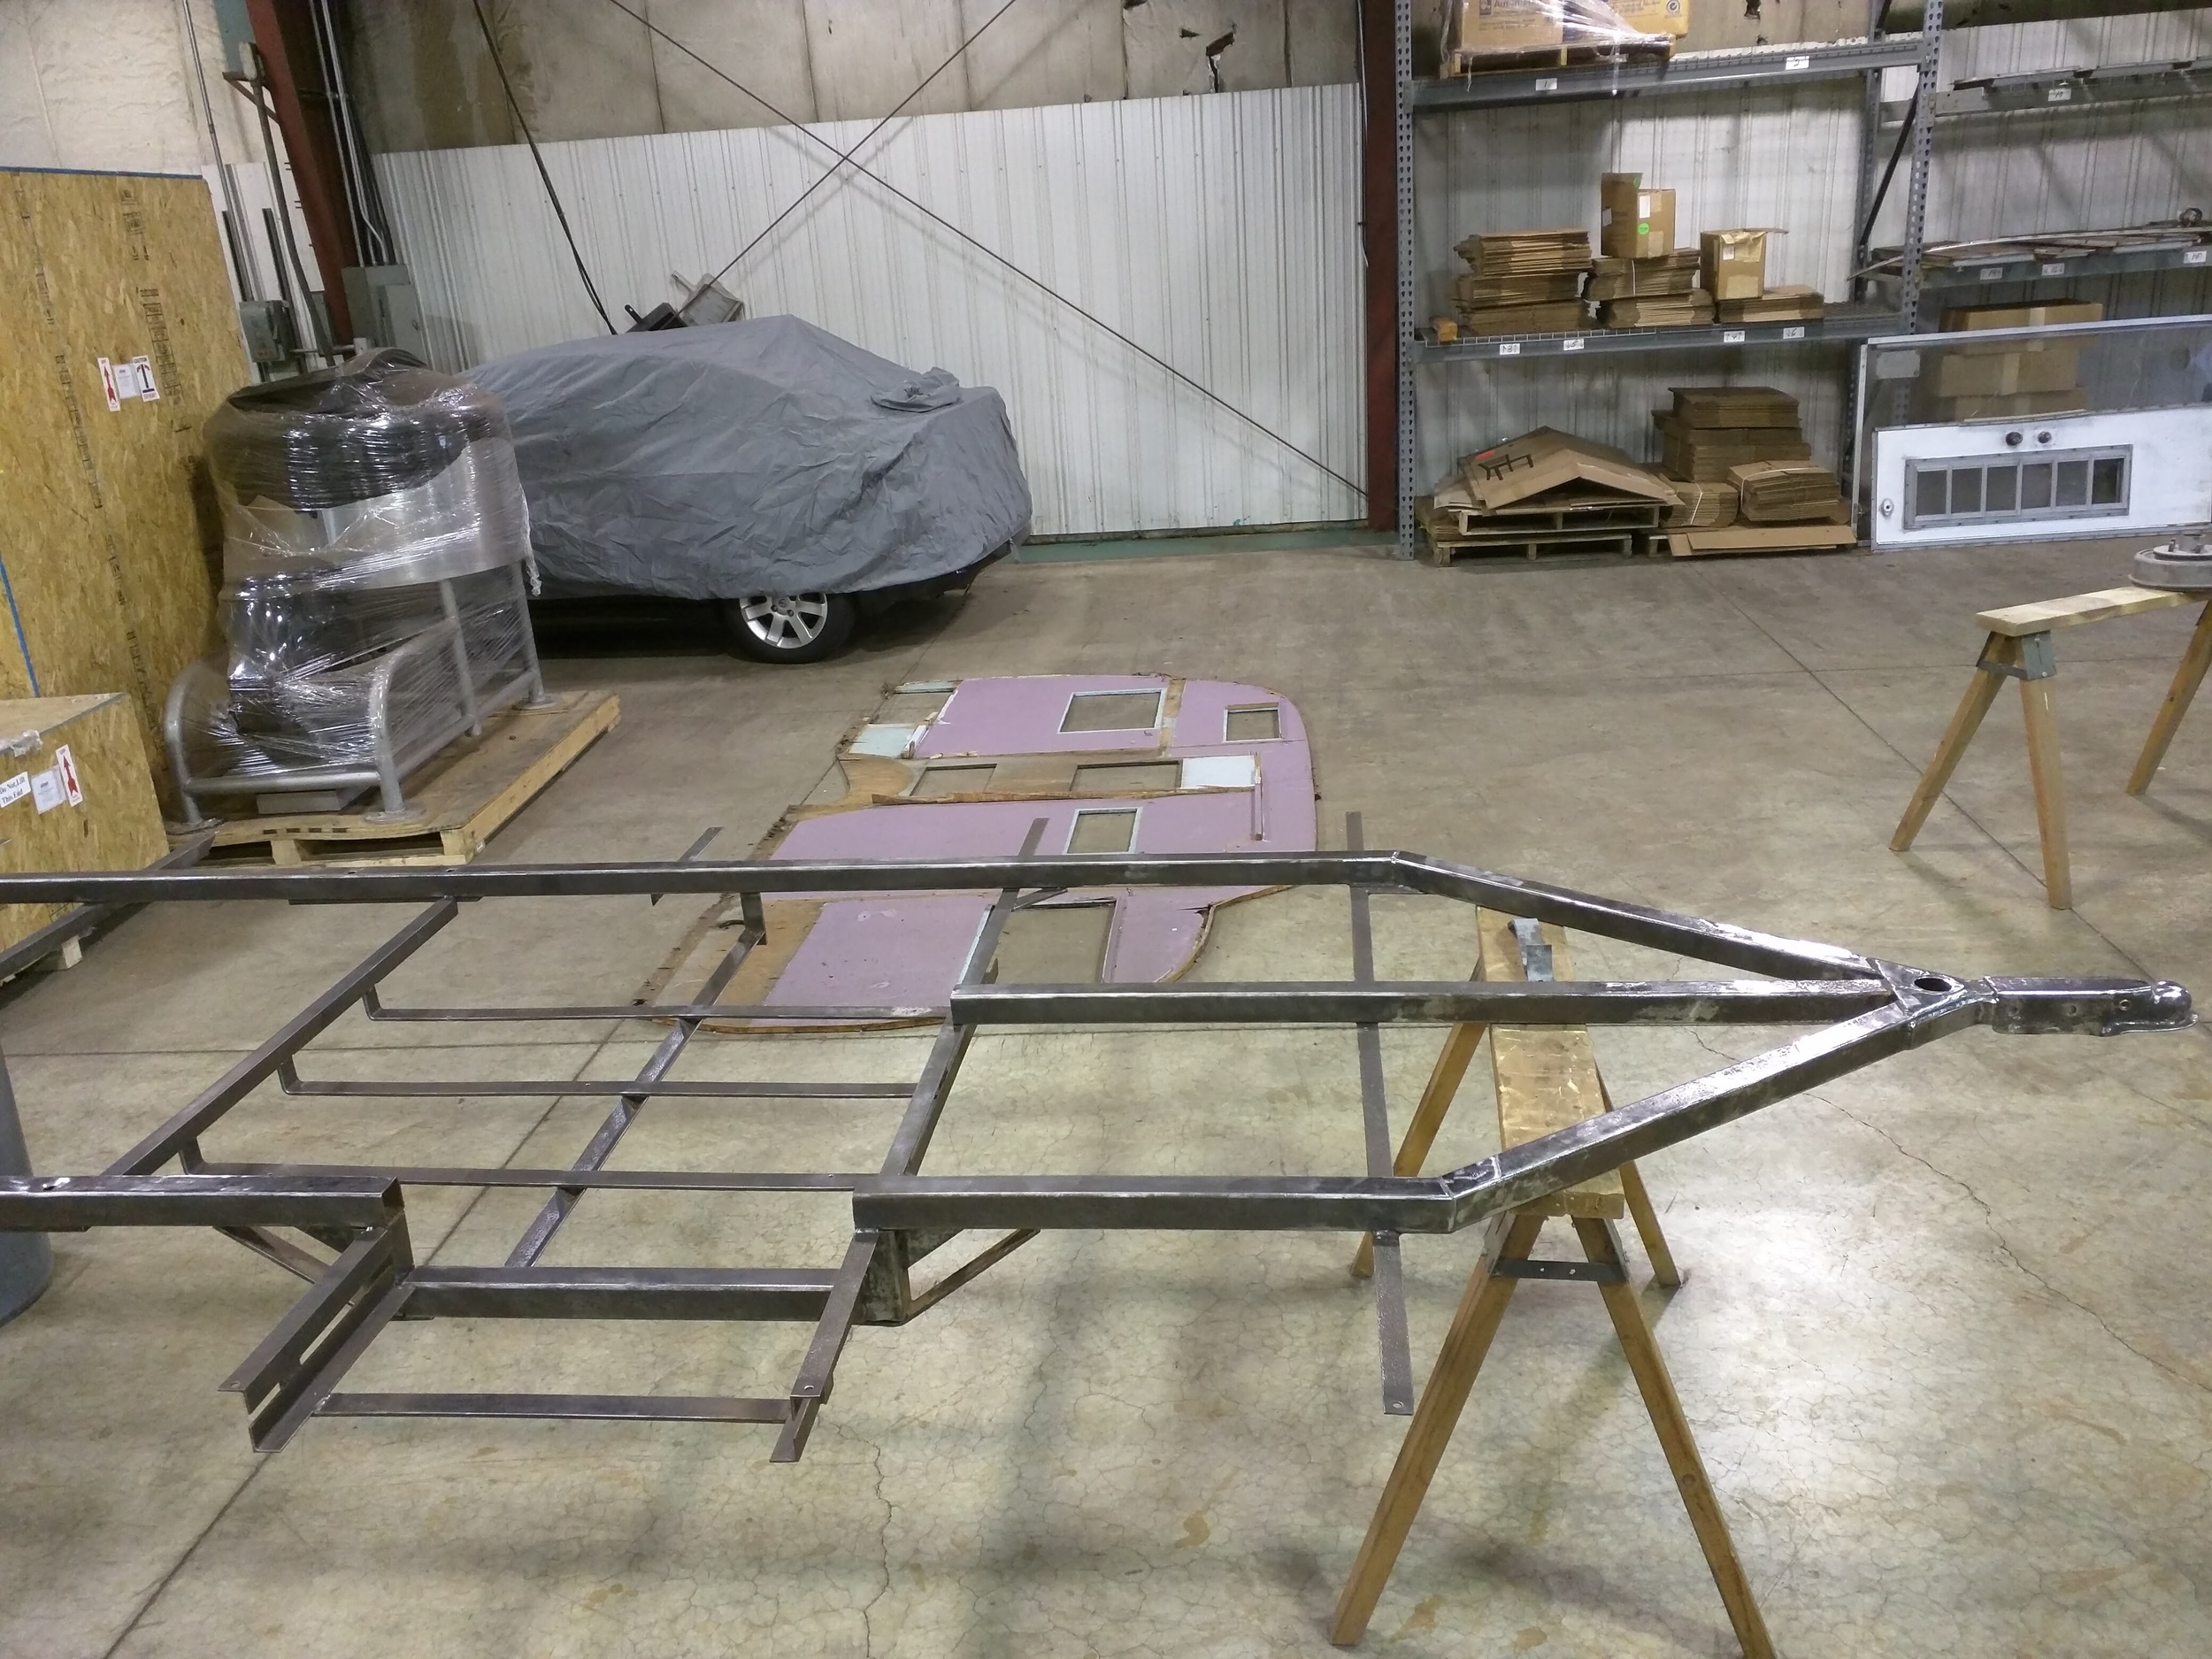
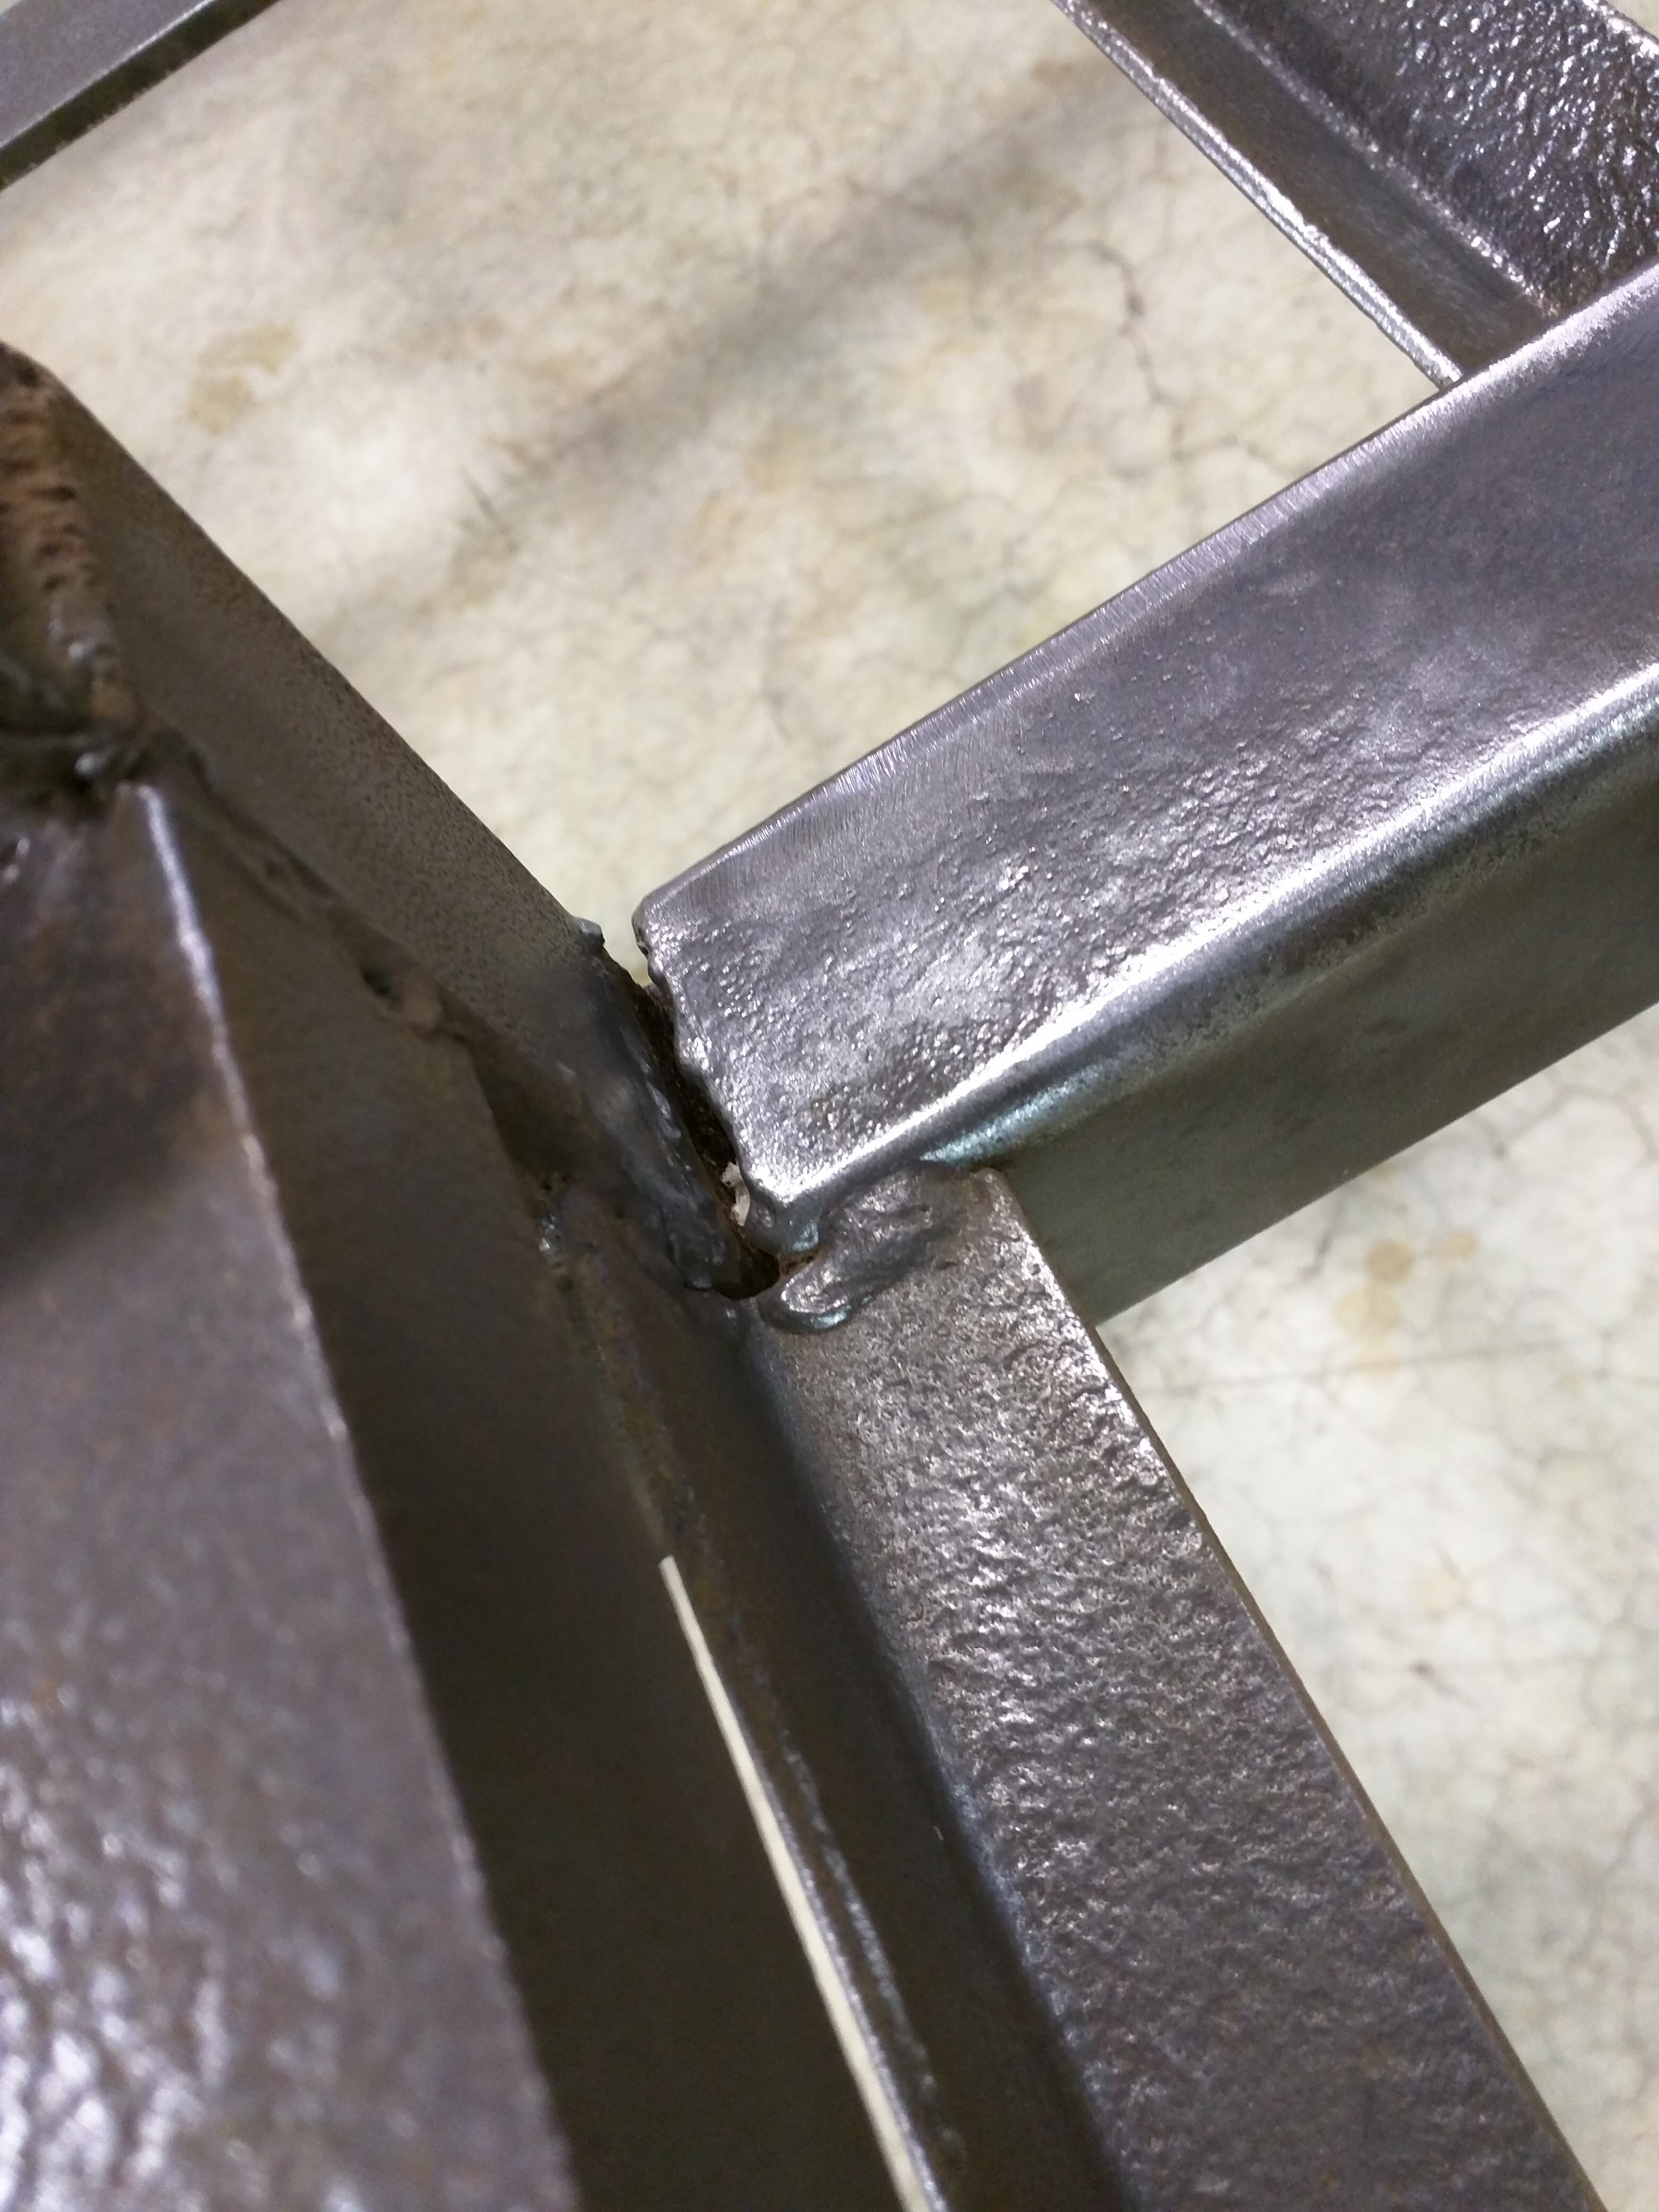
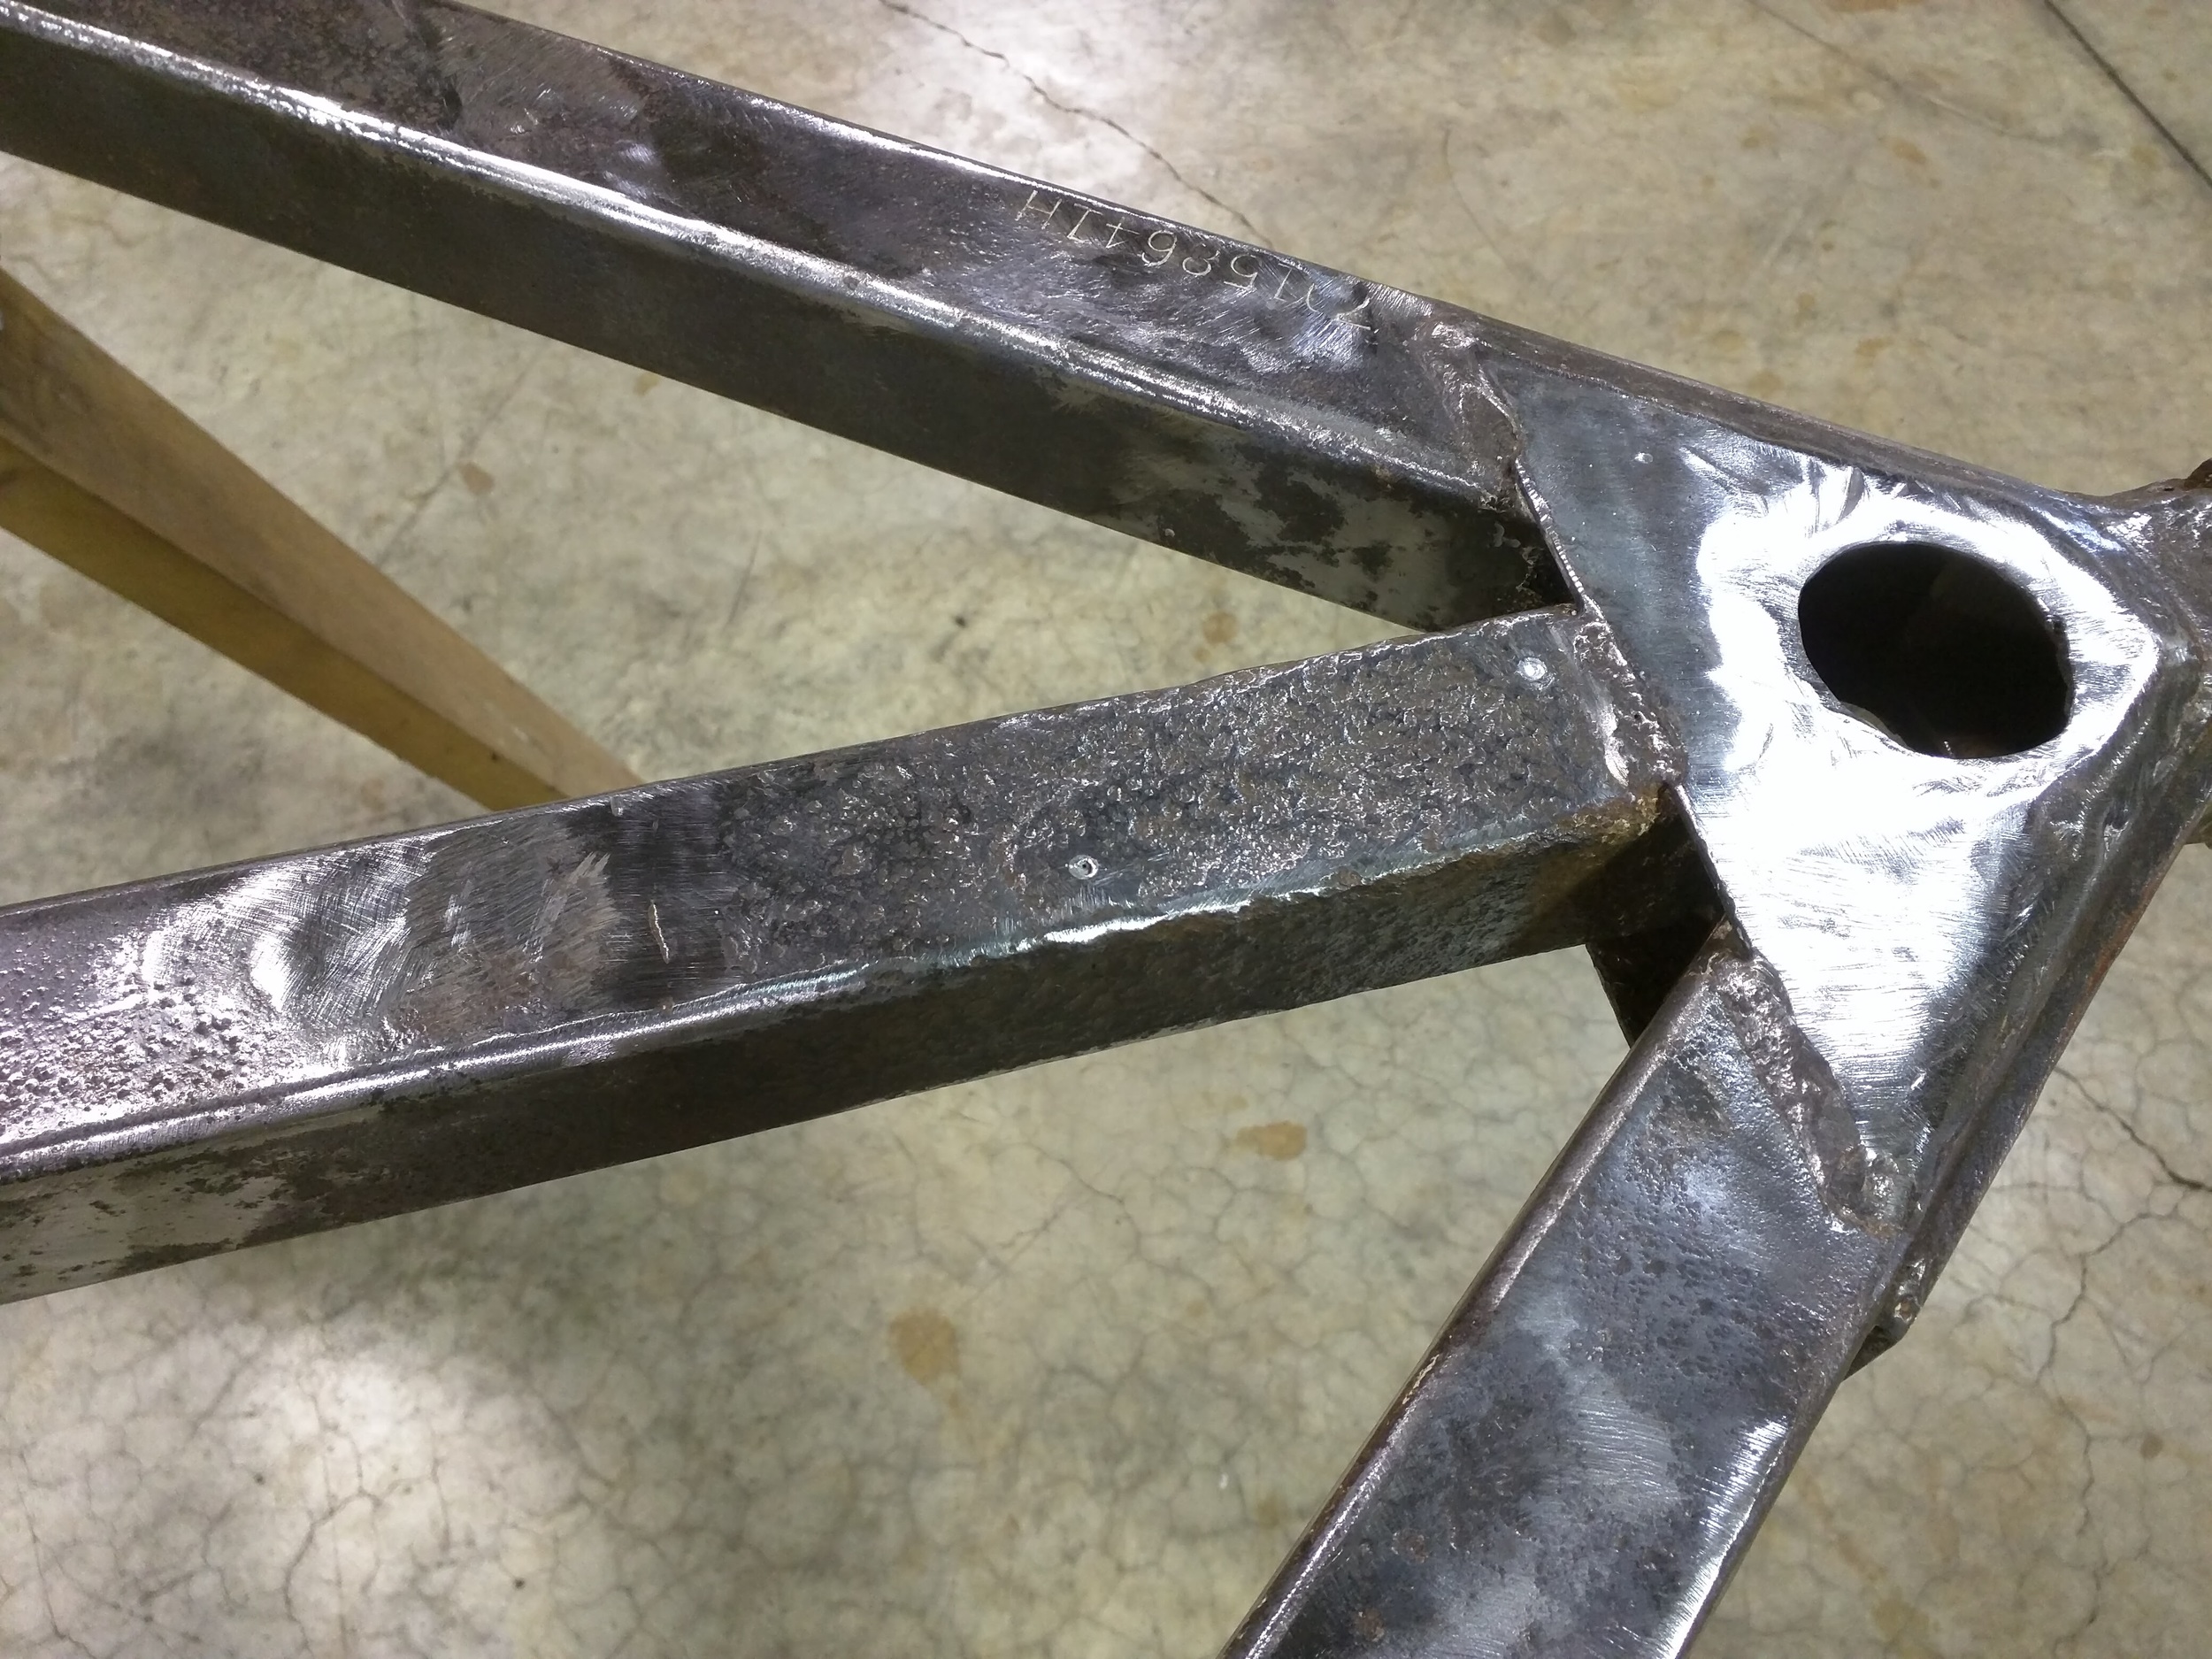
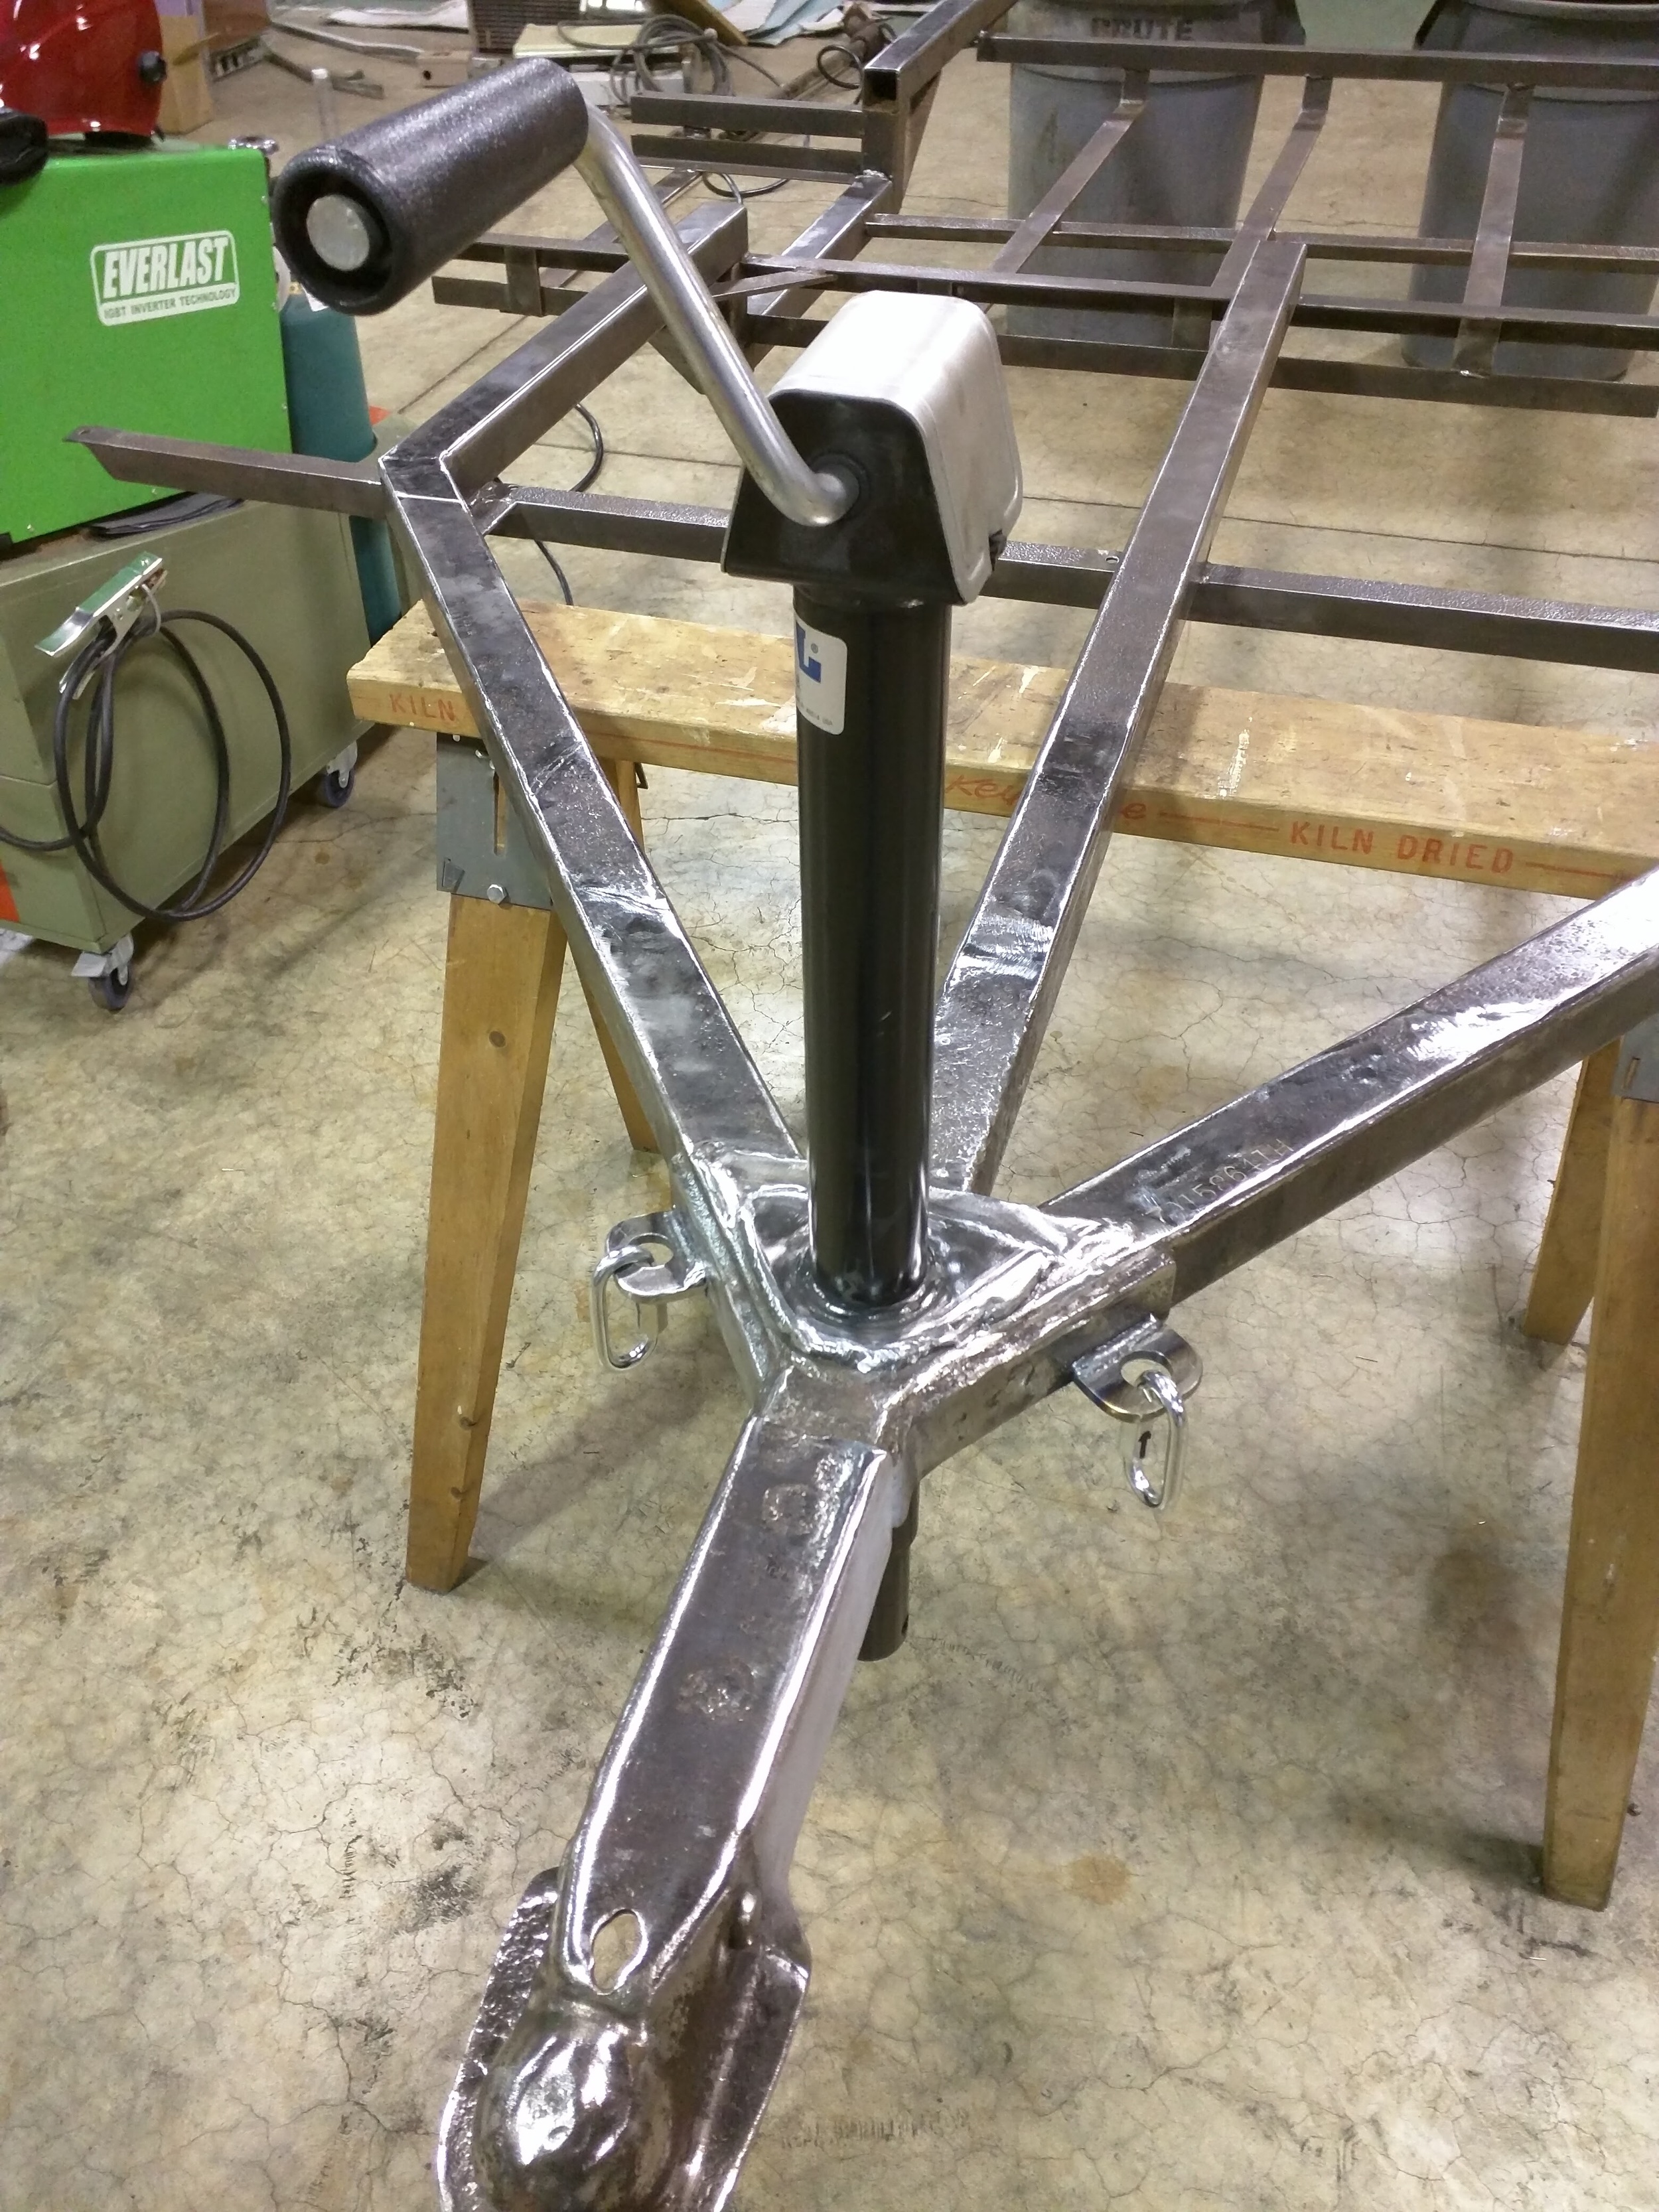
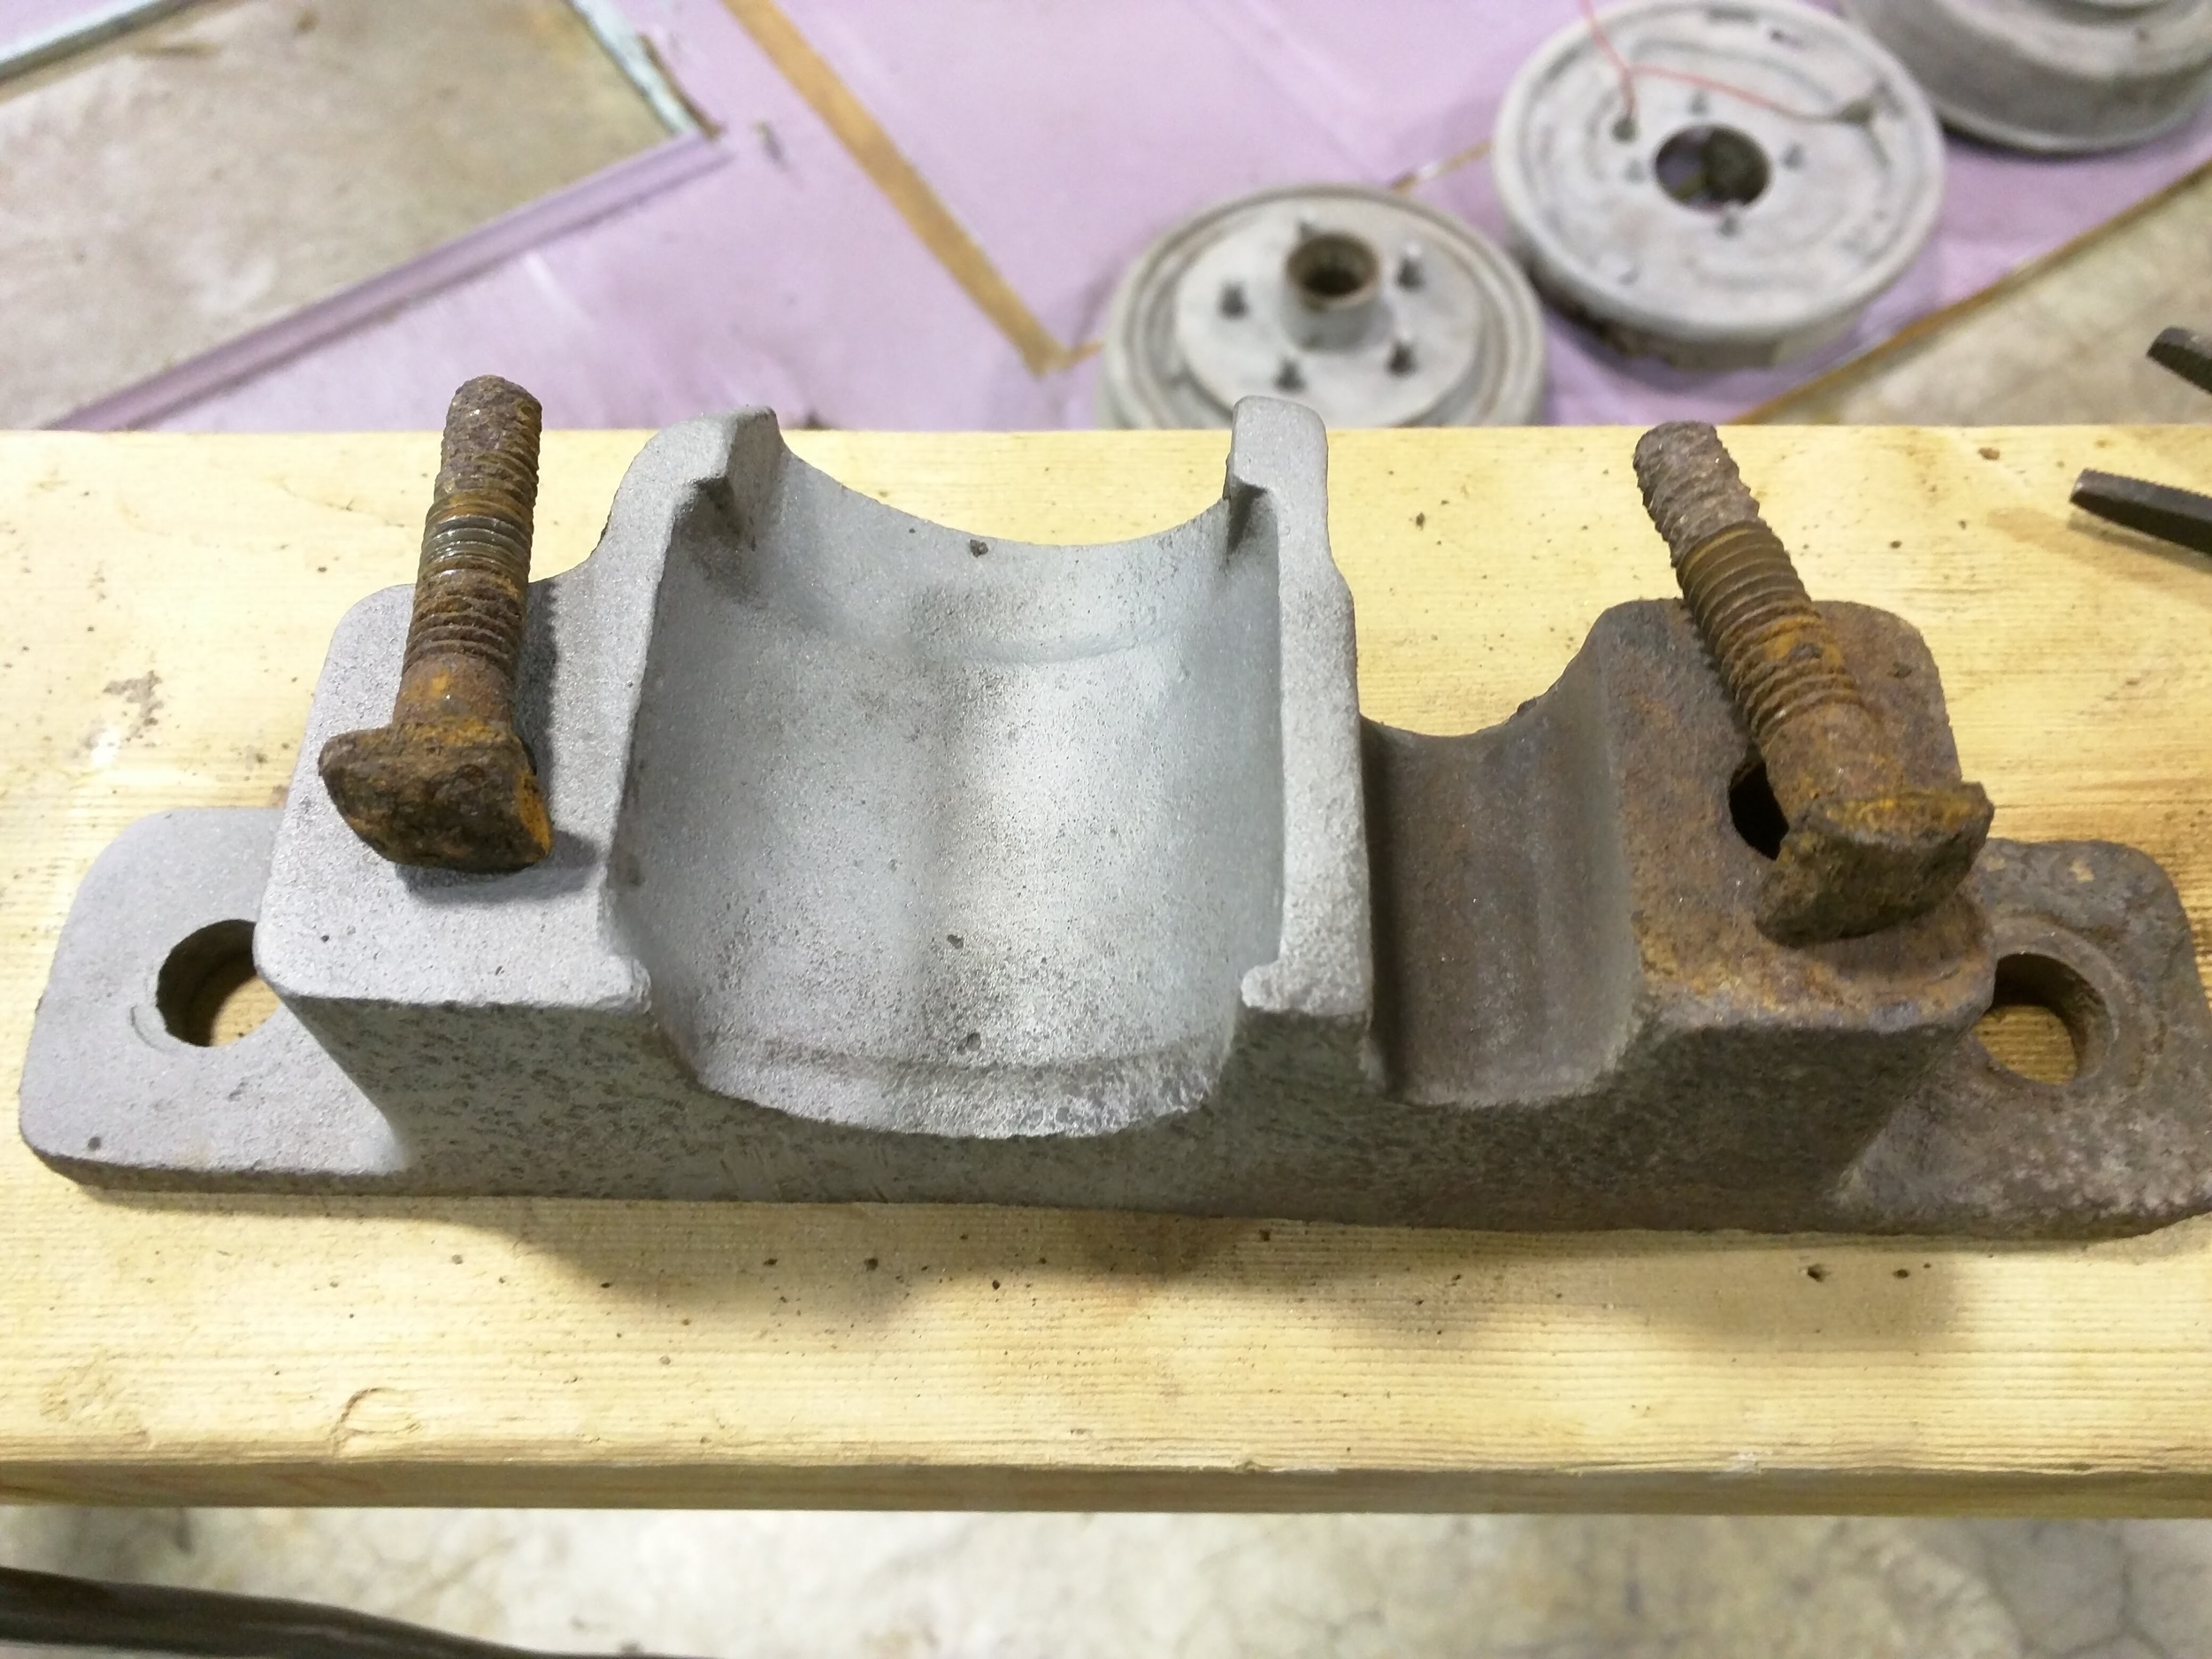
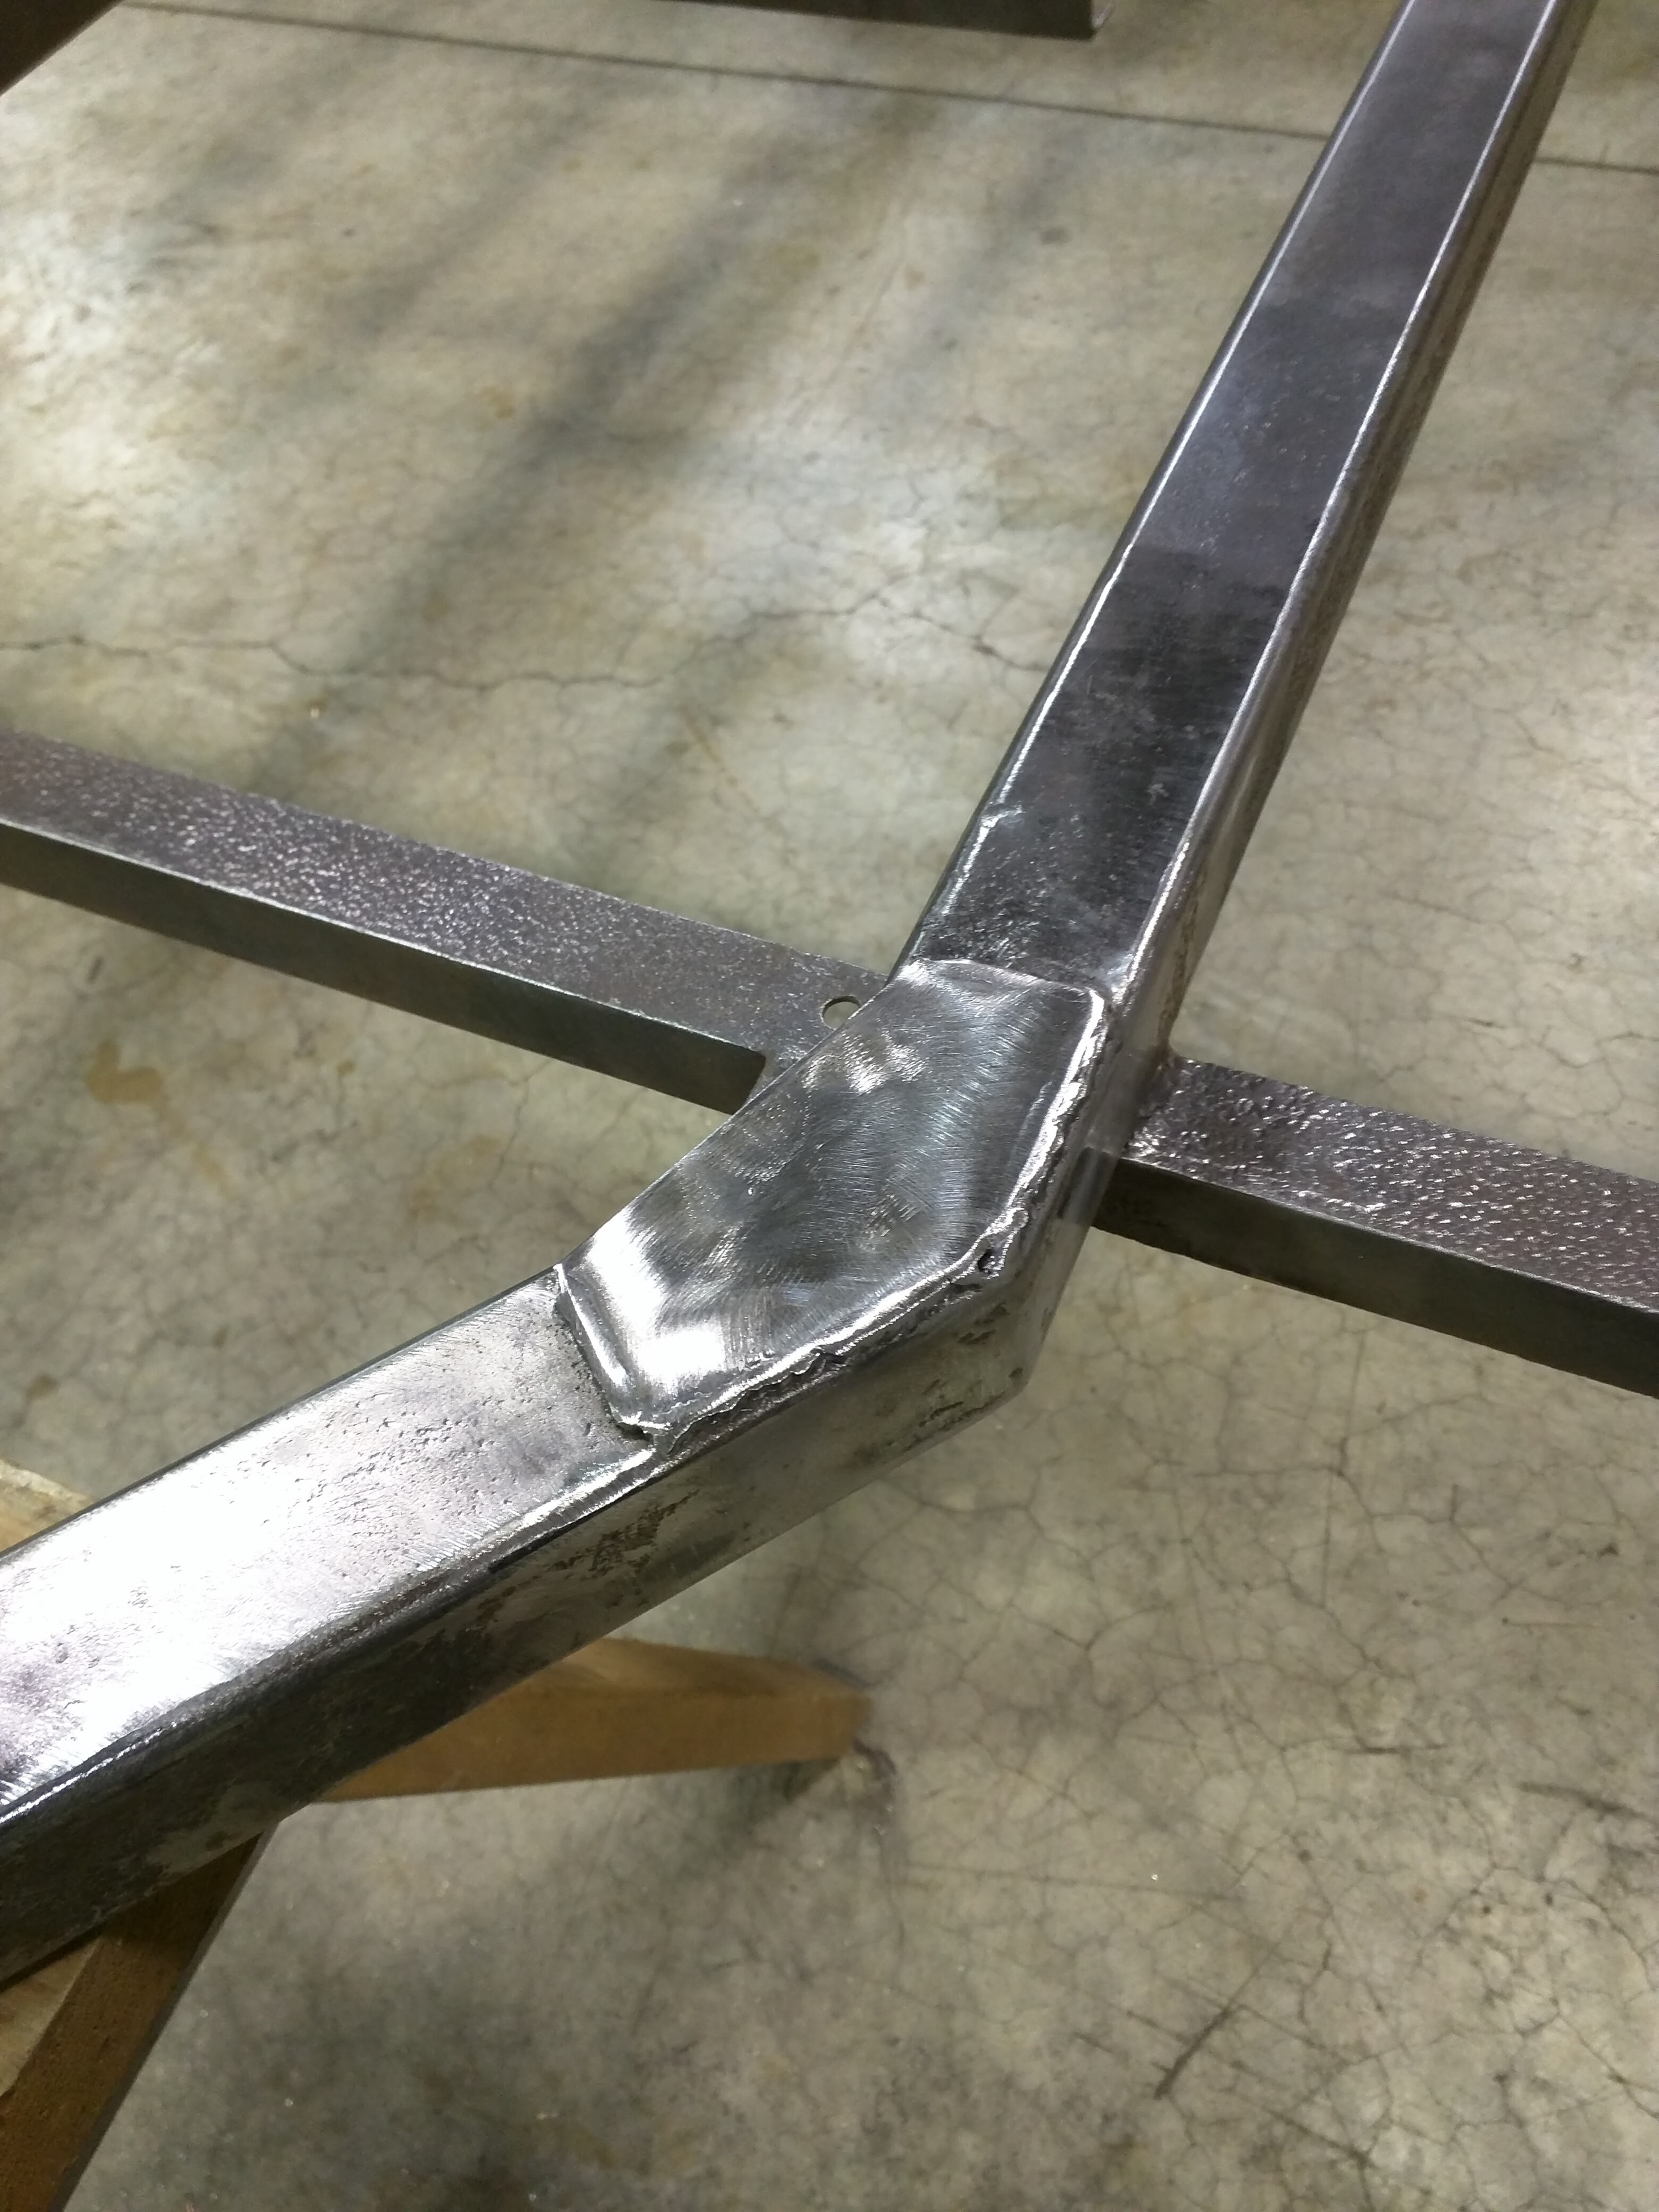
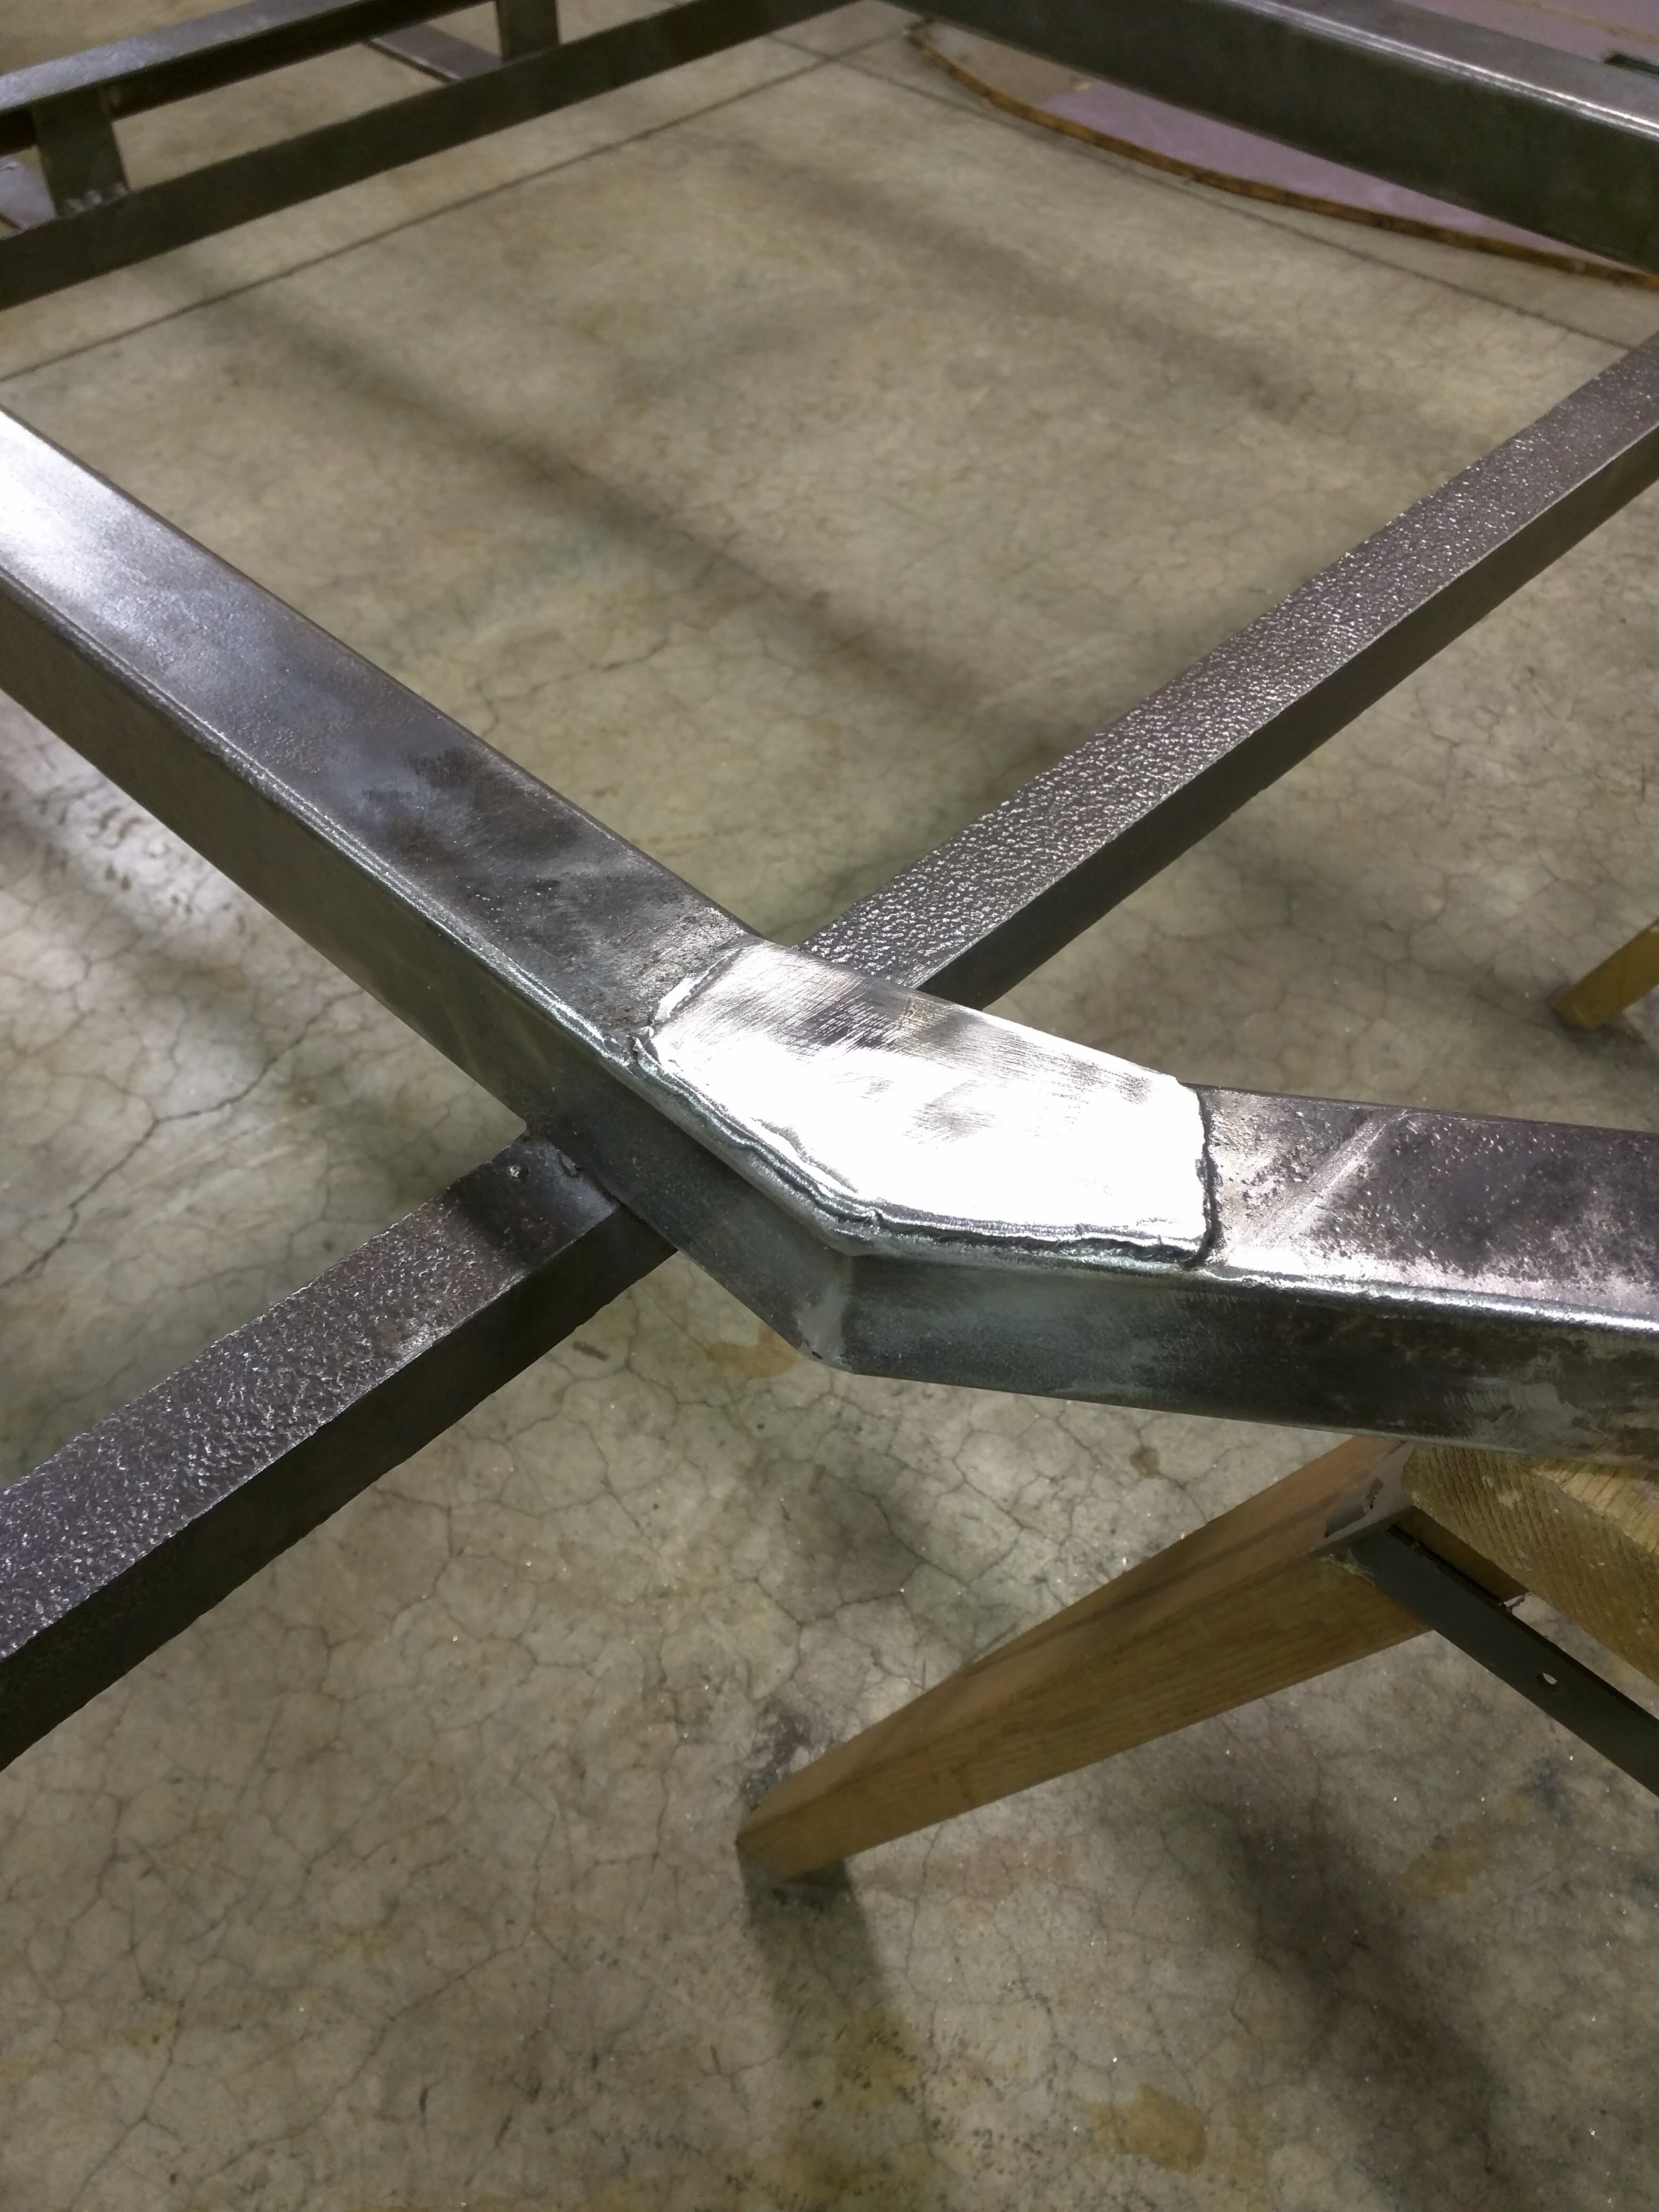
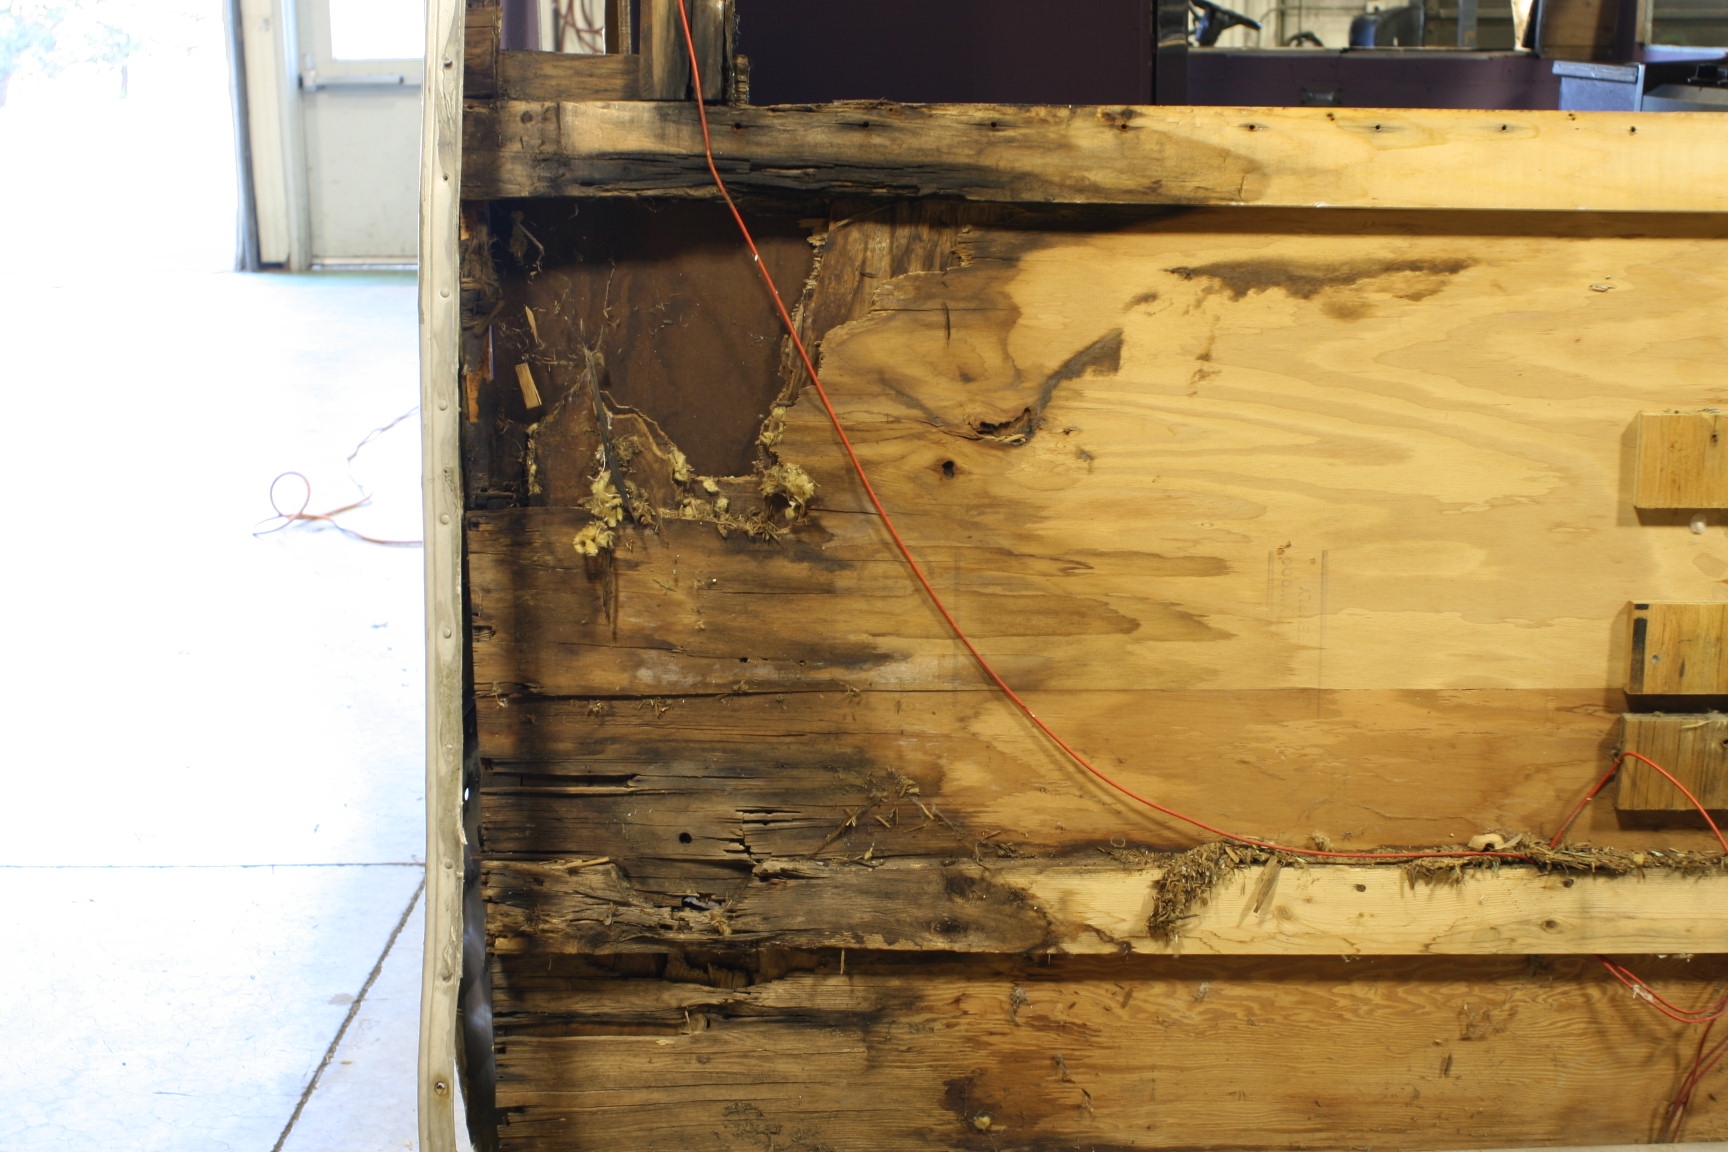
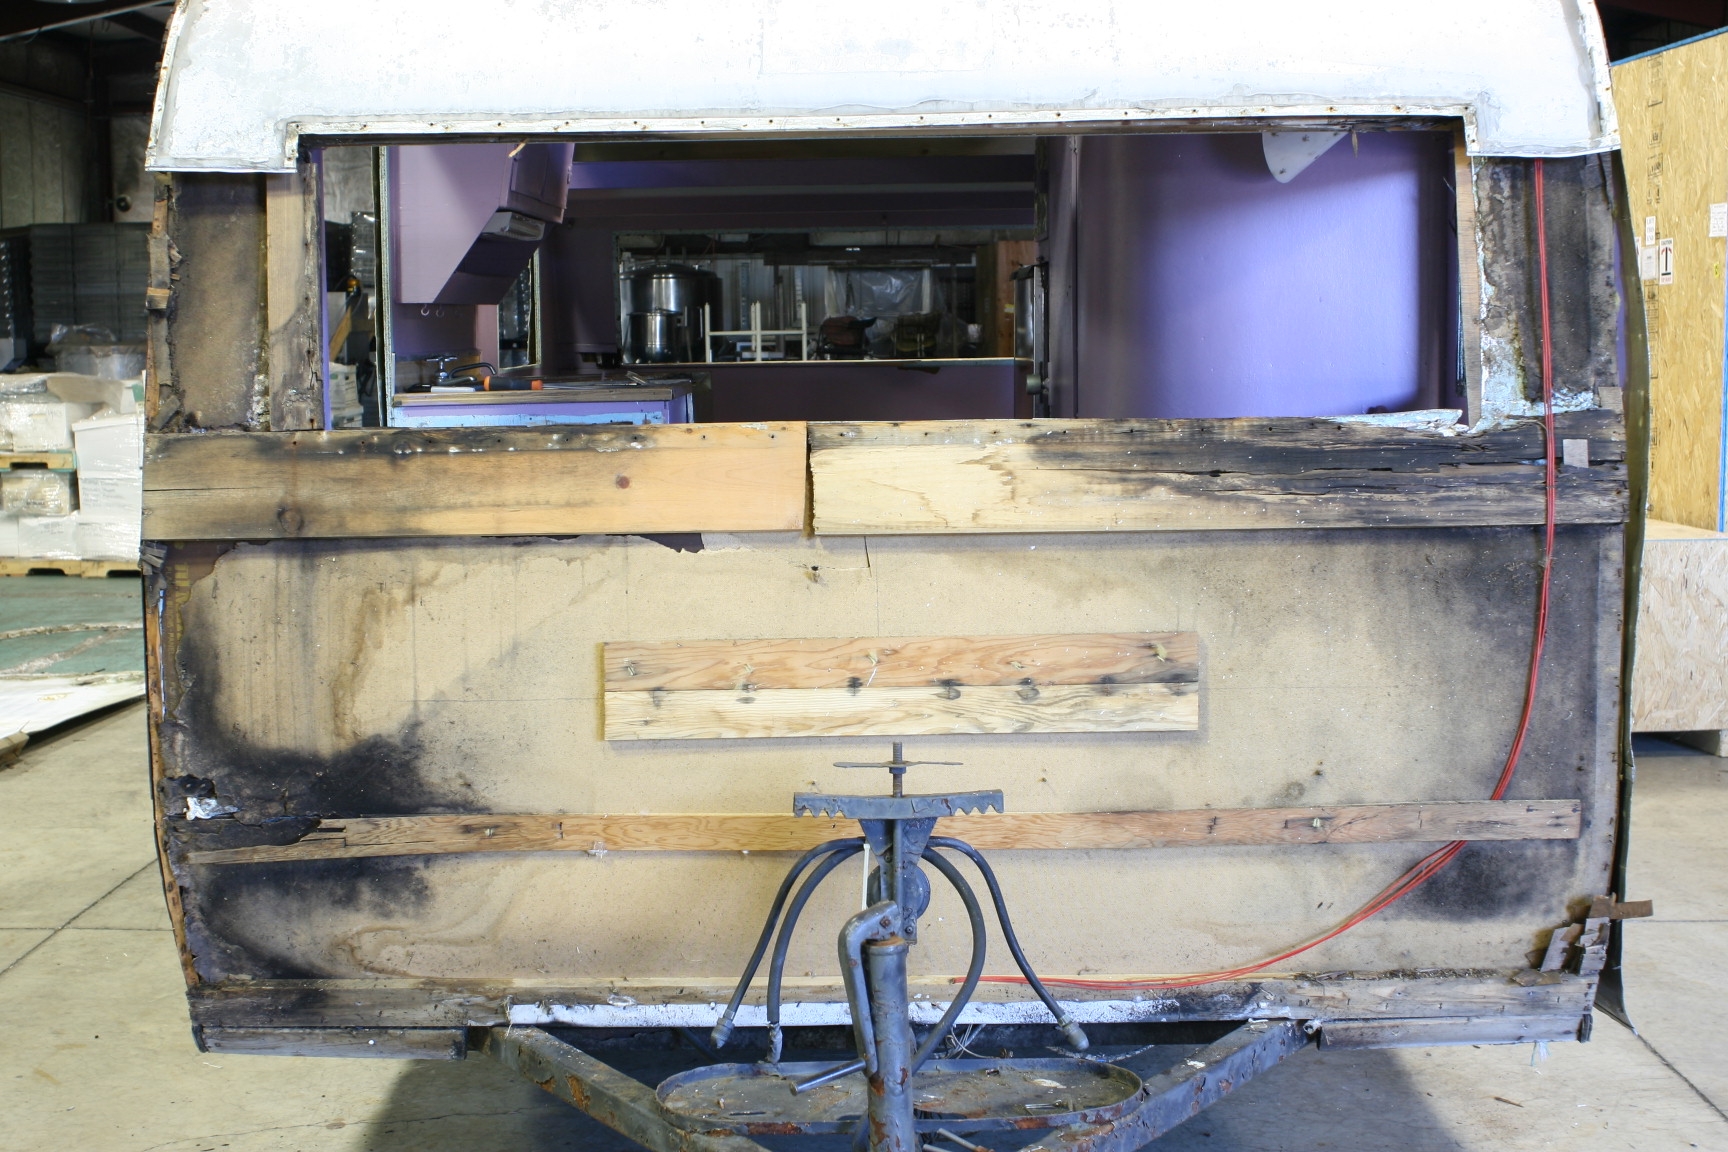
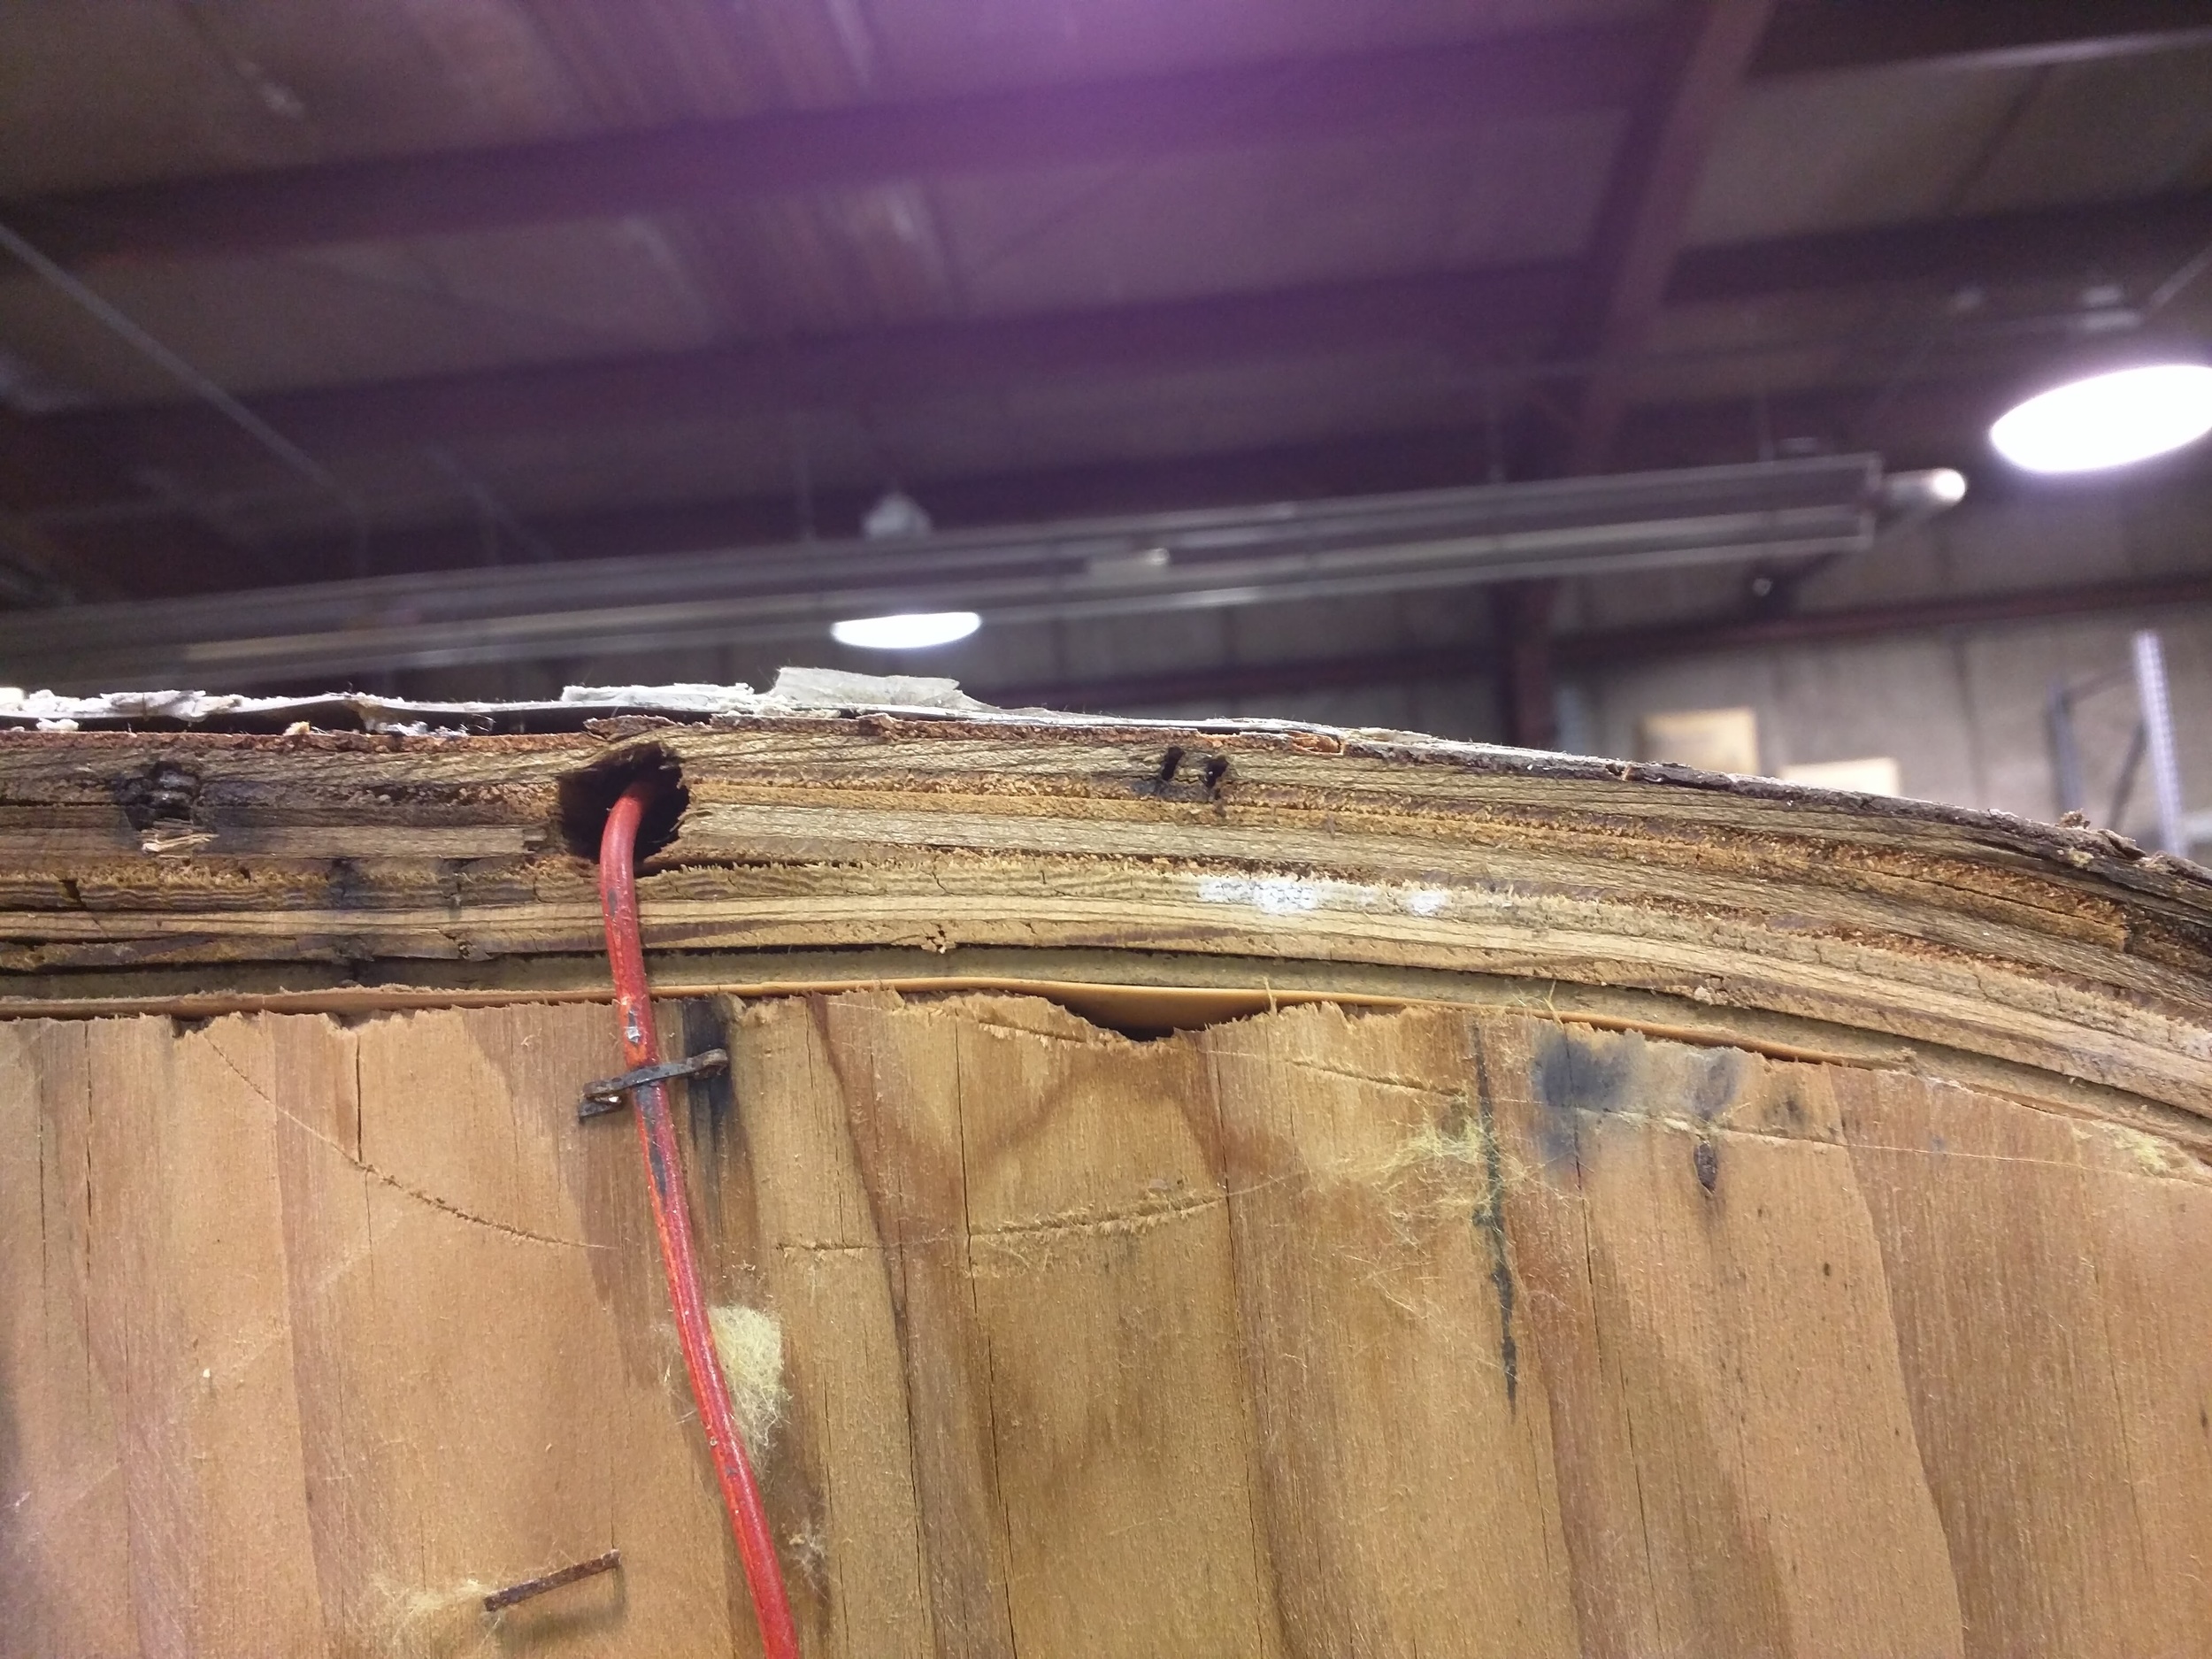
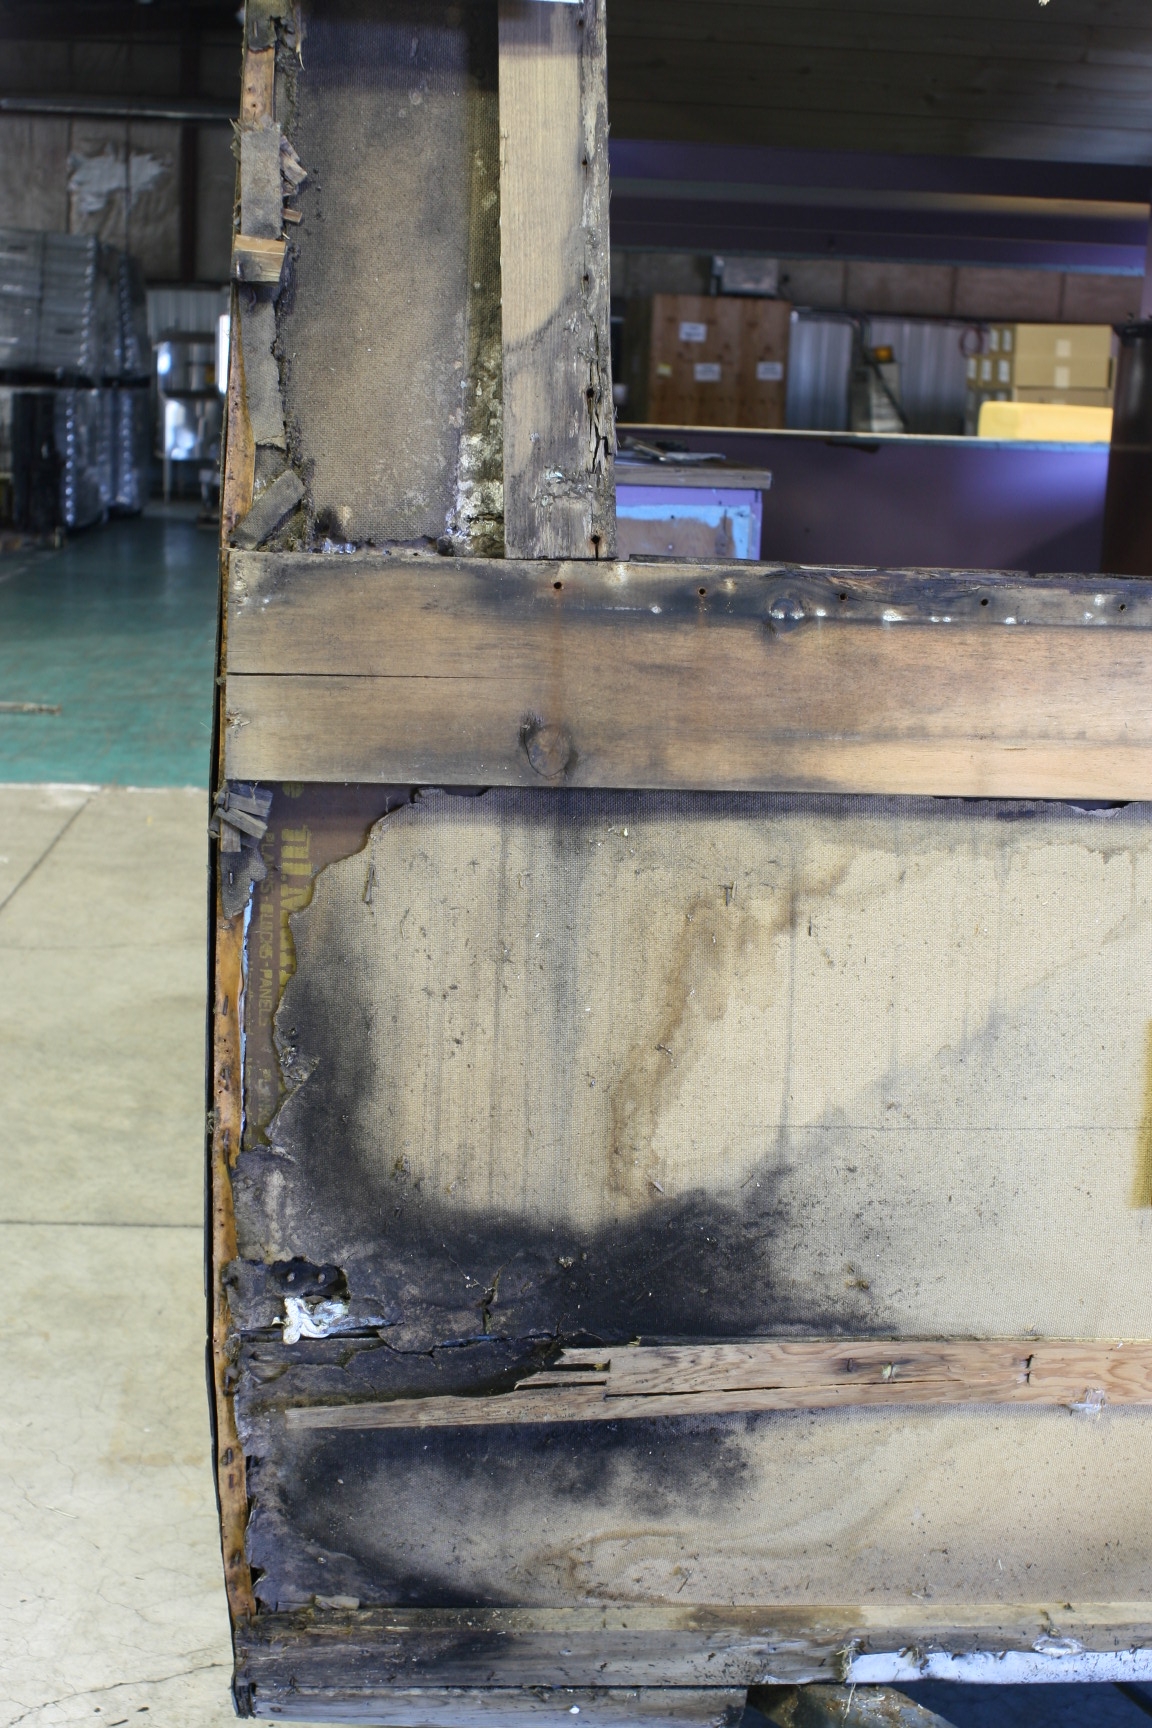
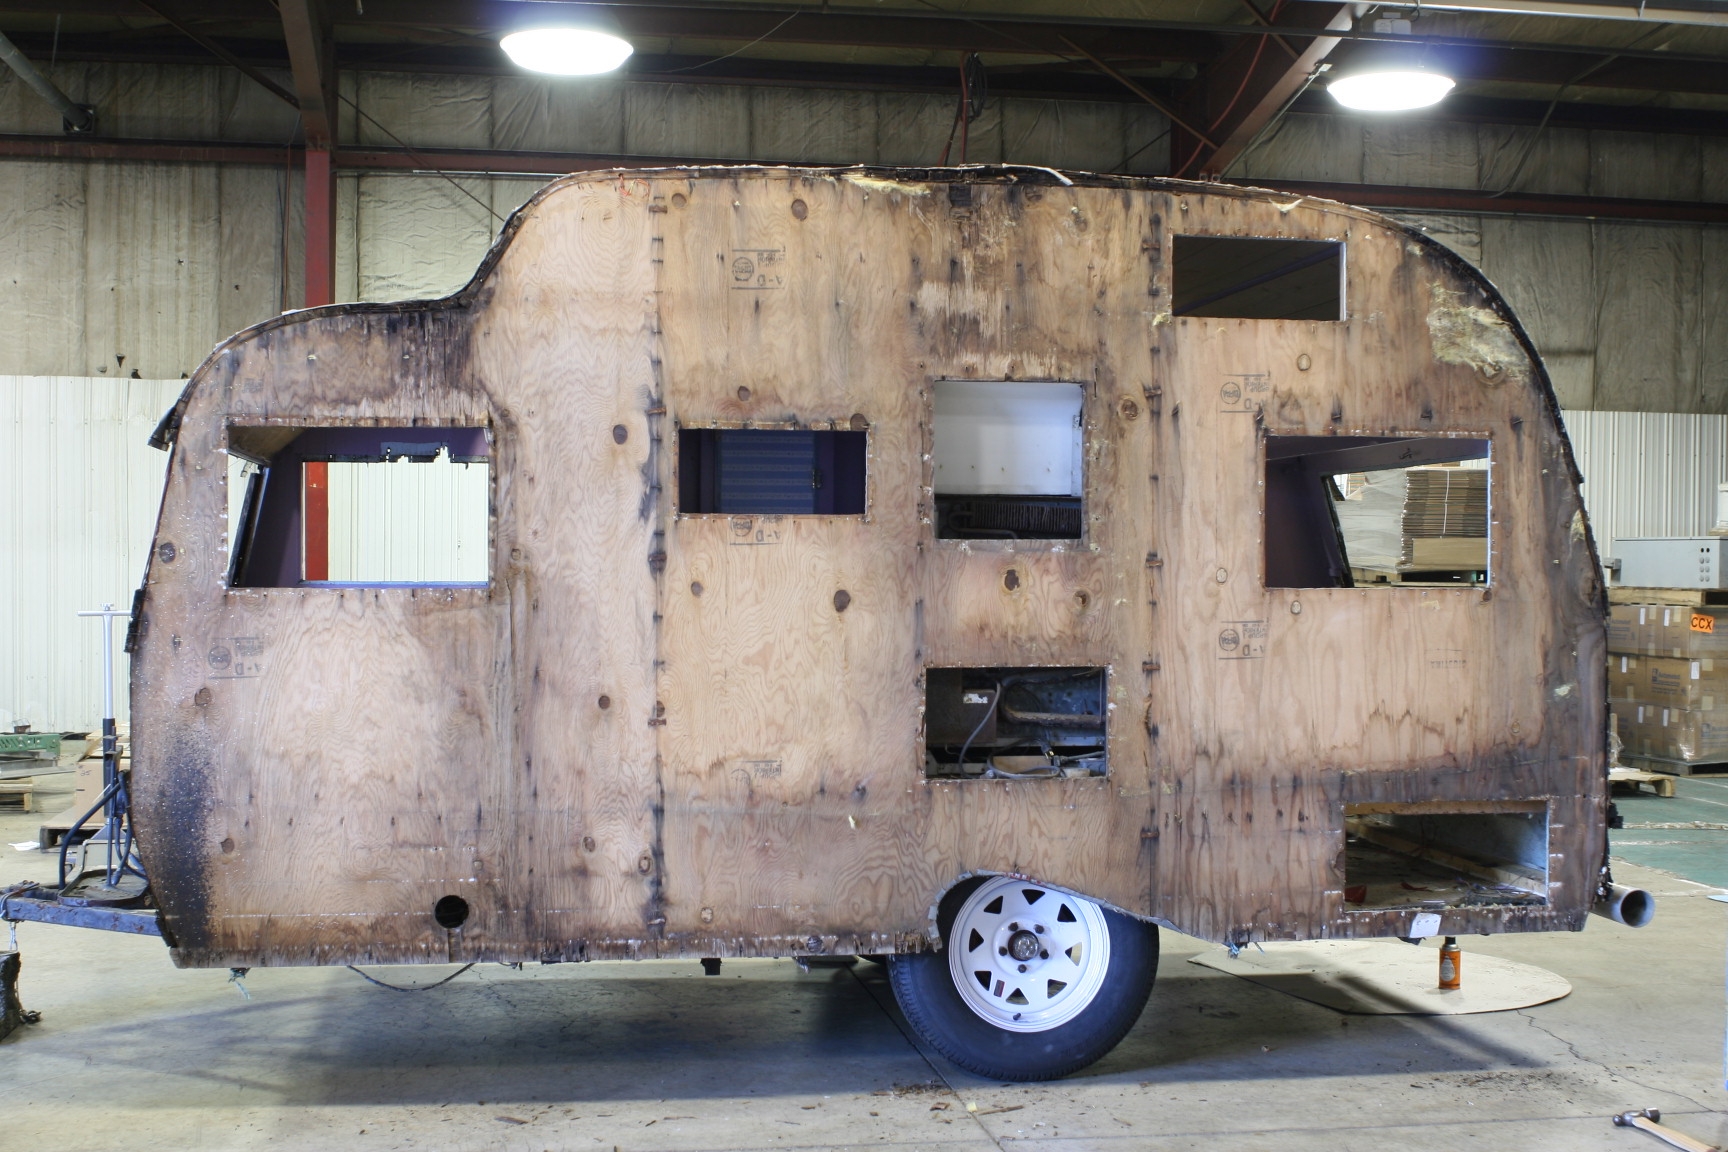
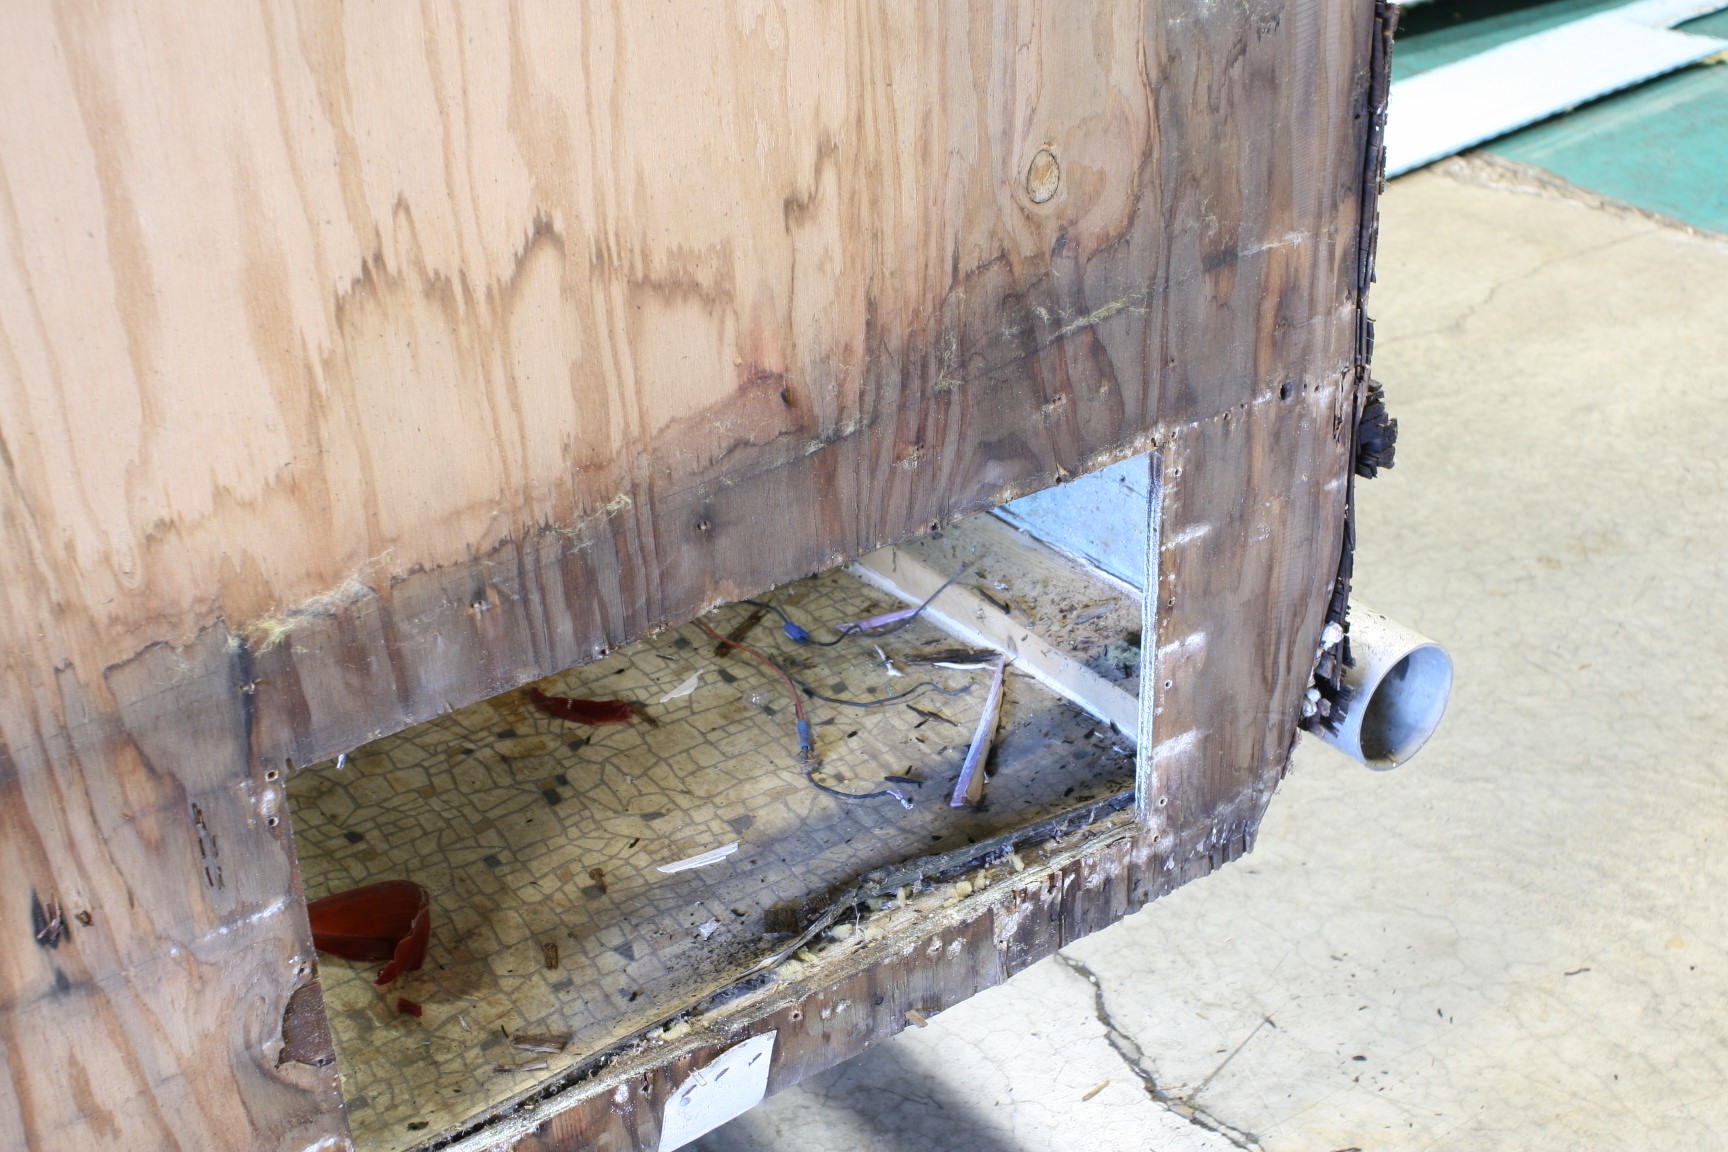
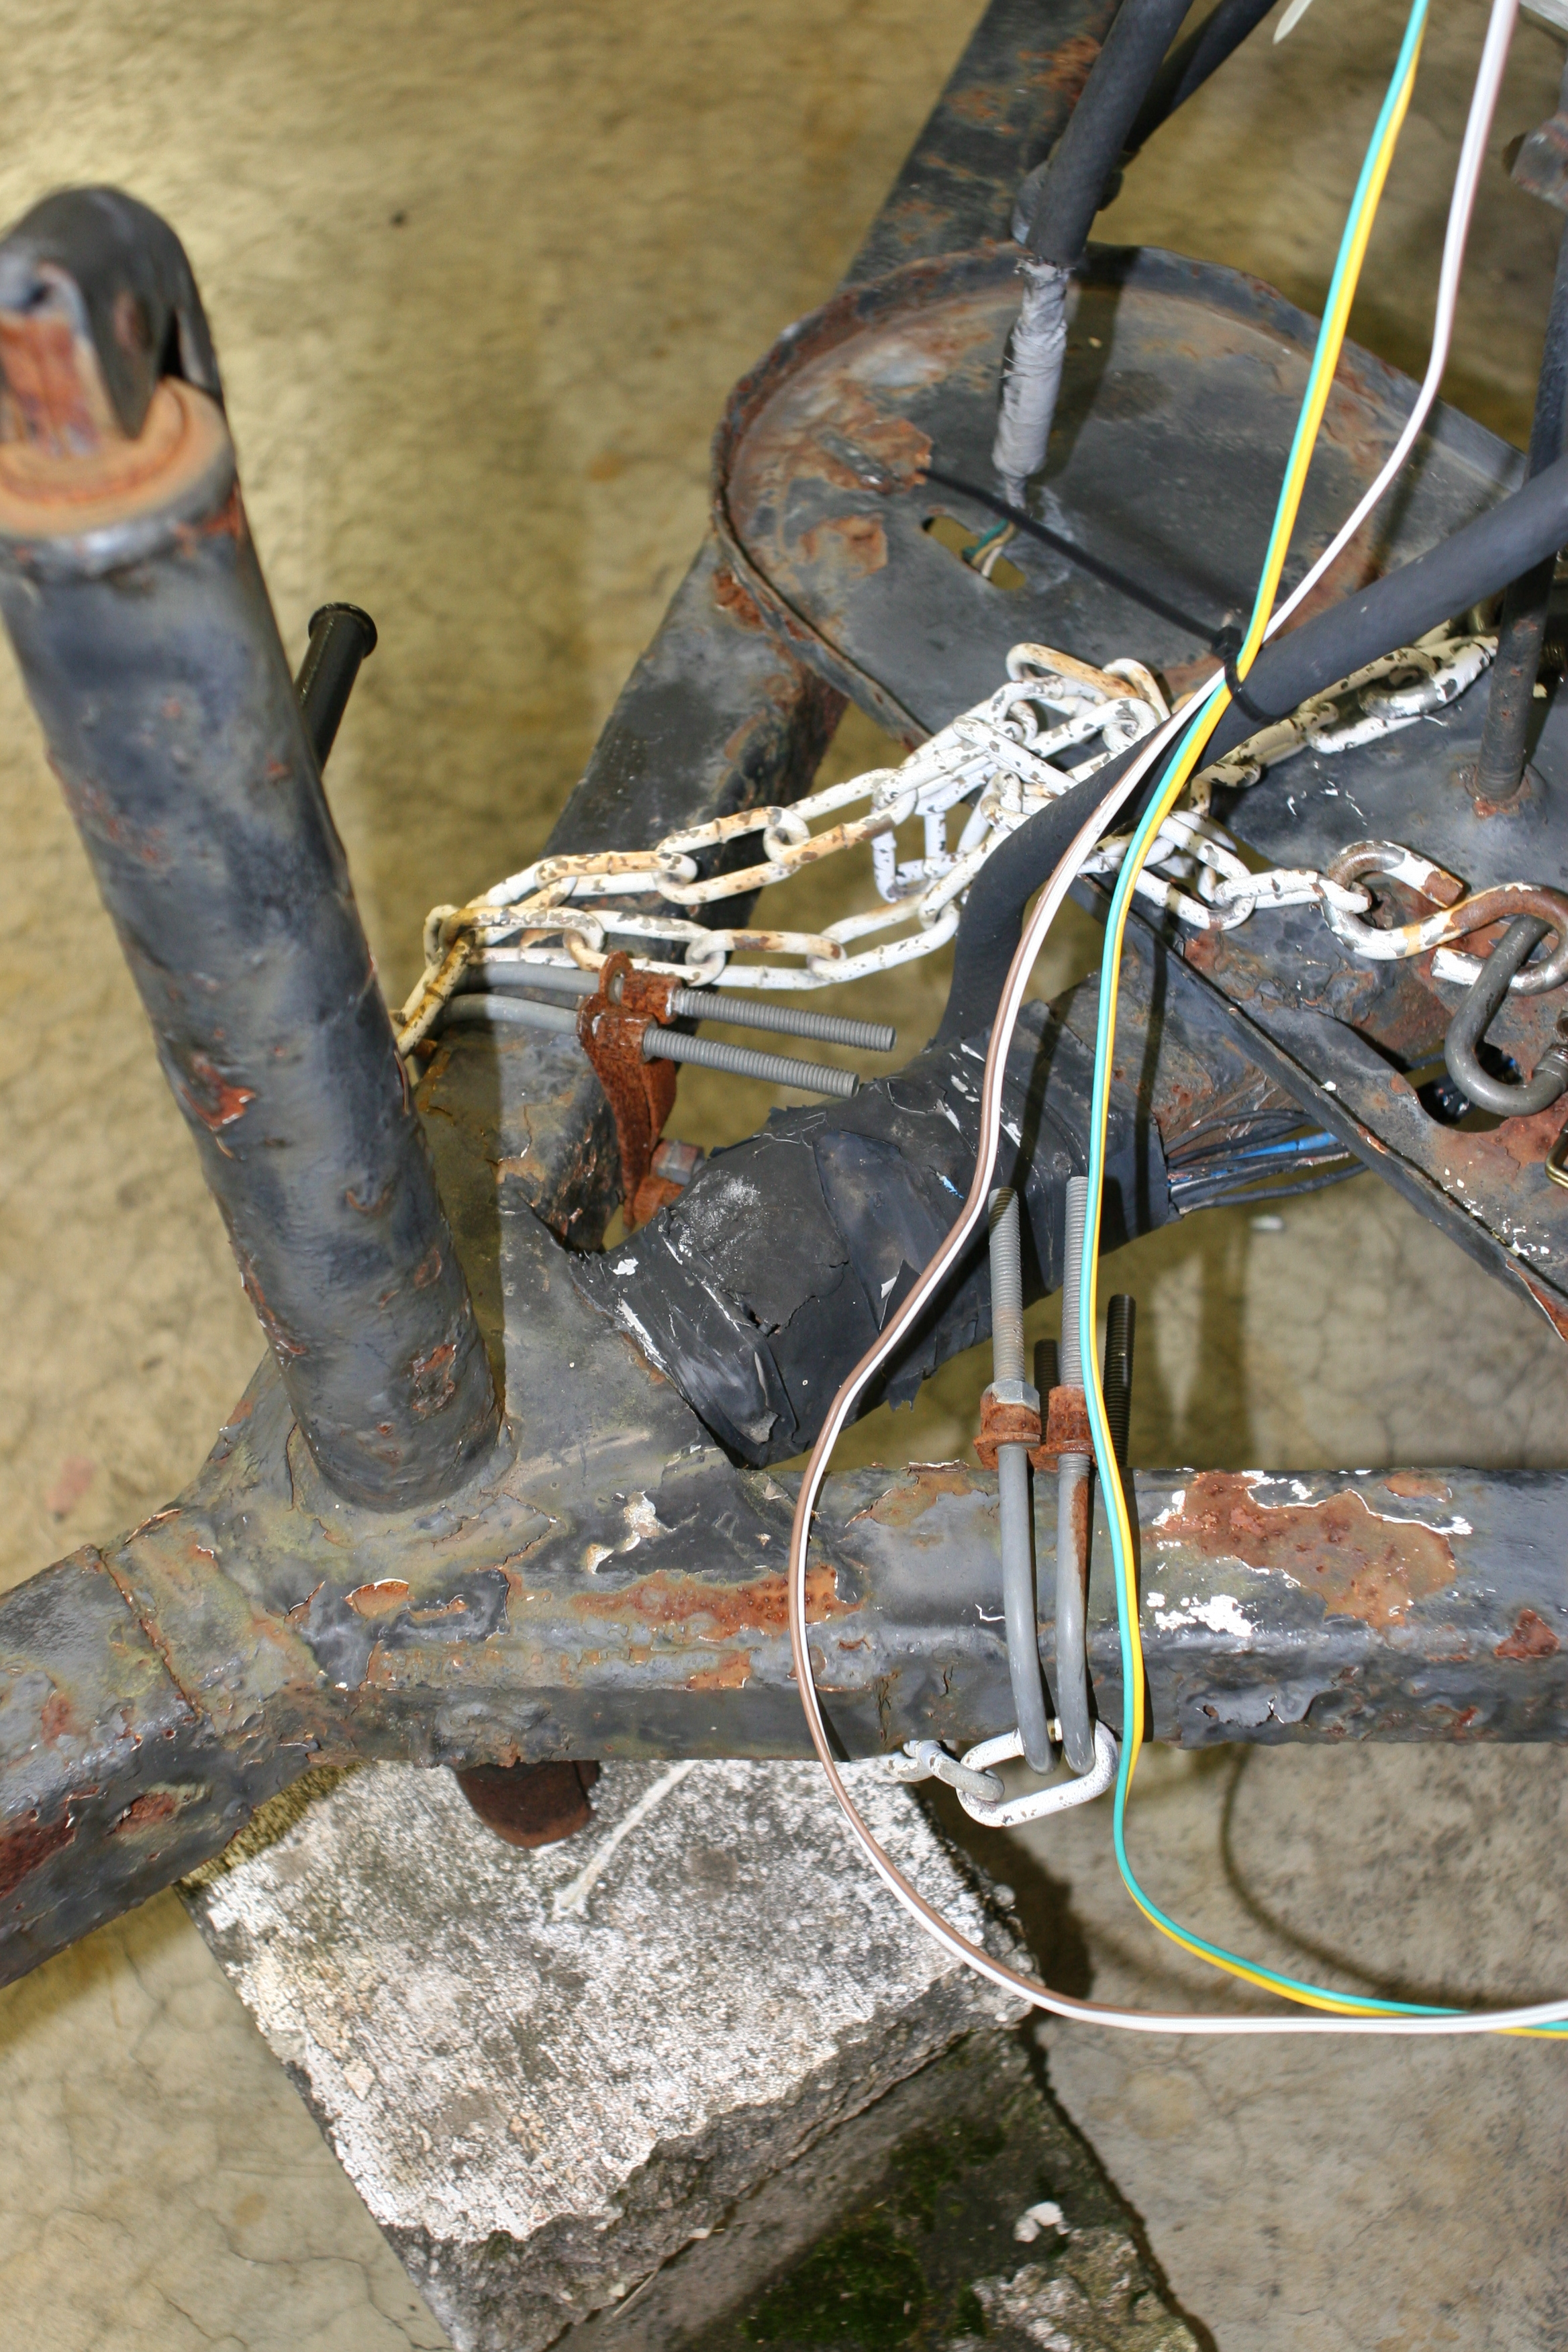
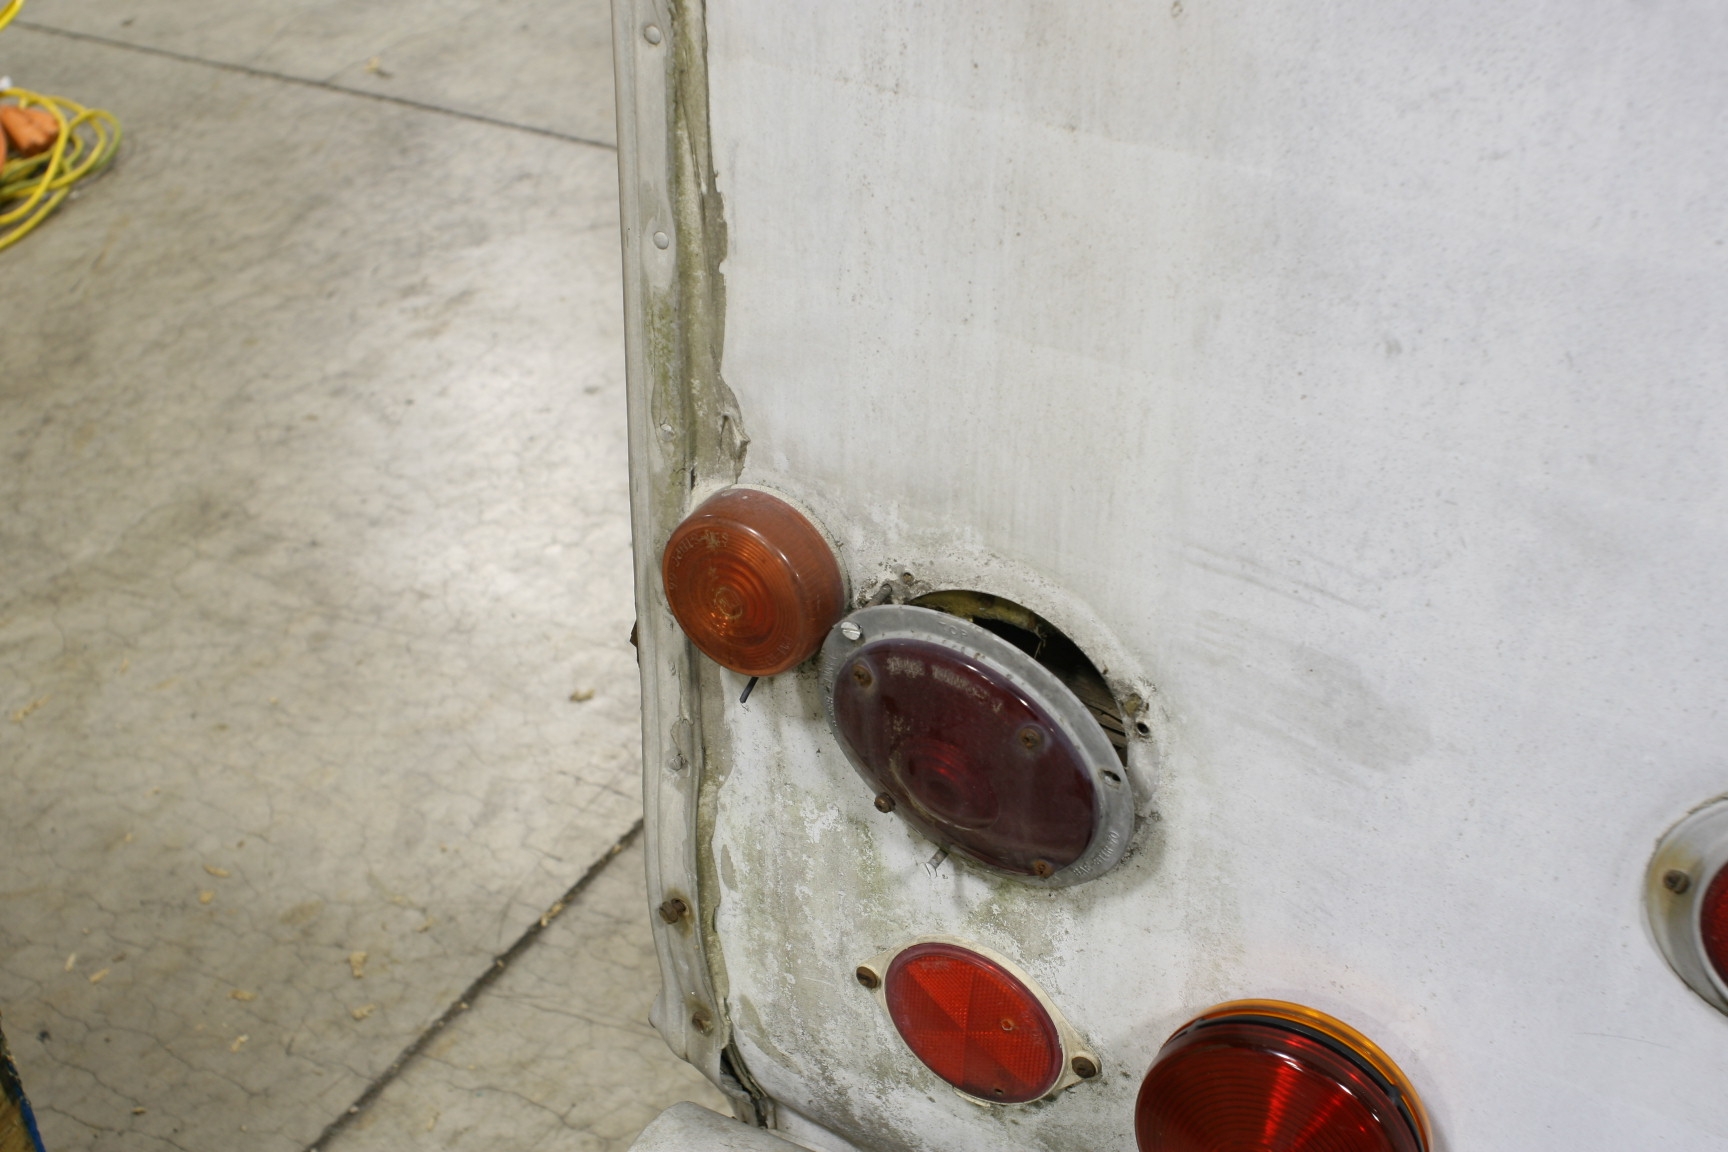
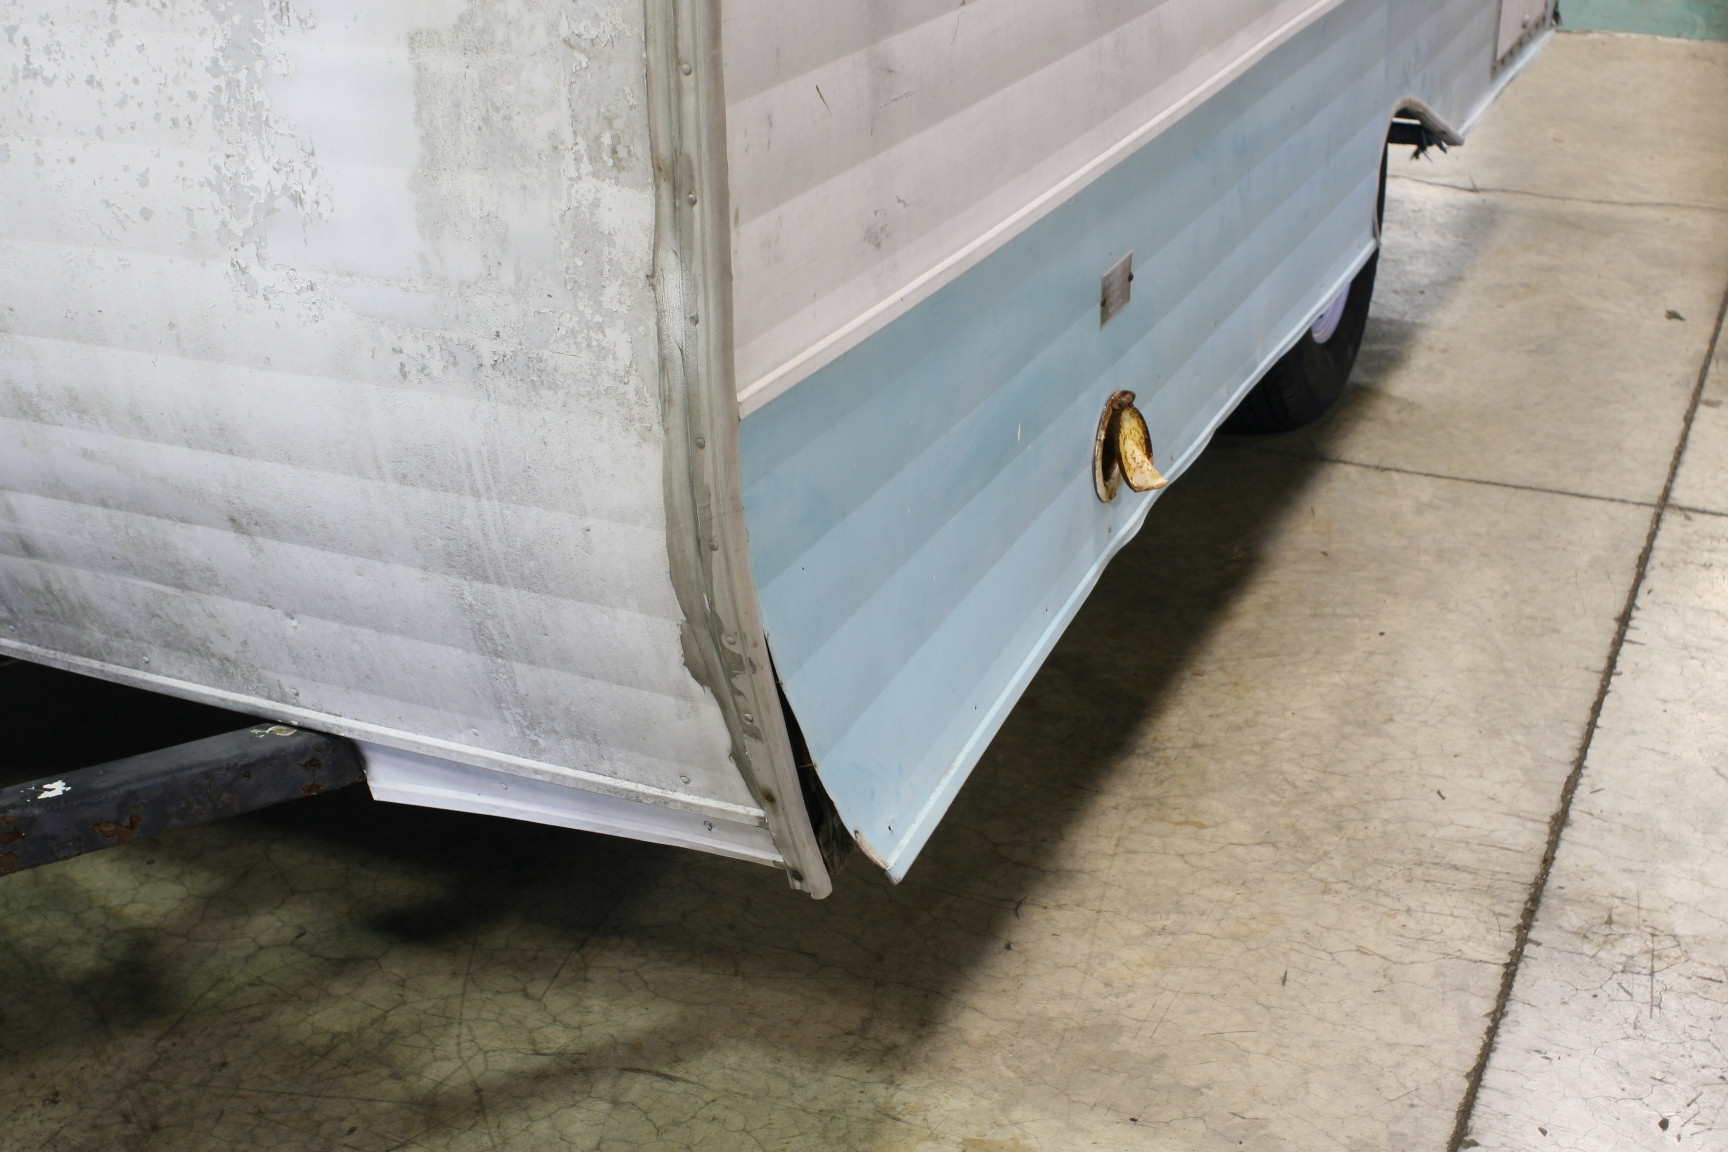
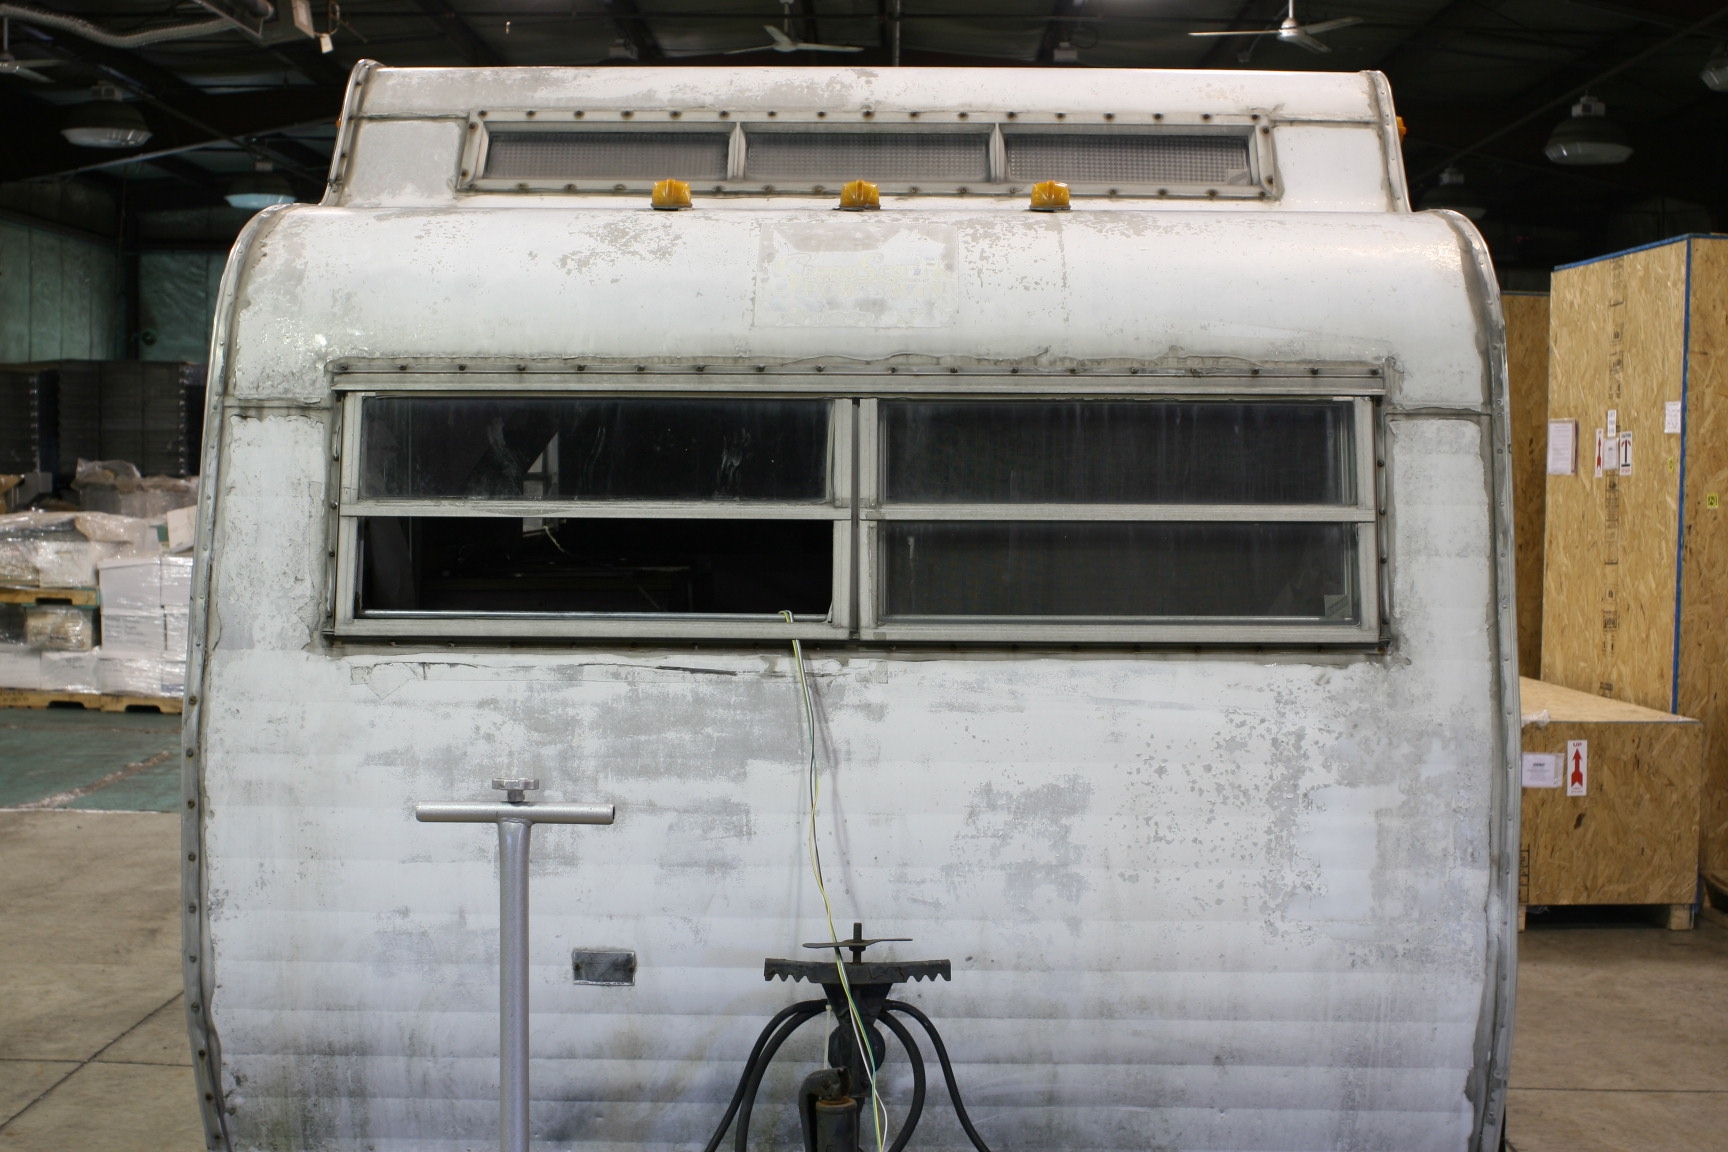
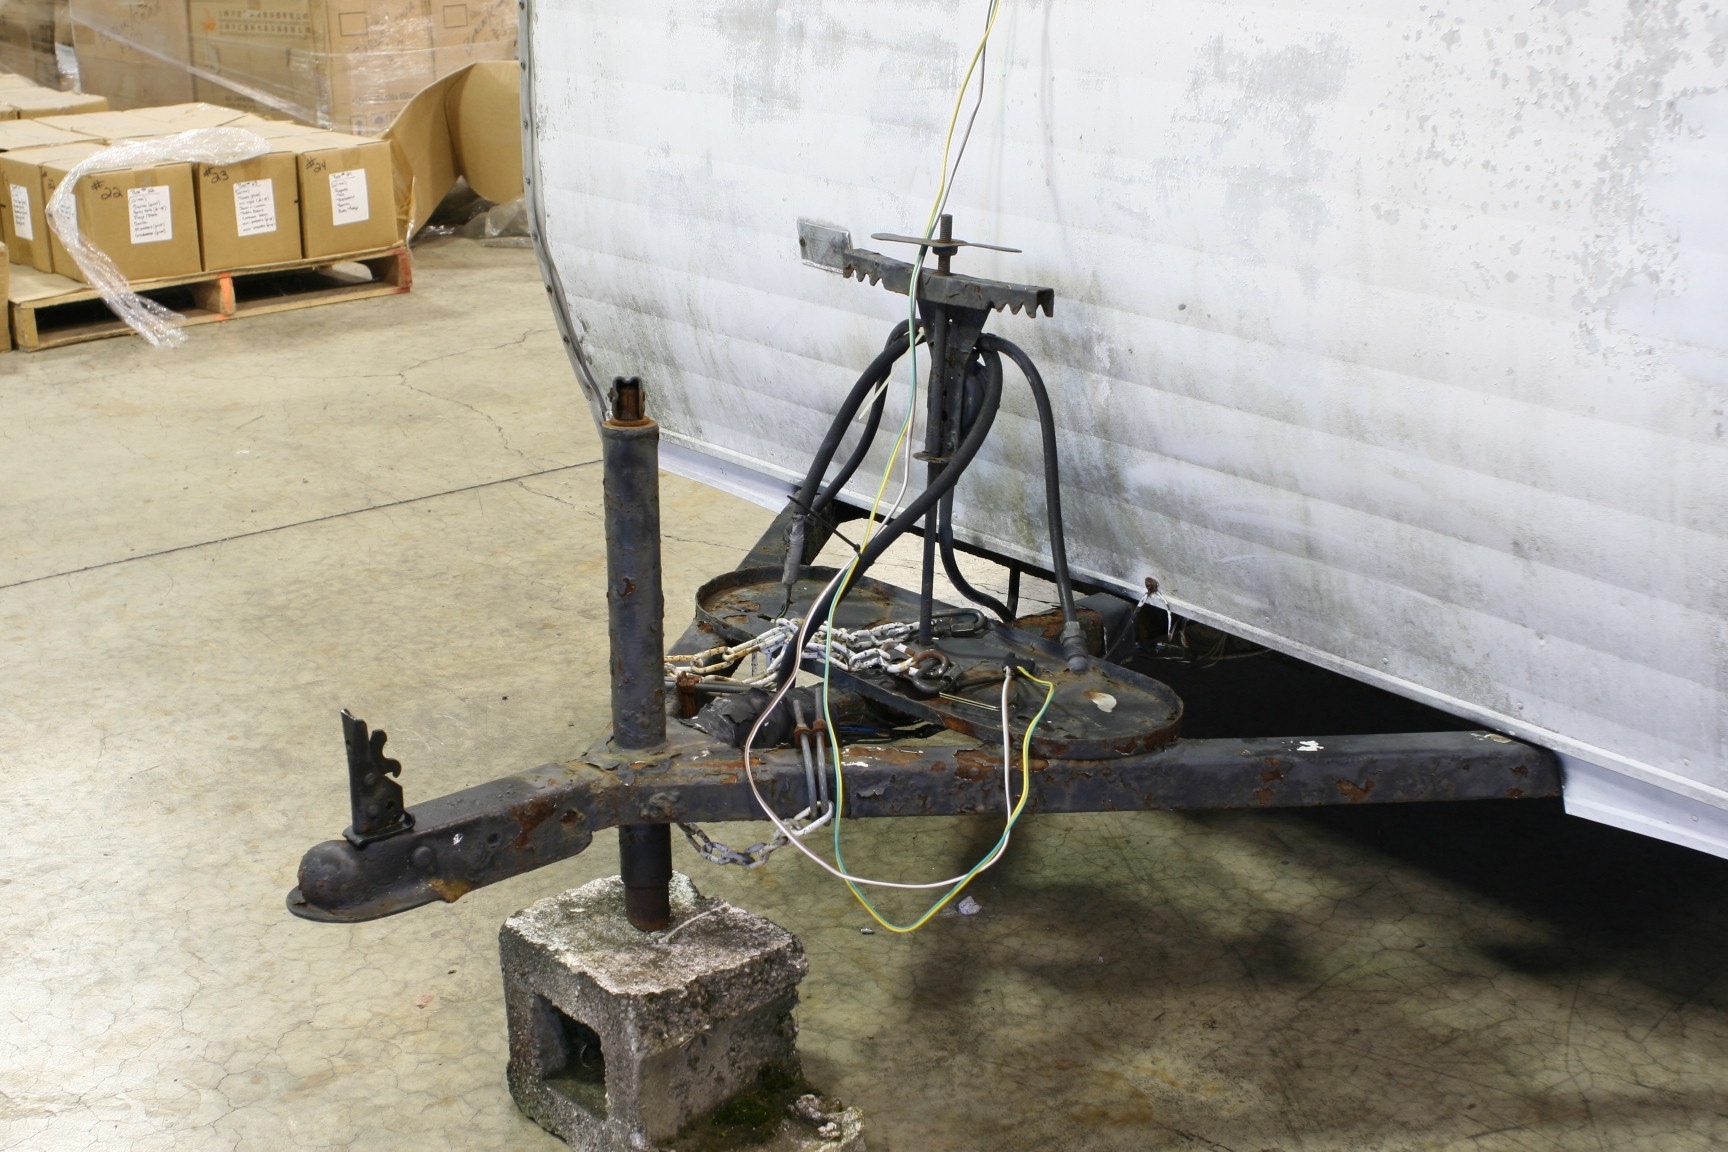
Anyway, here's a pic of some results from it's use.