Cleaning up and restoring the foundation
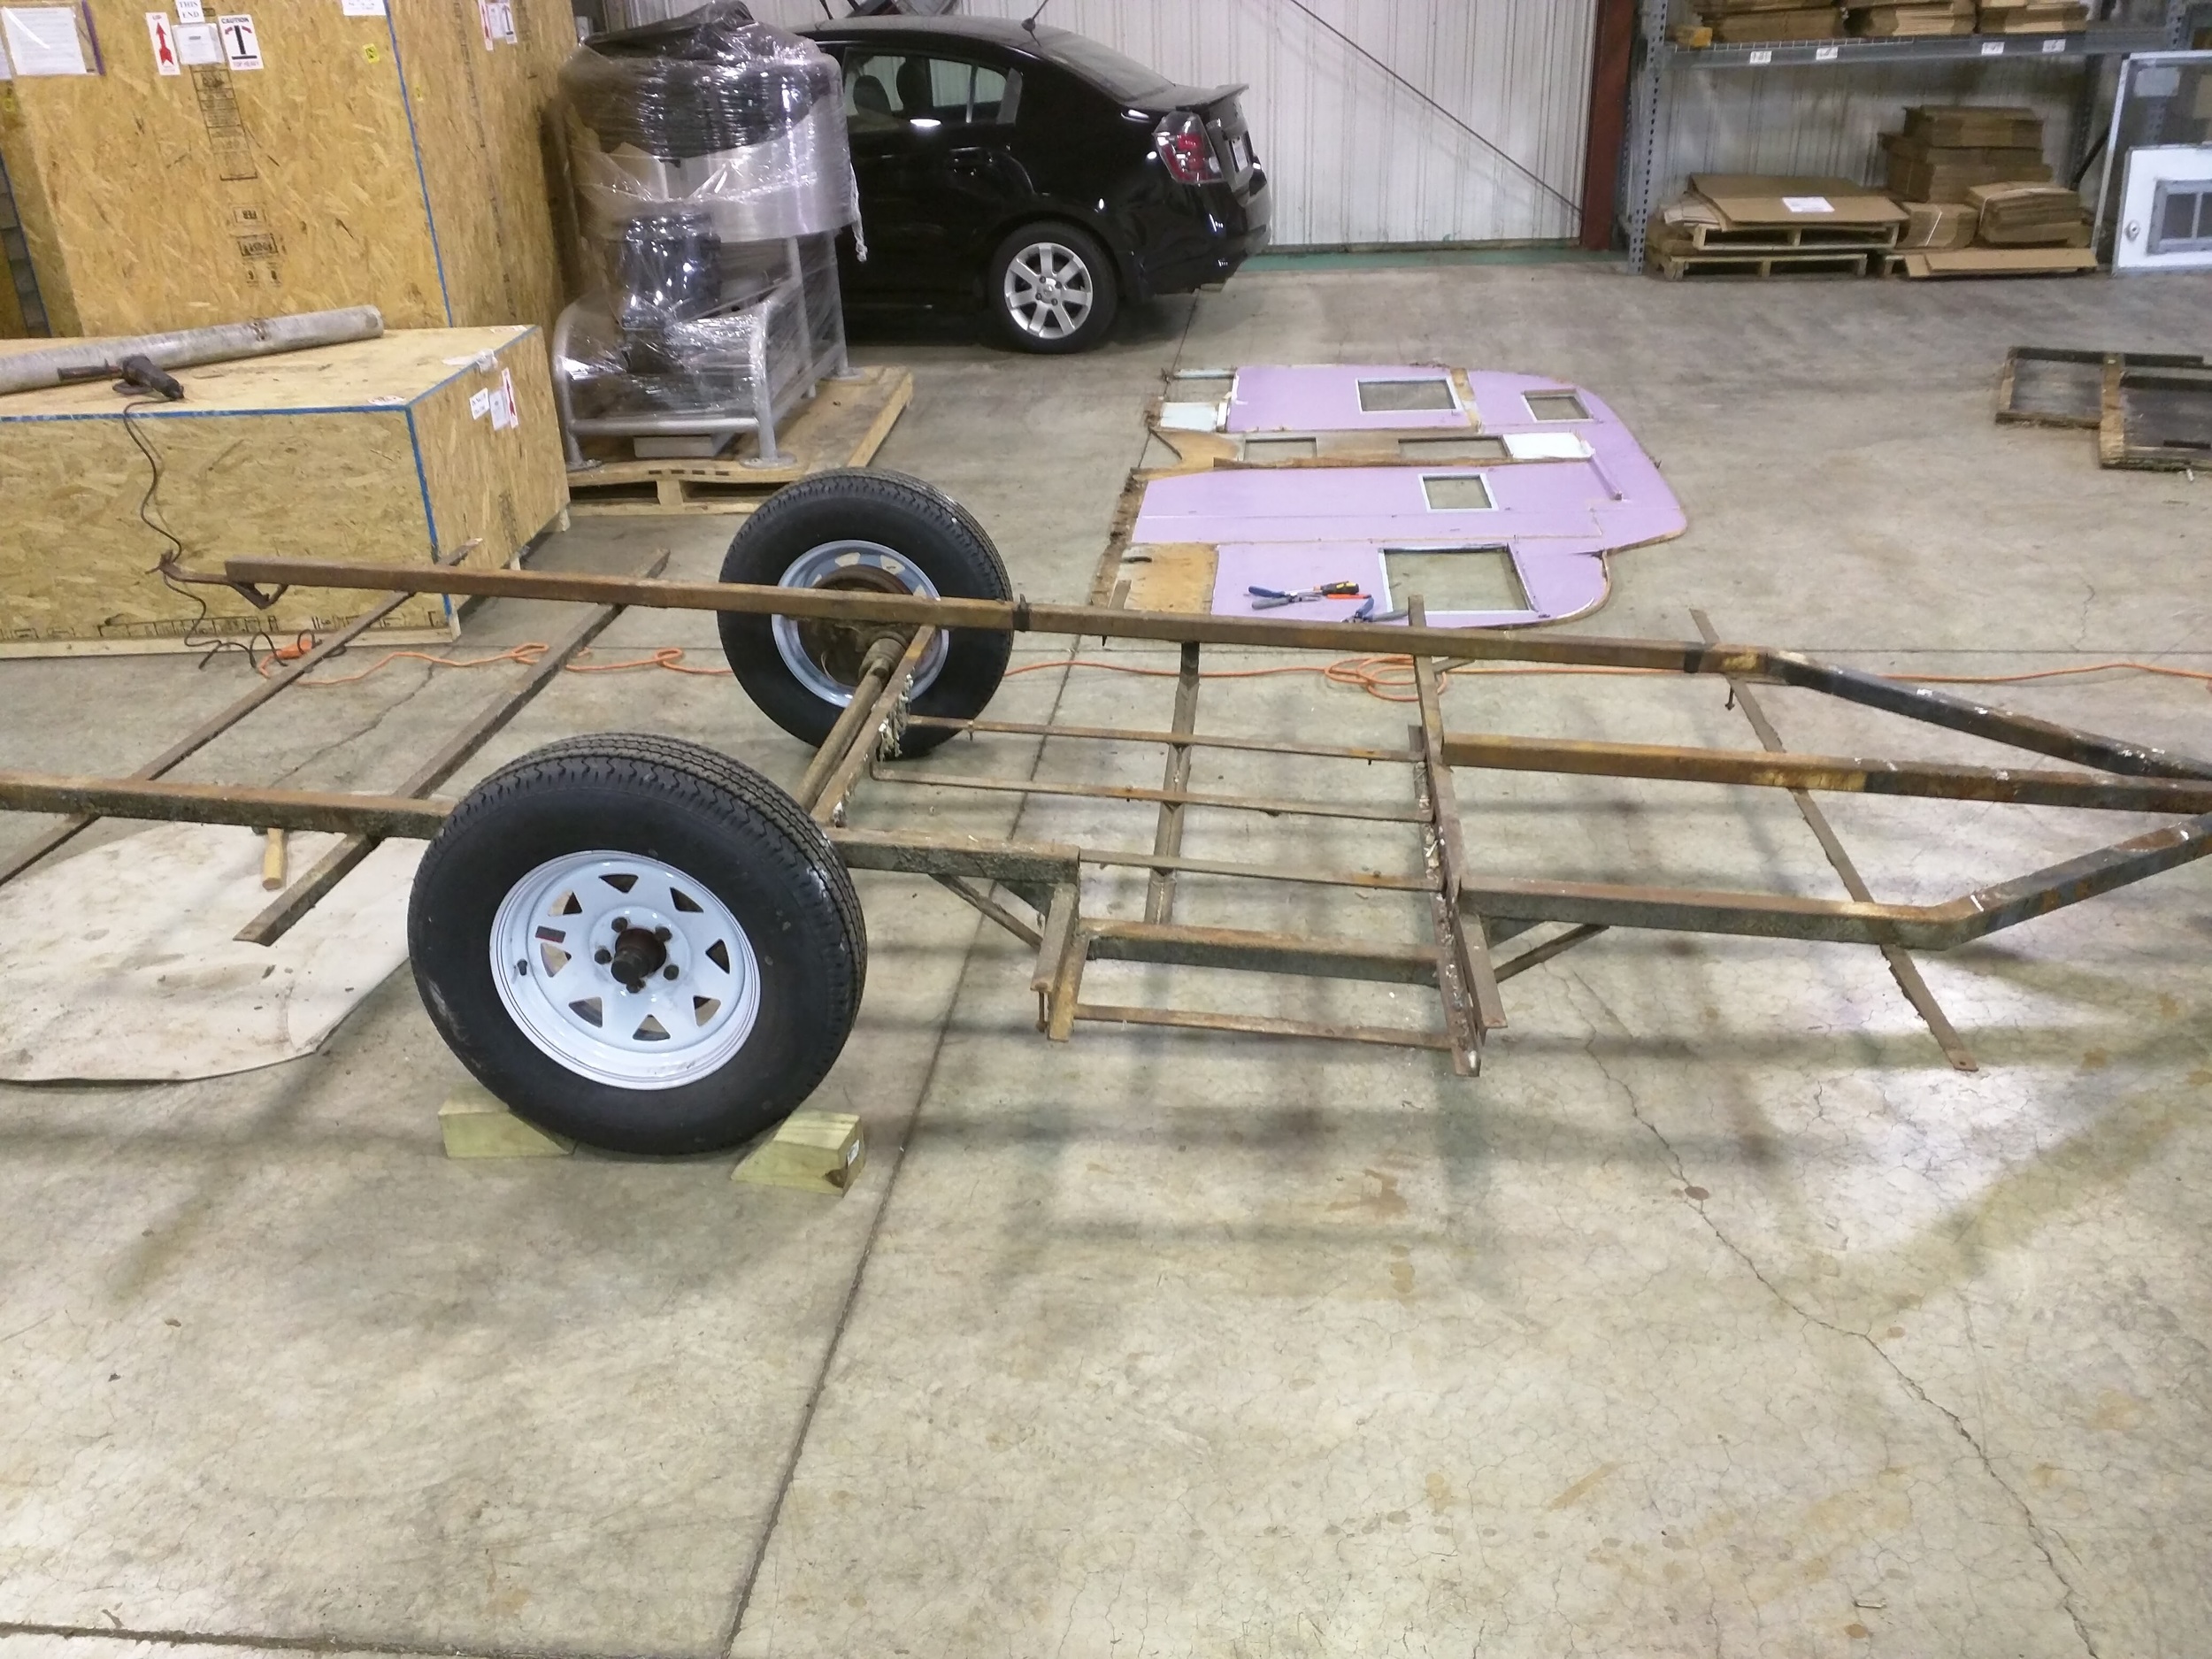
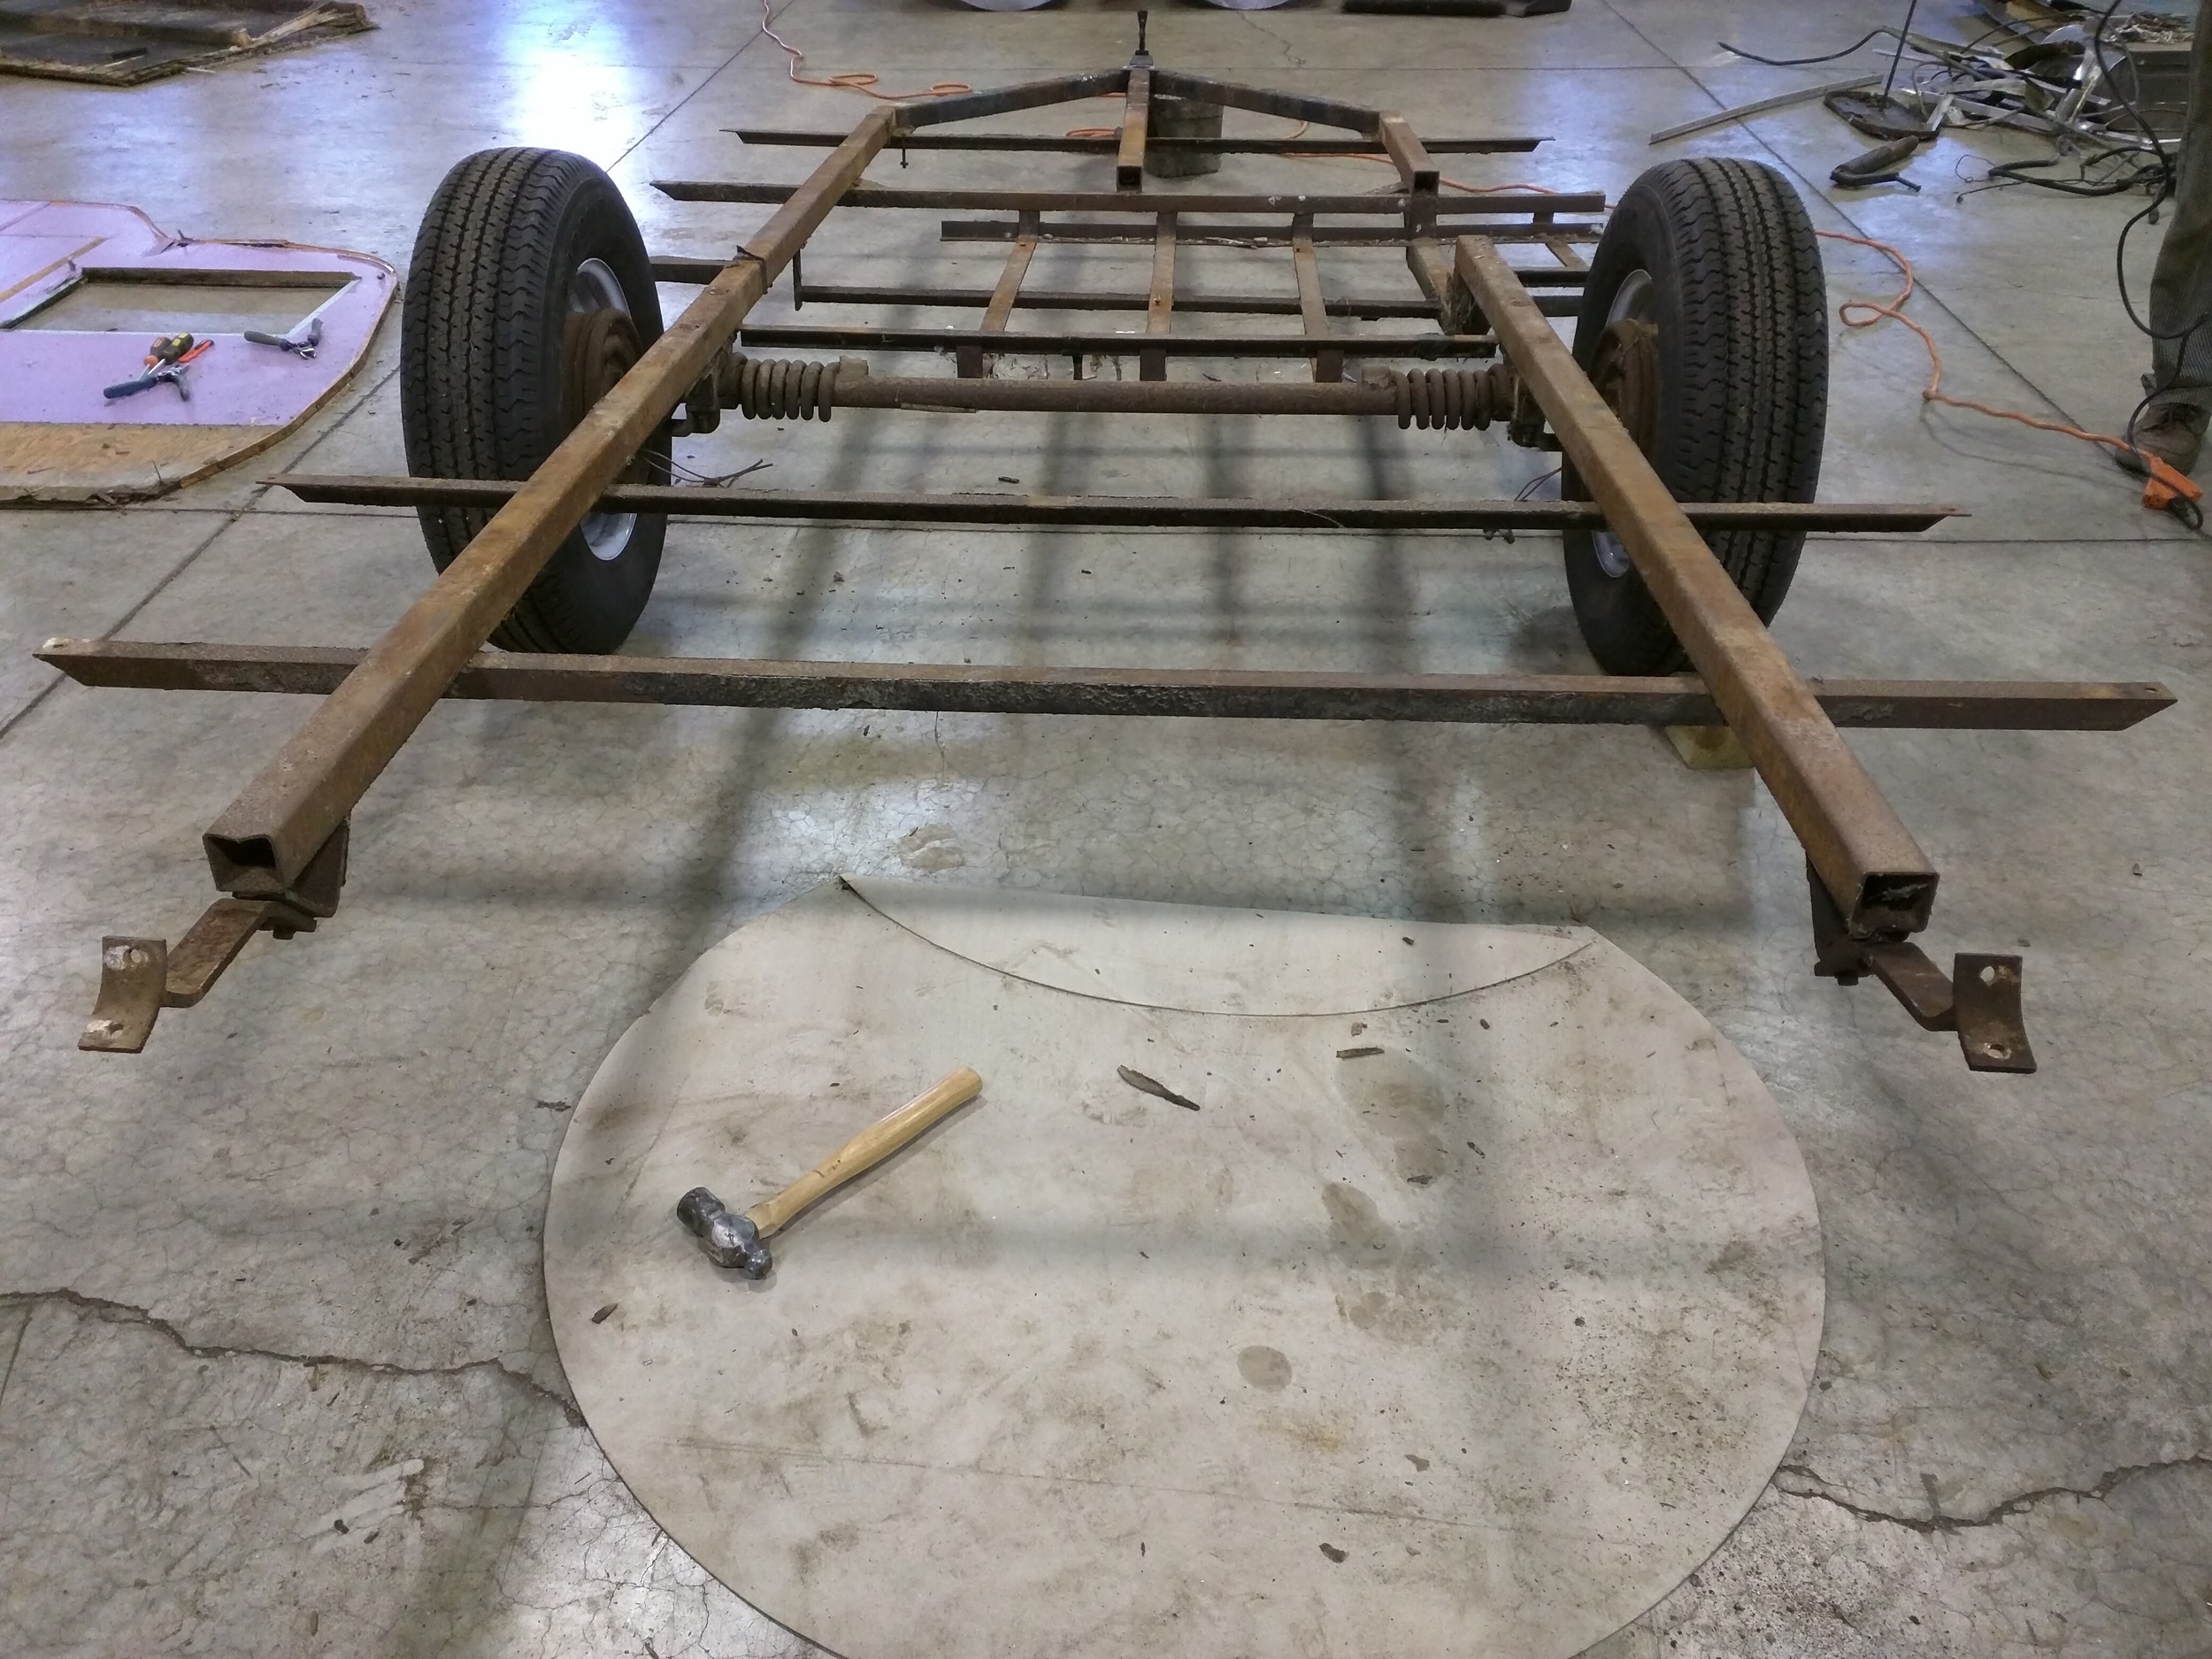
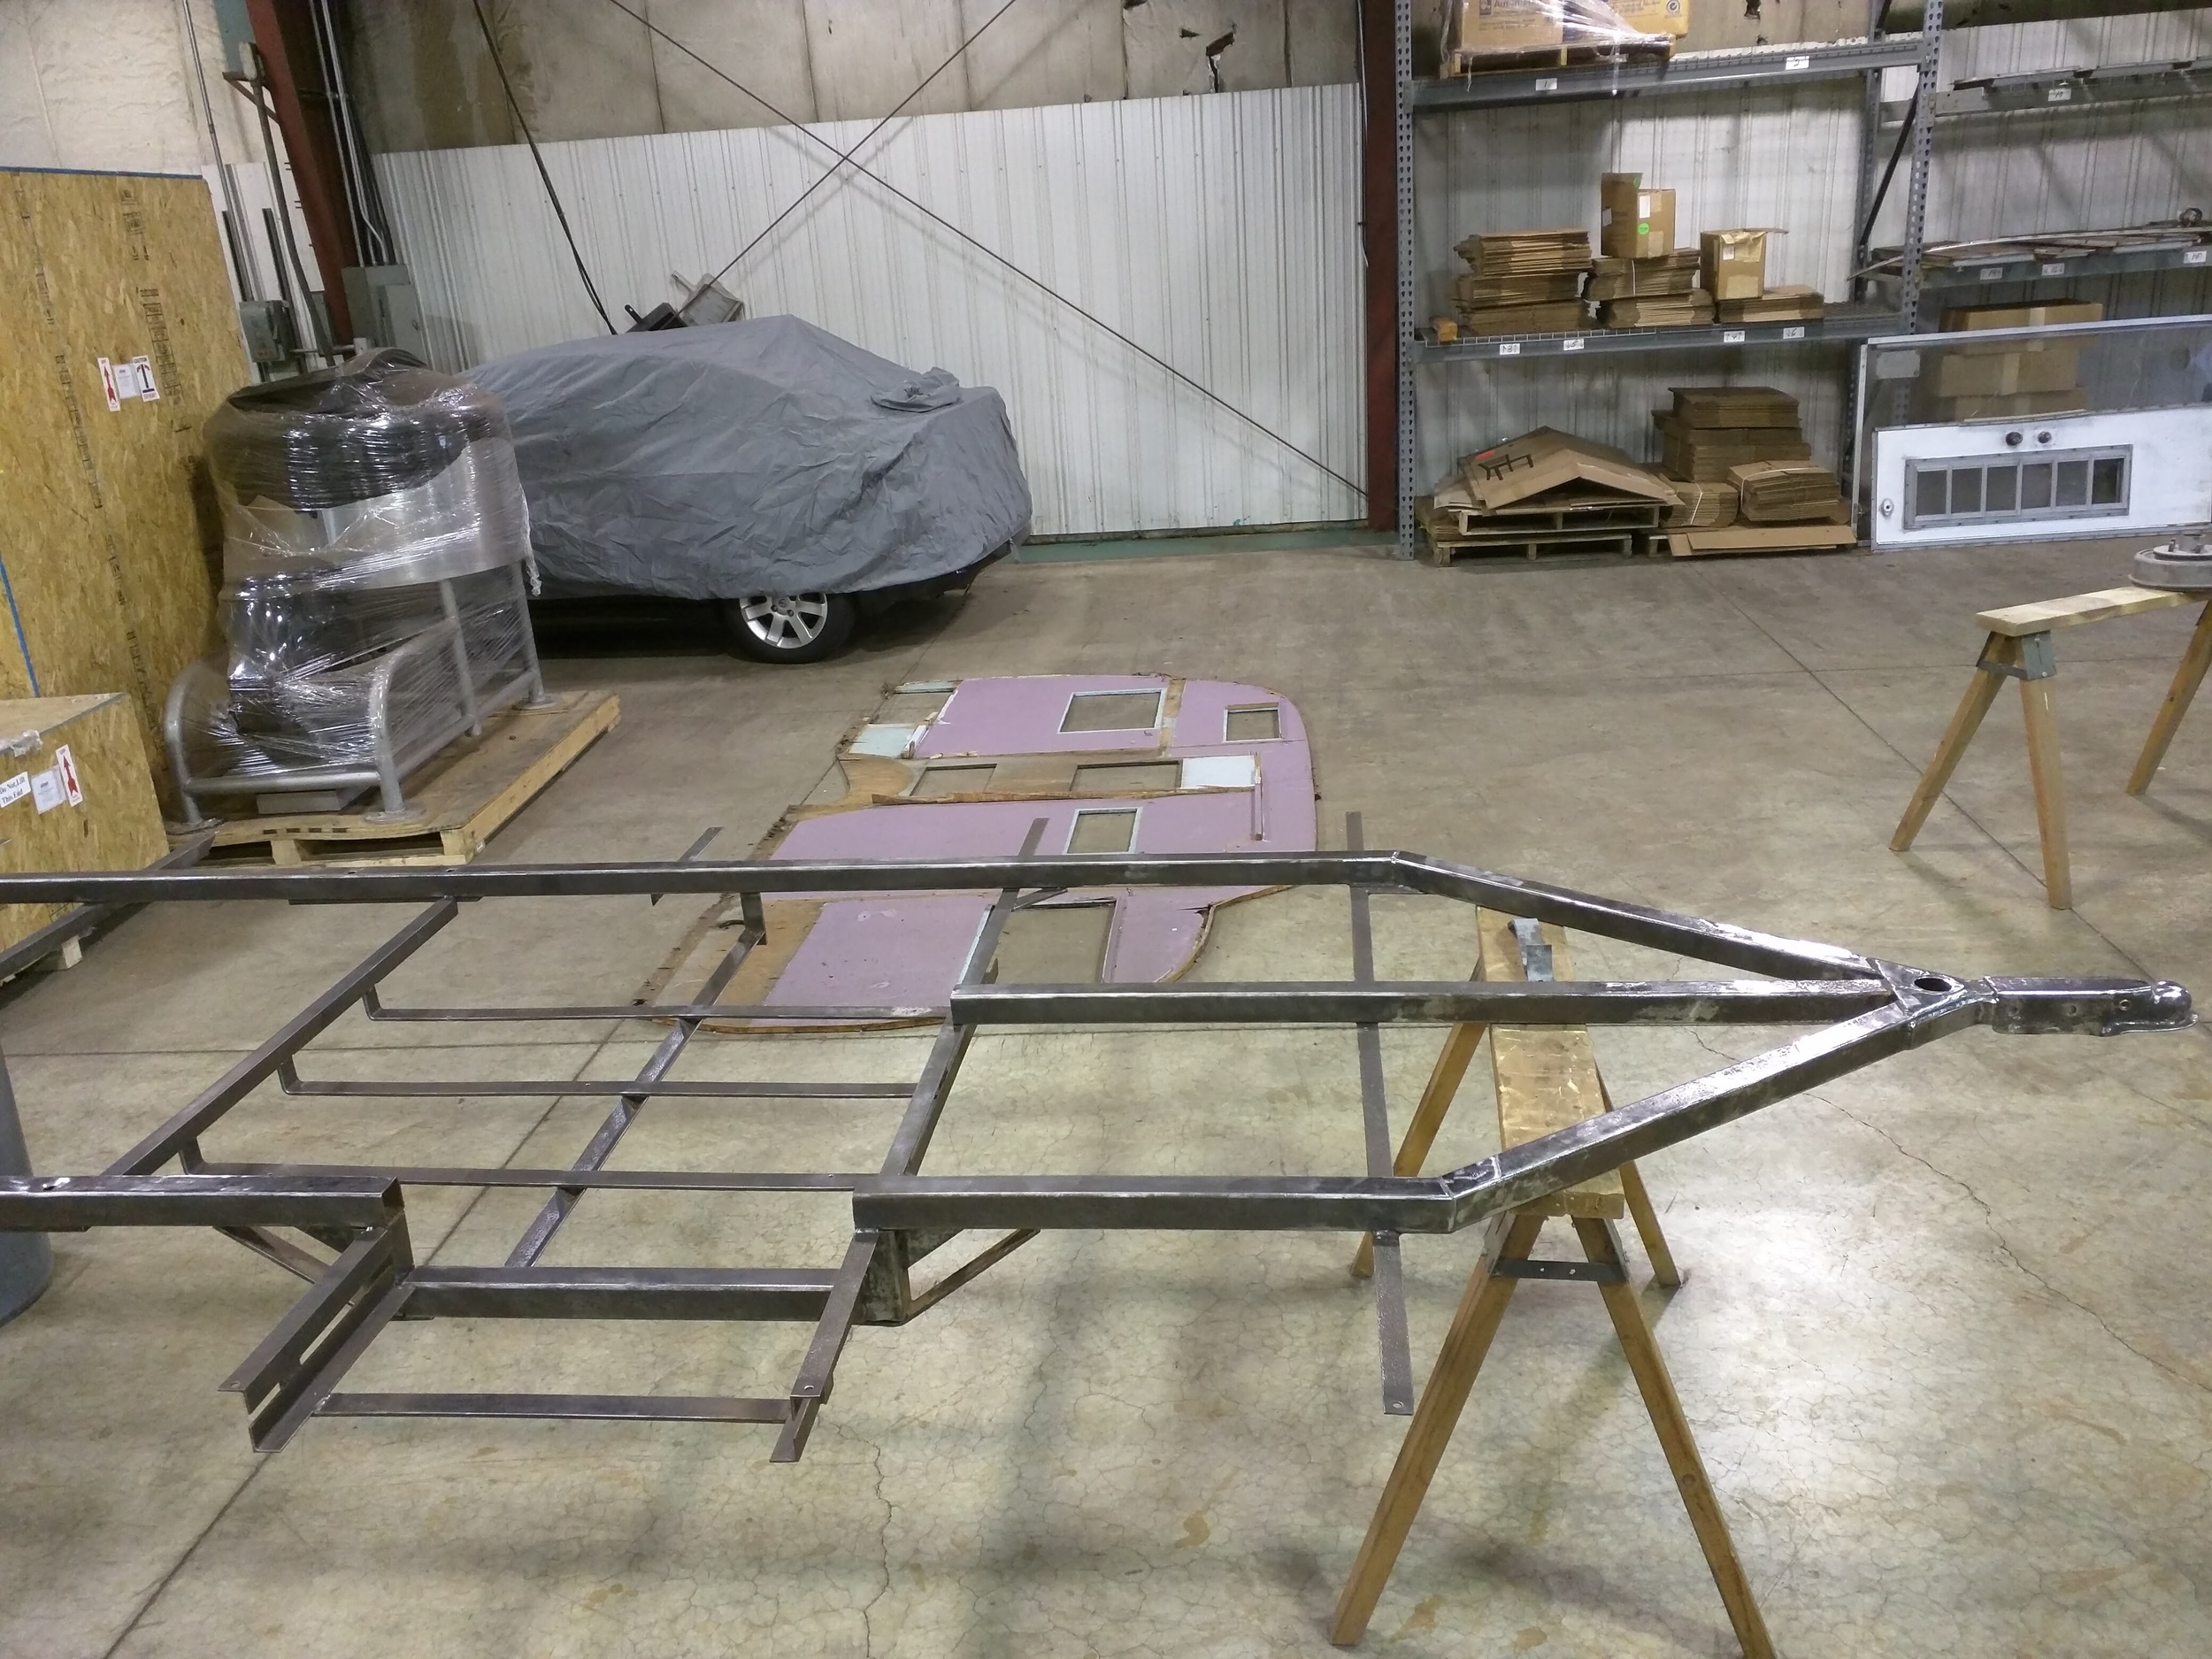
The trailer frame (minus the jack and tank pan)
In this gallery, we'll follow the steps completed thus far on the restoration of the frame, axle, hubs, etc.

And it all comes down to this...
The trailer frame (minus the jack and tank pan)
In this gallery, we'll follow the steps completed thus far on the restoration of the frame, axle, hubs, etc.
Wow, doesn't look like much, how did this support the whole thing?
A-OK, check!
A-OK, check!
The frame is pretty rusty, but it did have some kind of undercoating on it, which I think helped keep it from being worse.
We snapped a couple bolts on here, so we resorted to grinding the rest off, Kroil didn't even help to loosen 'em up.
Gonna need a lot of clean up.
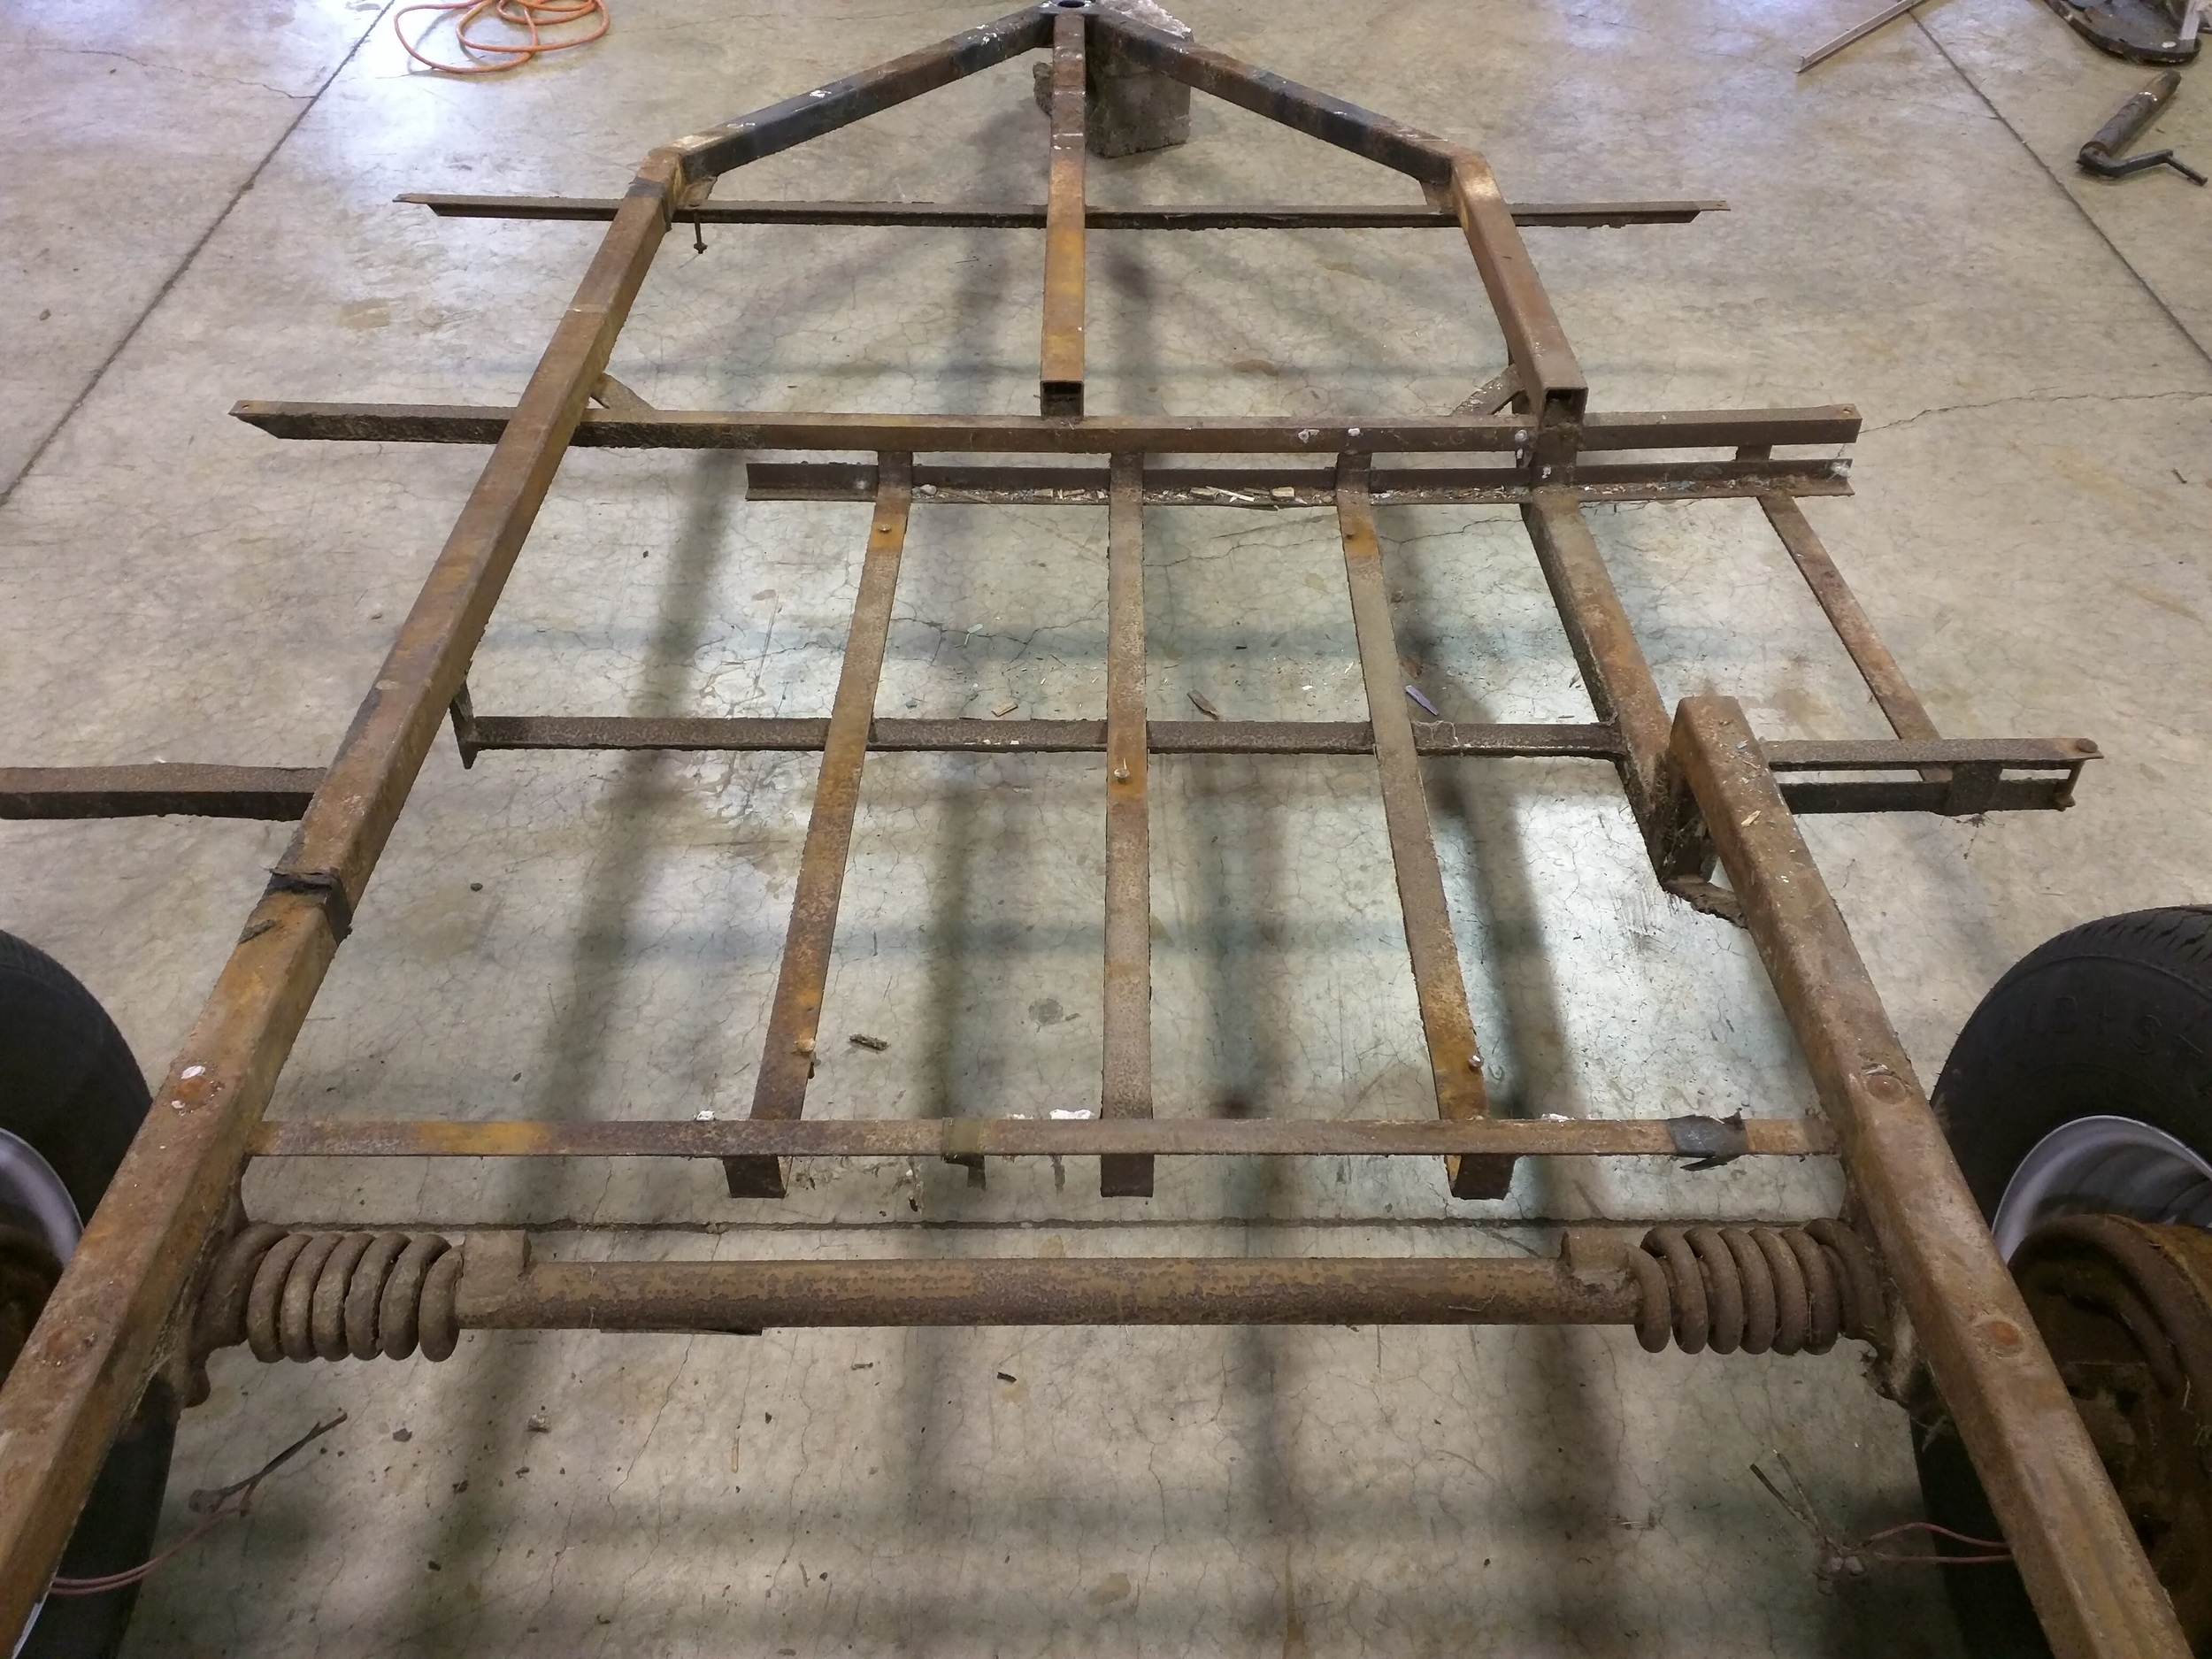
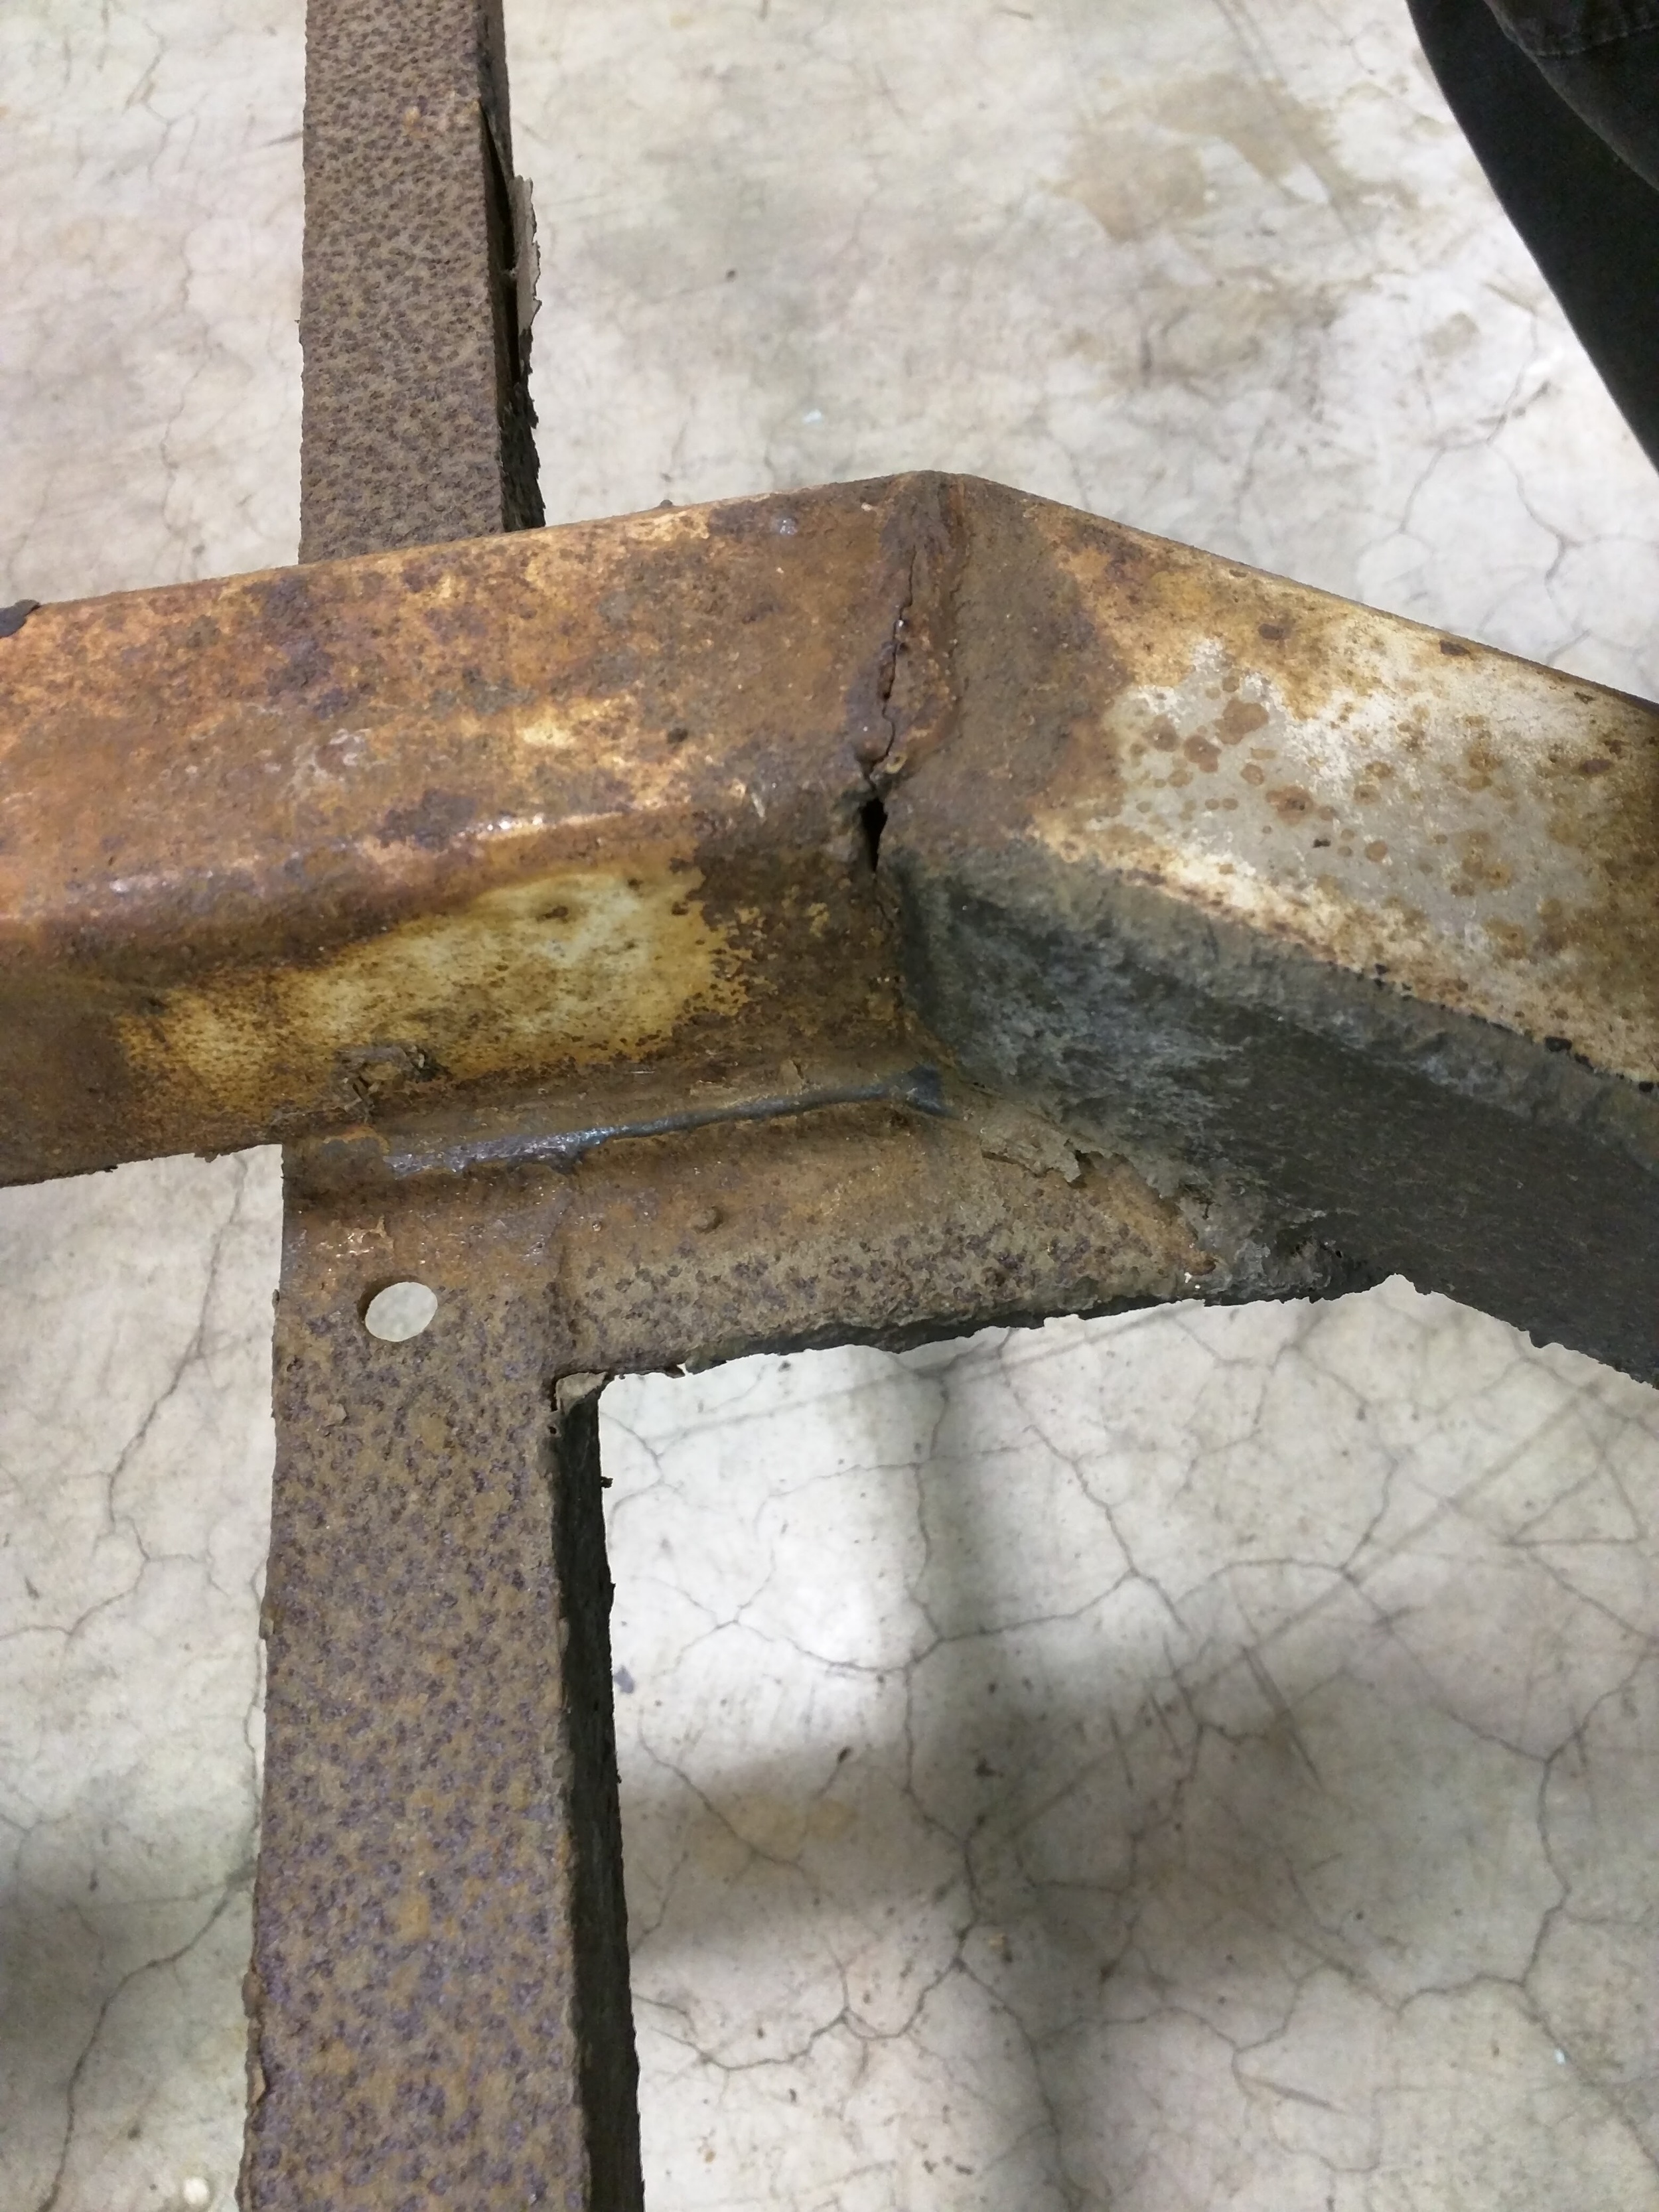
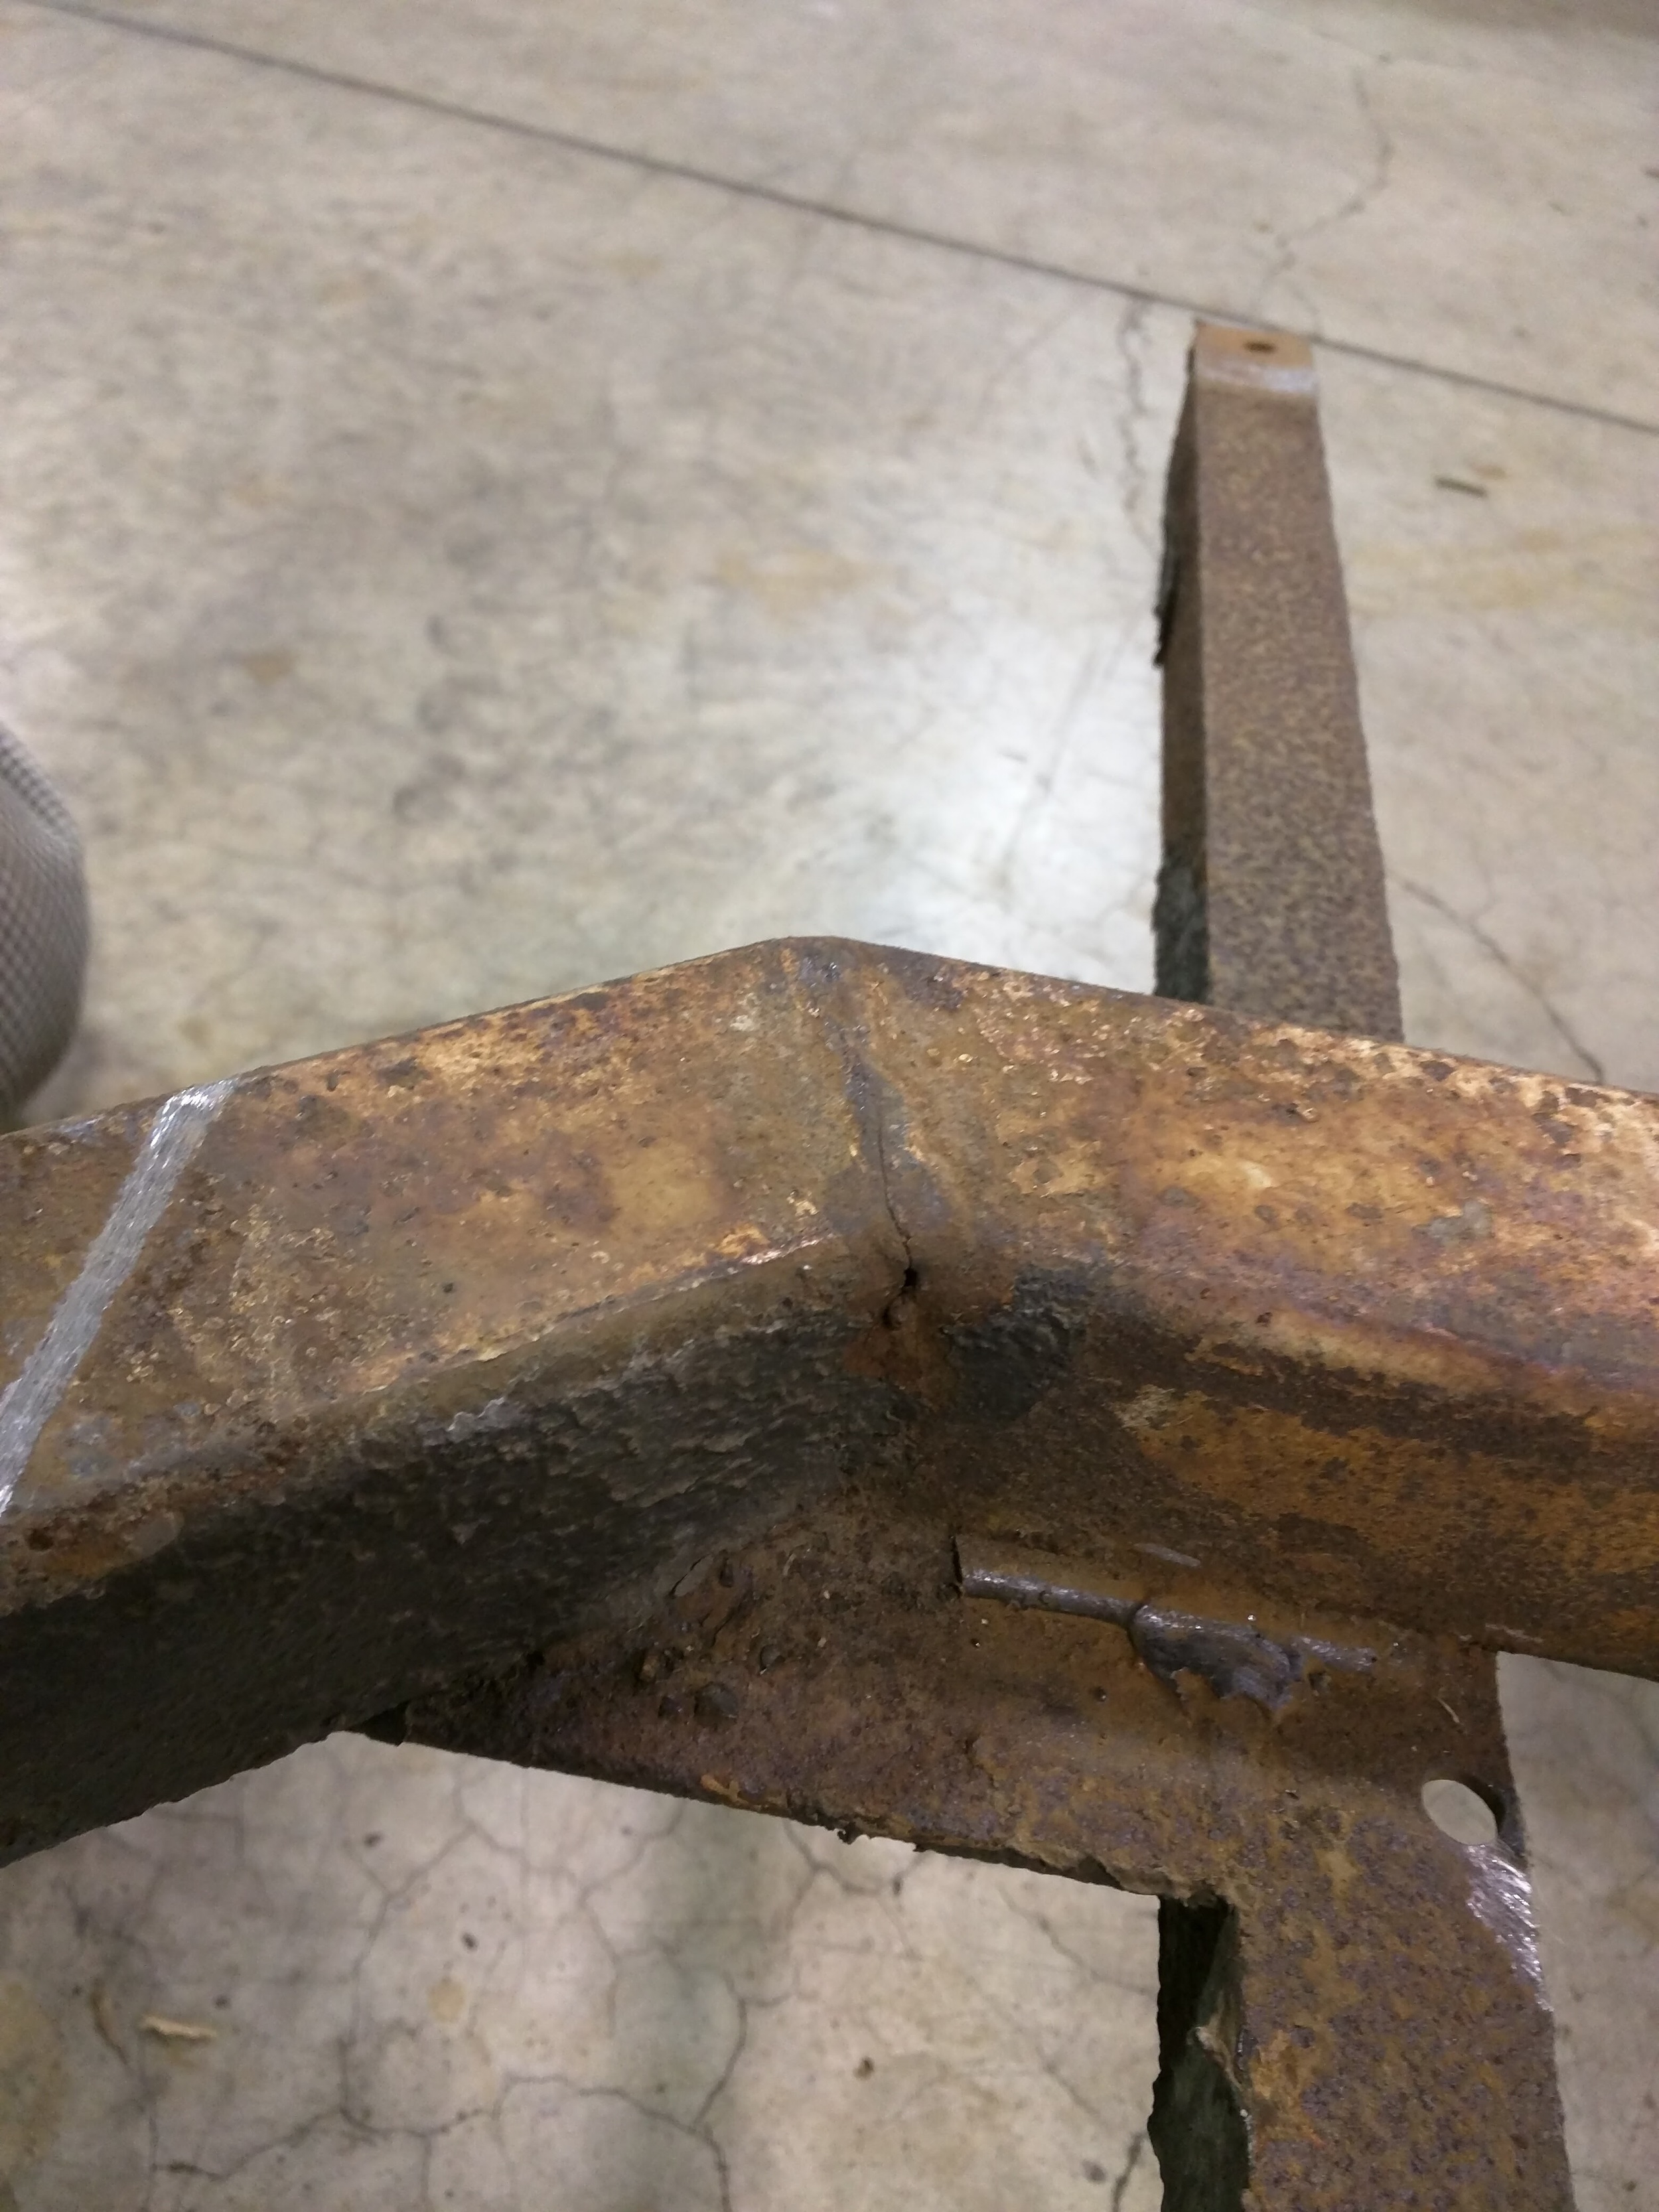
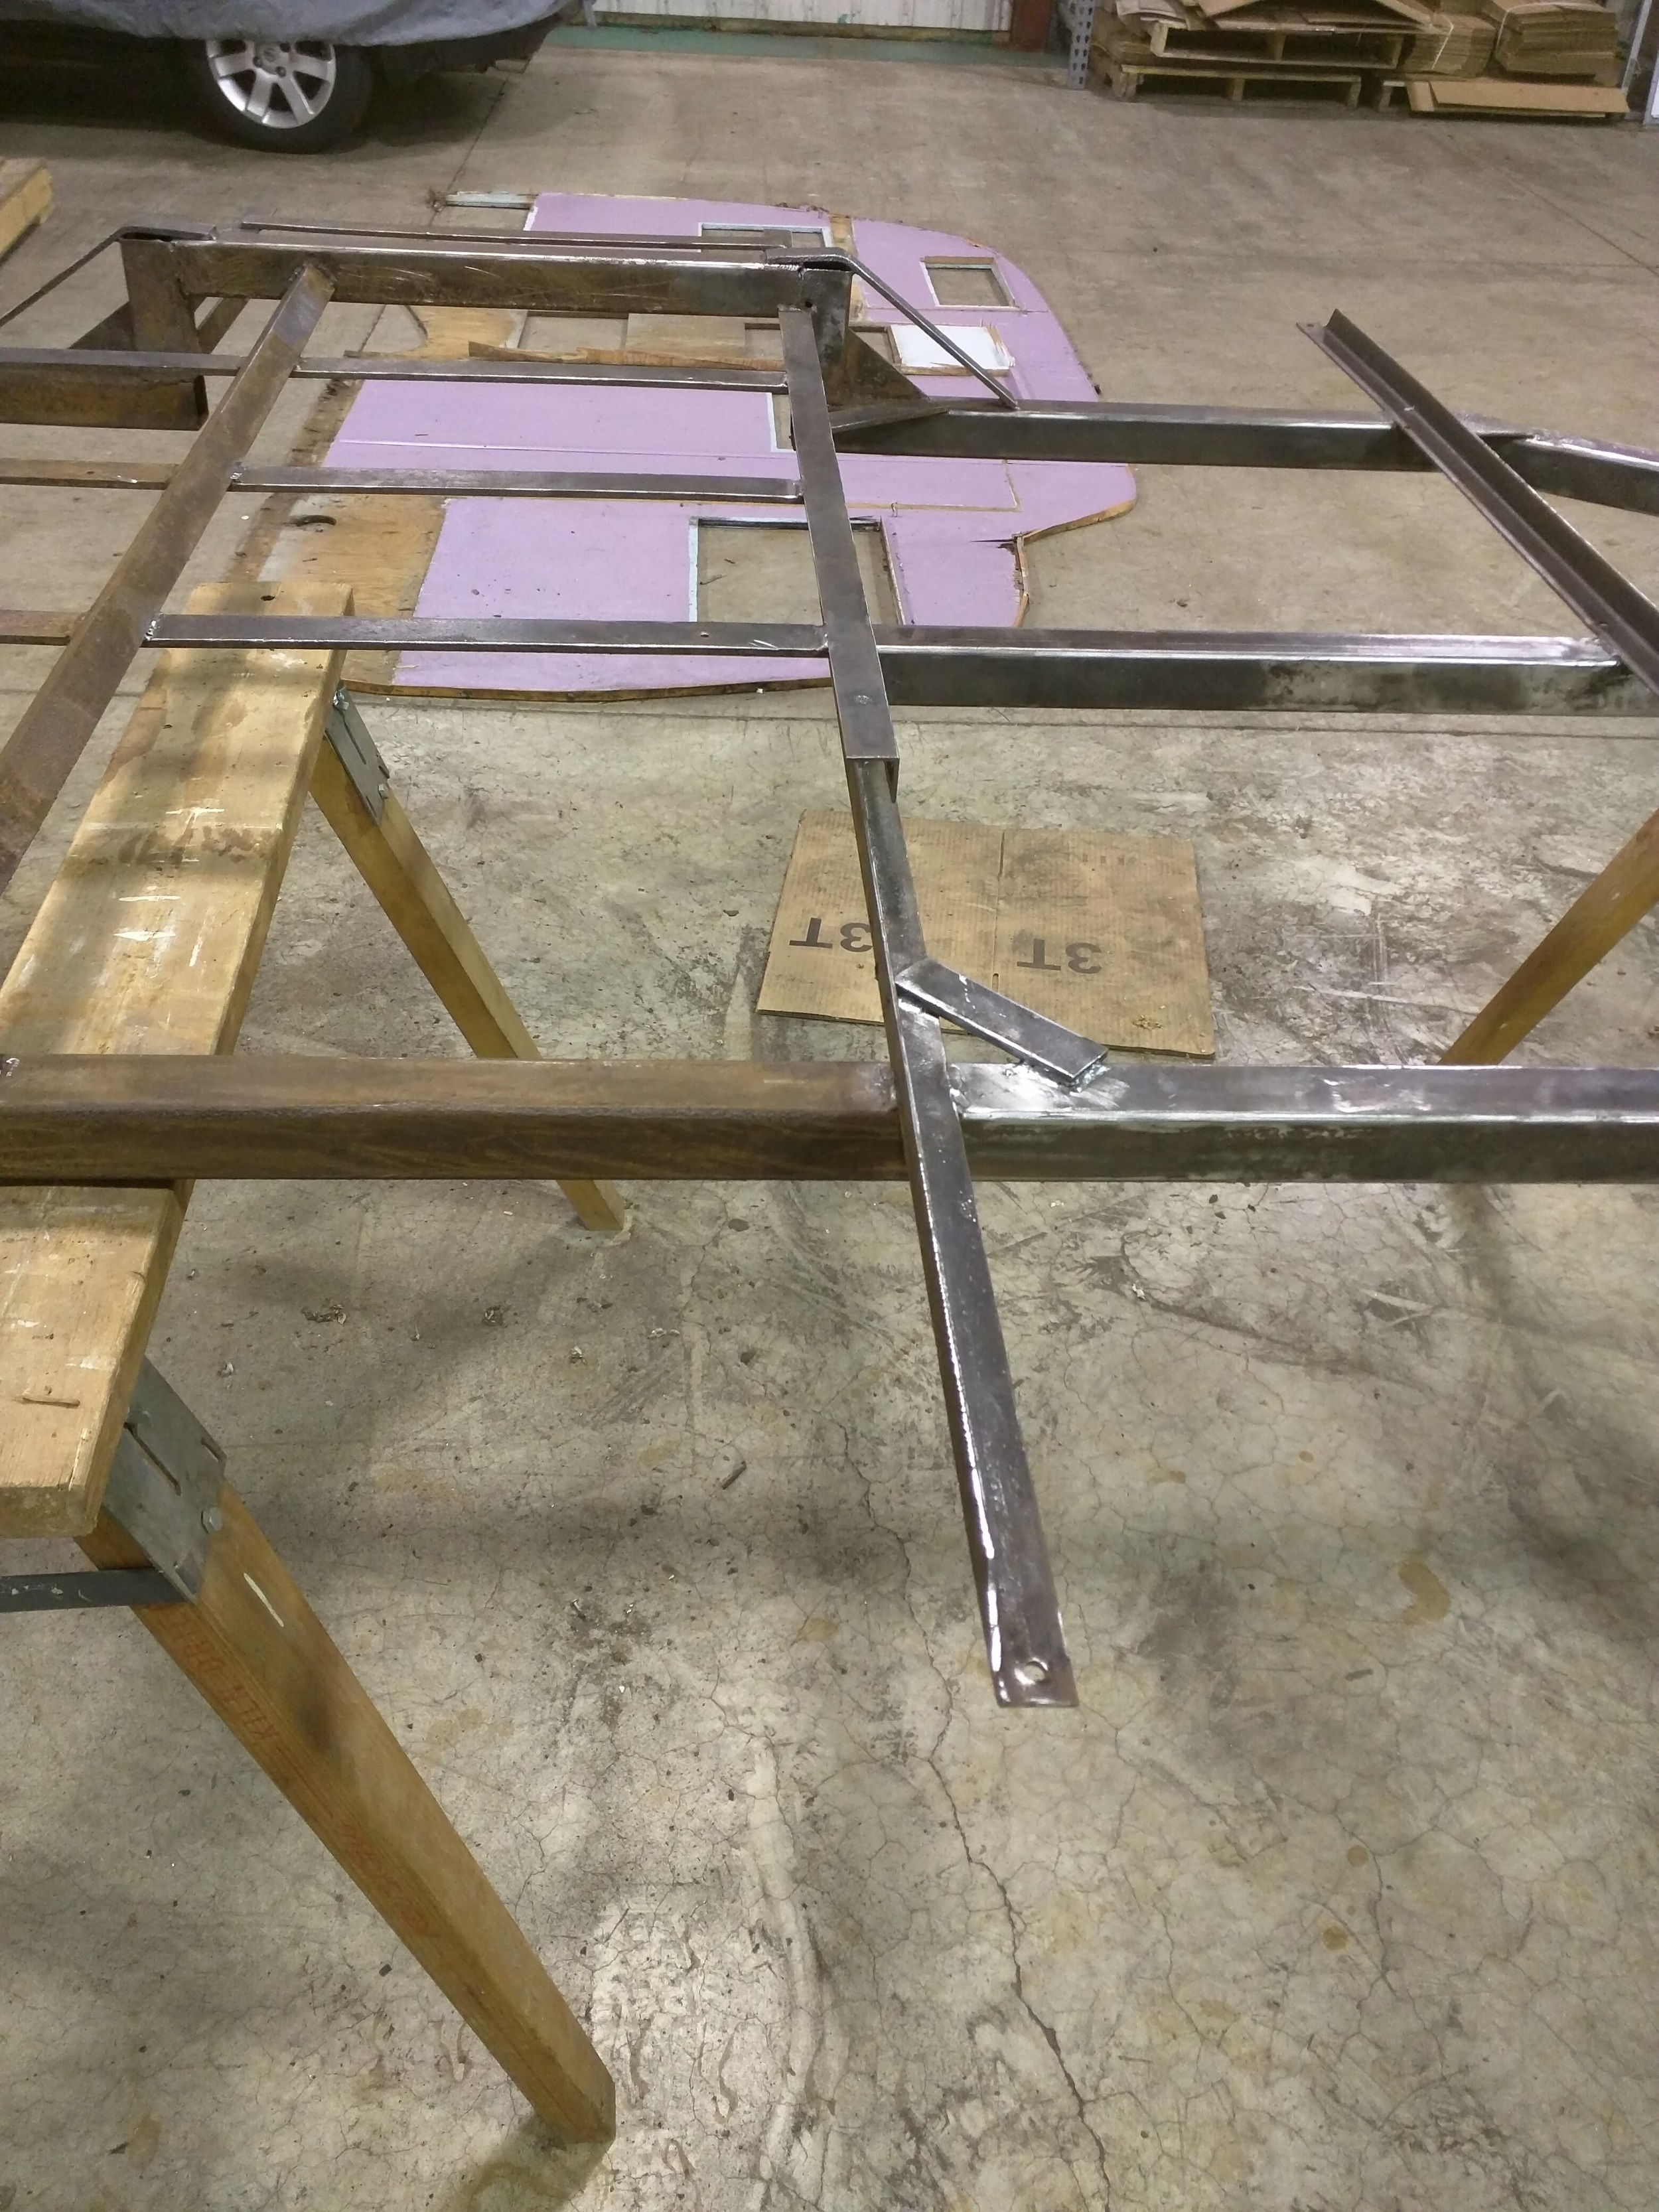
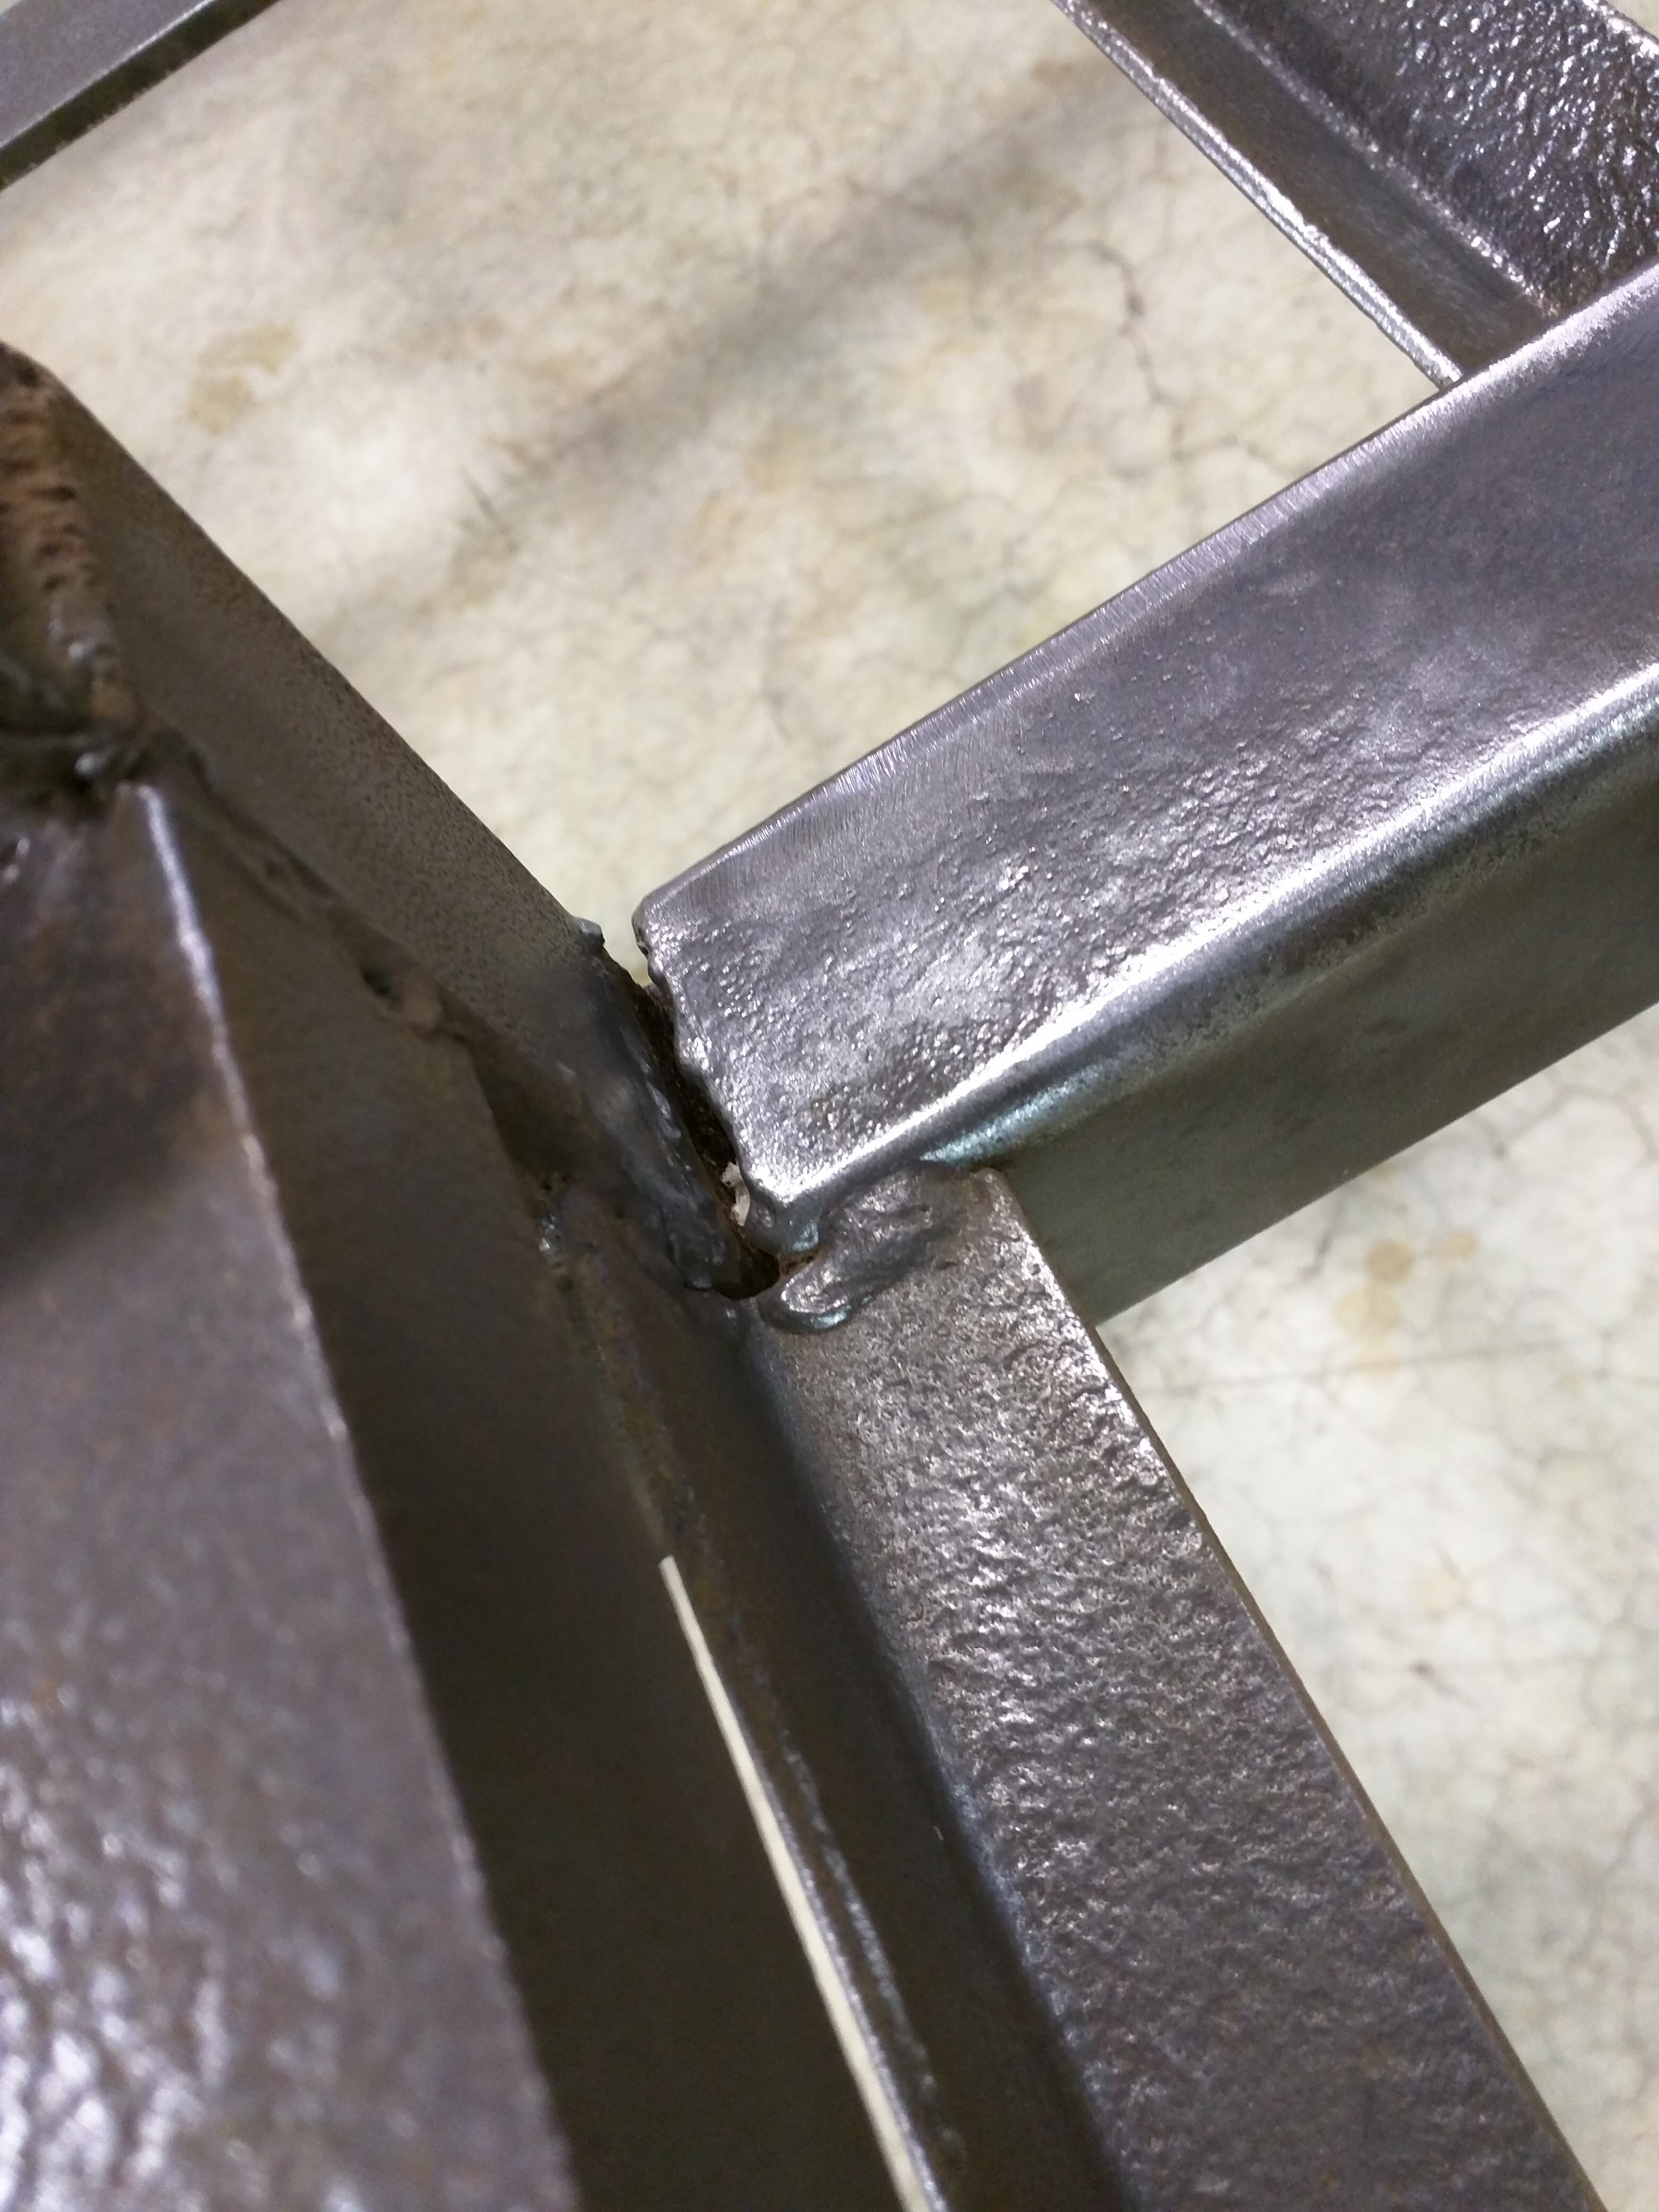
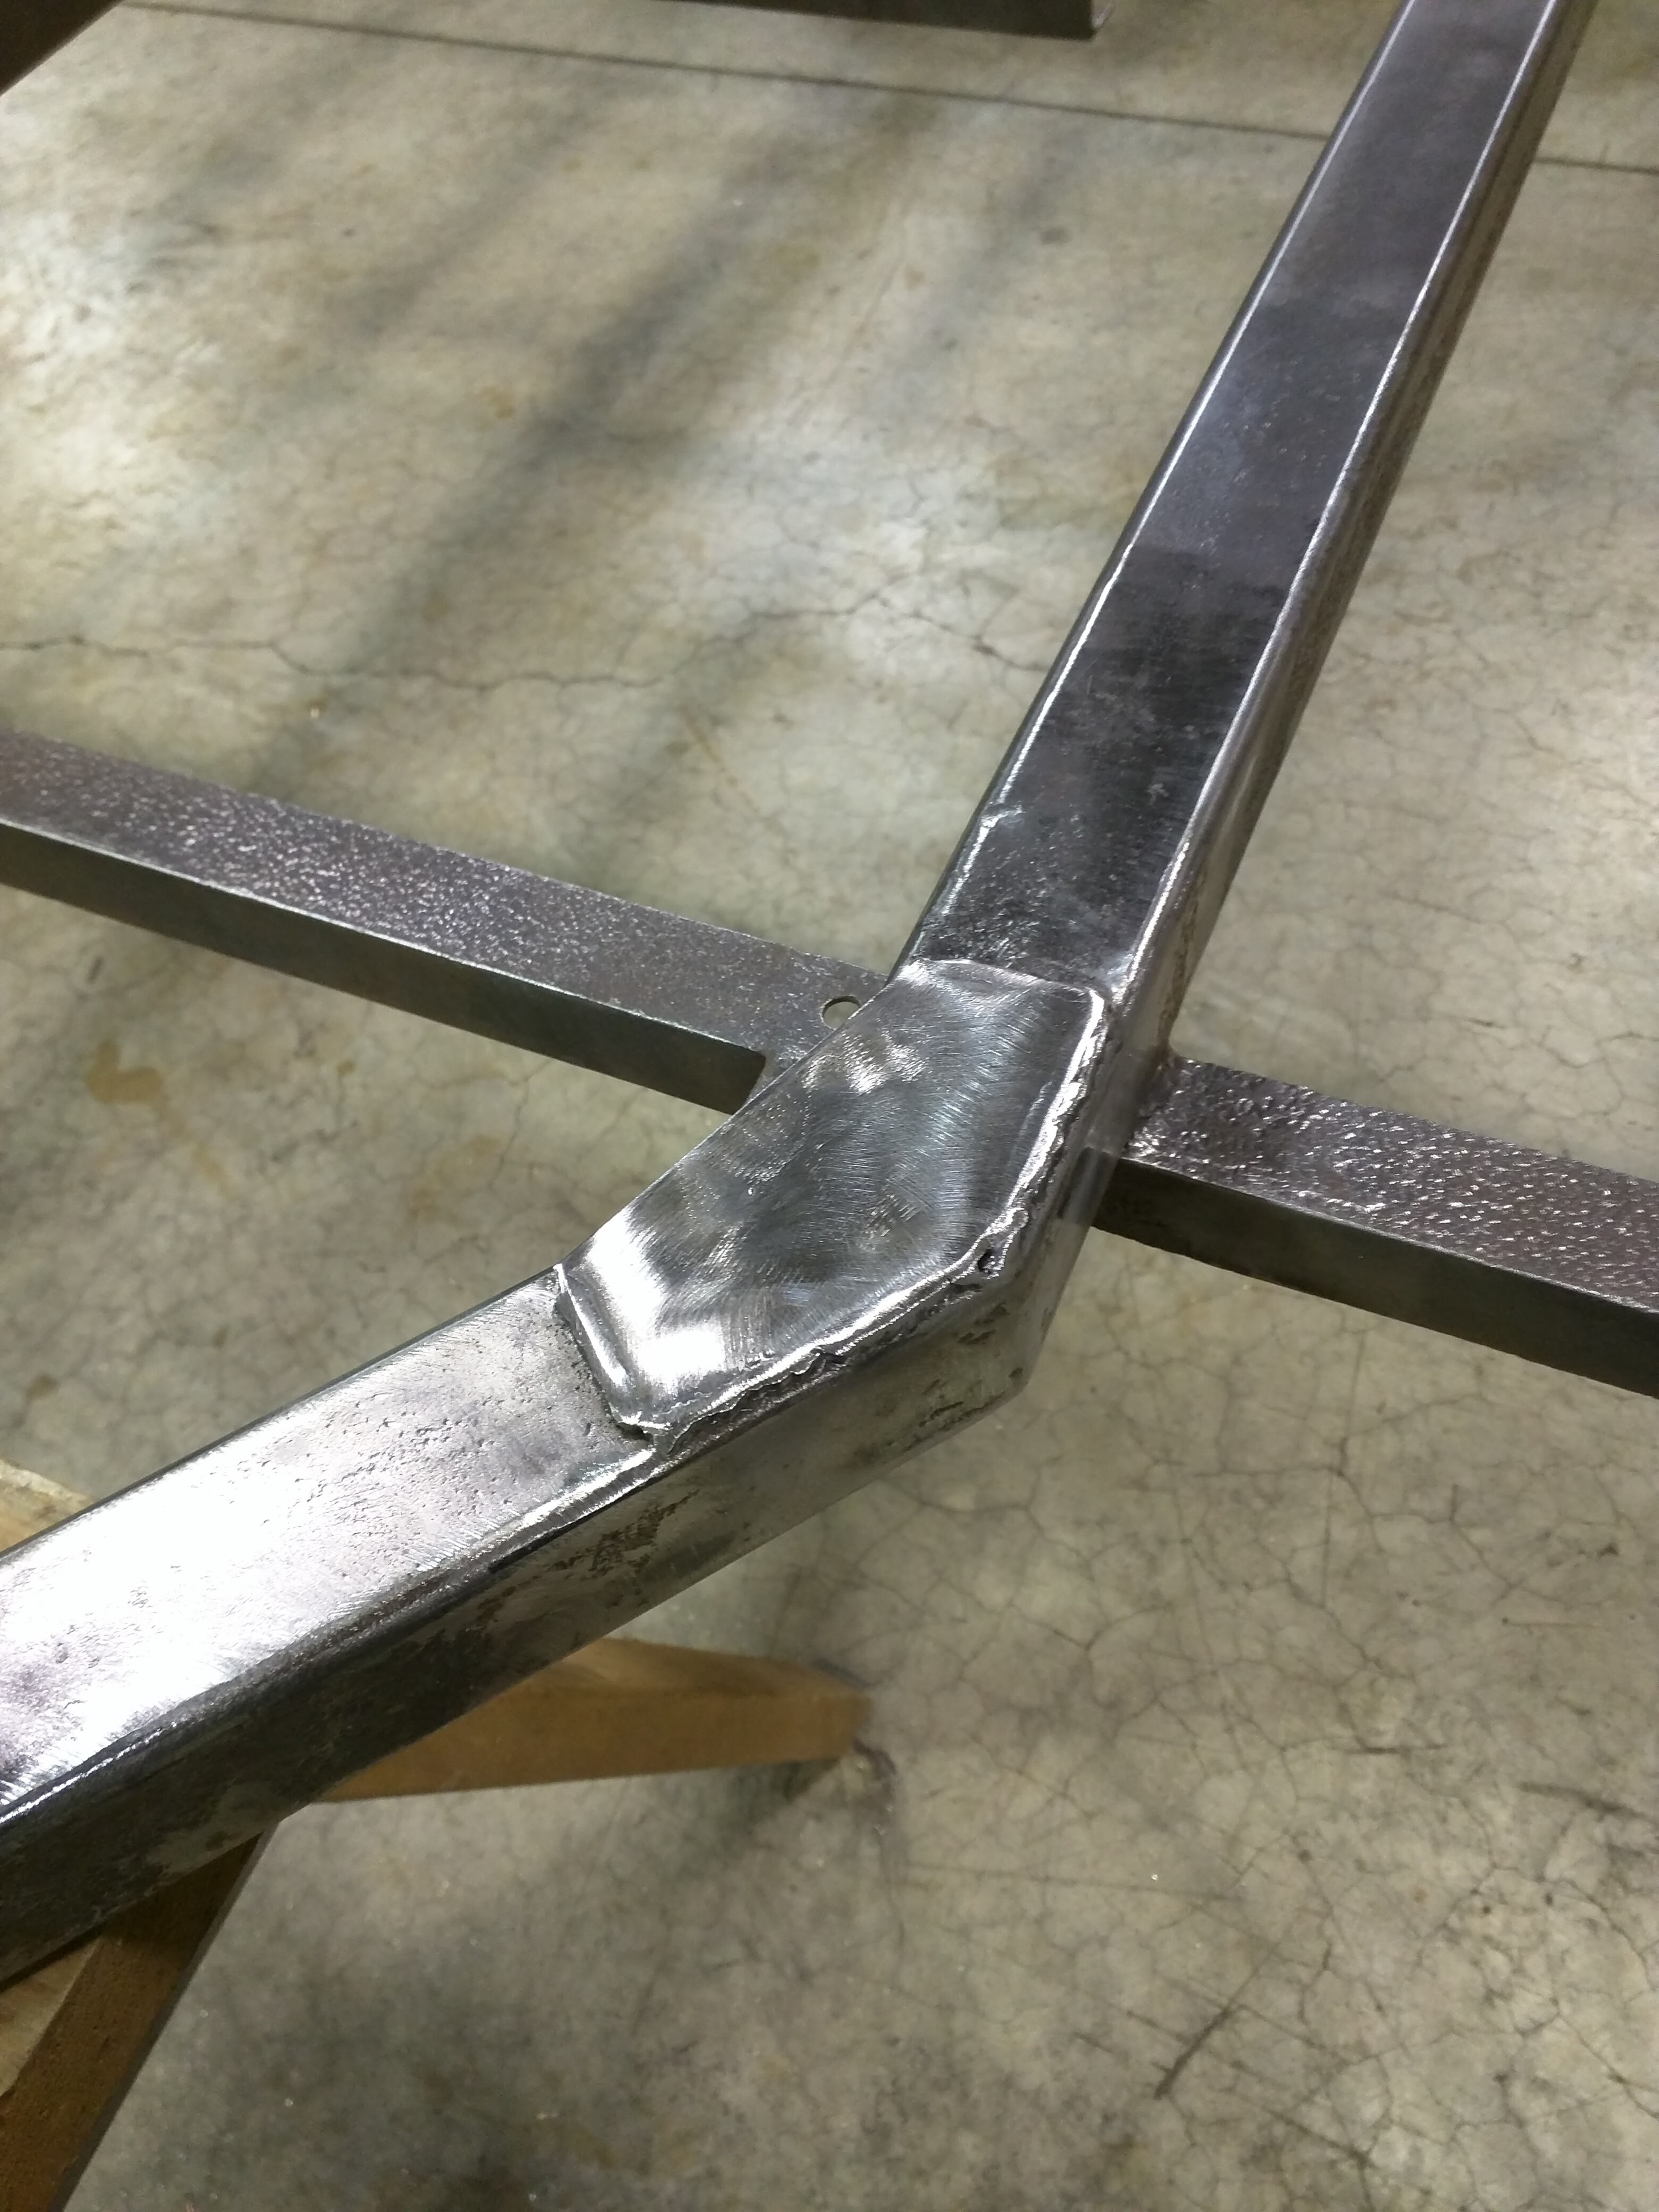
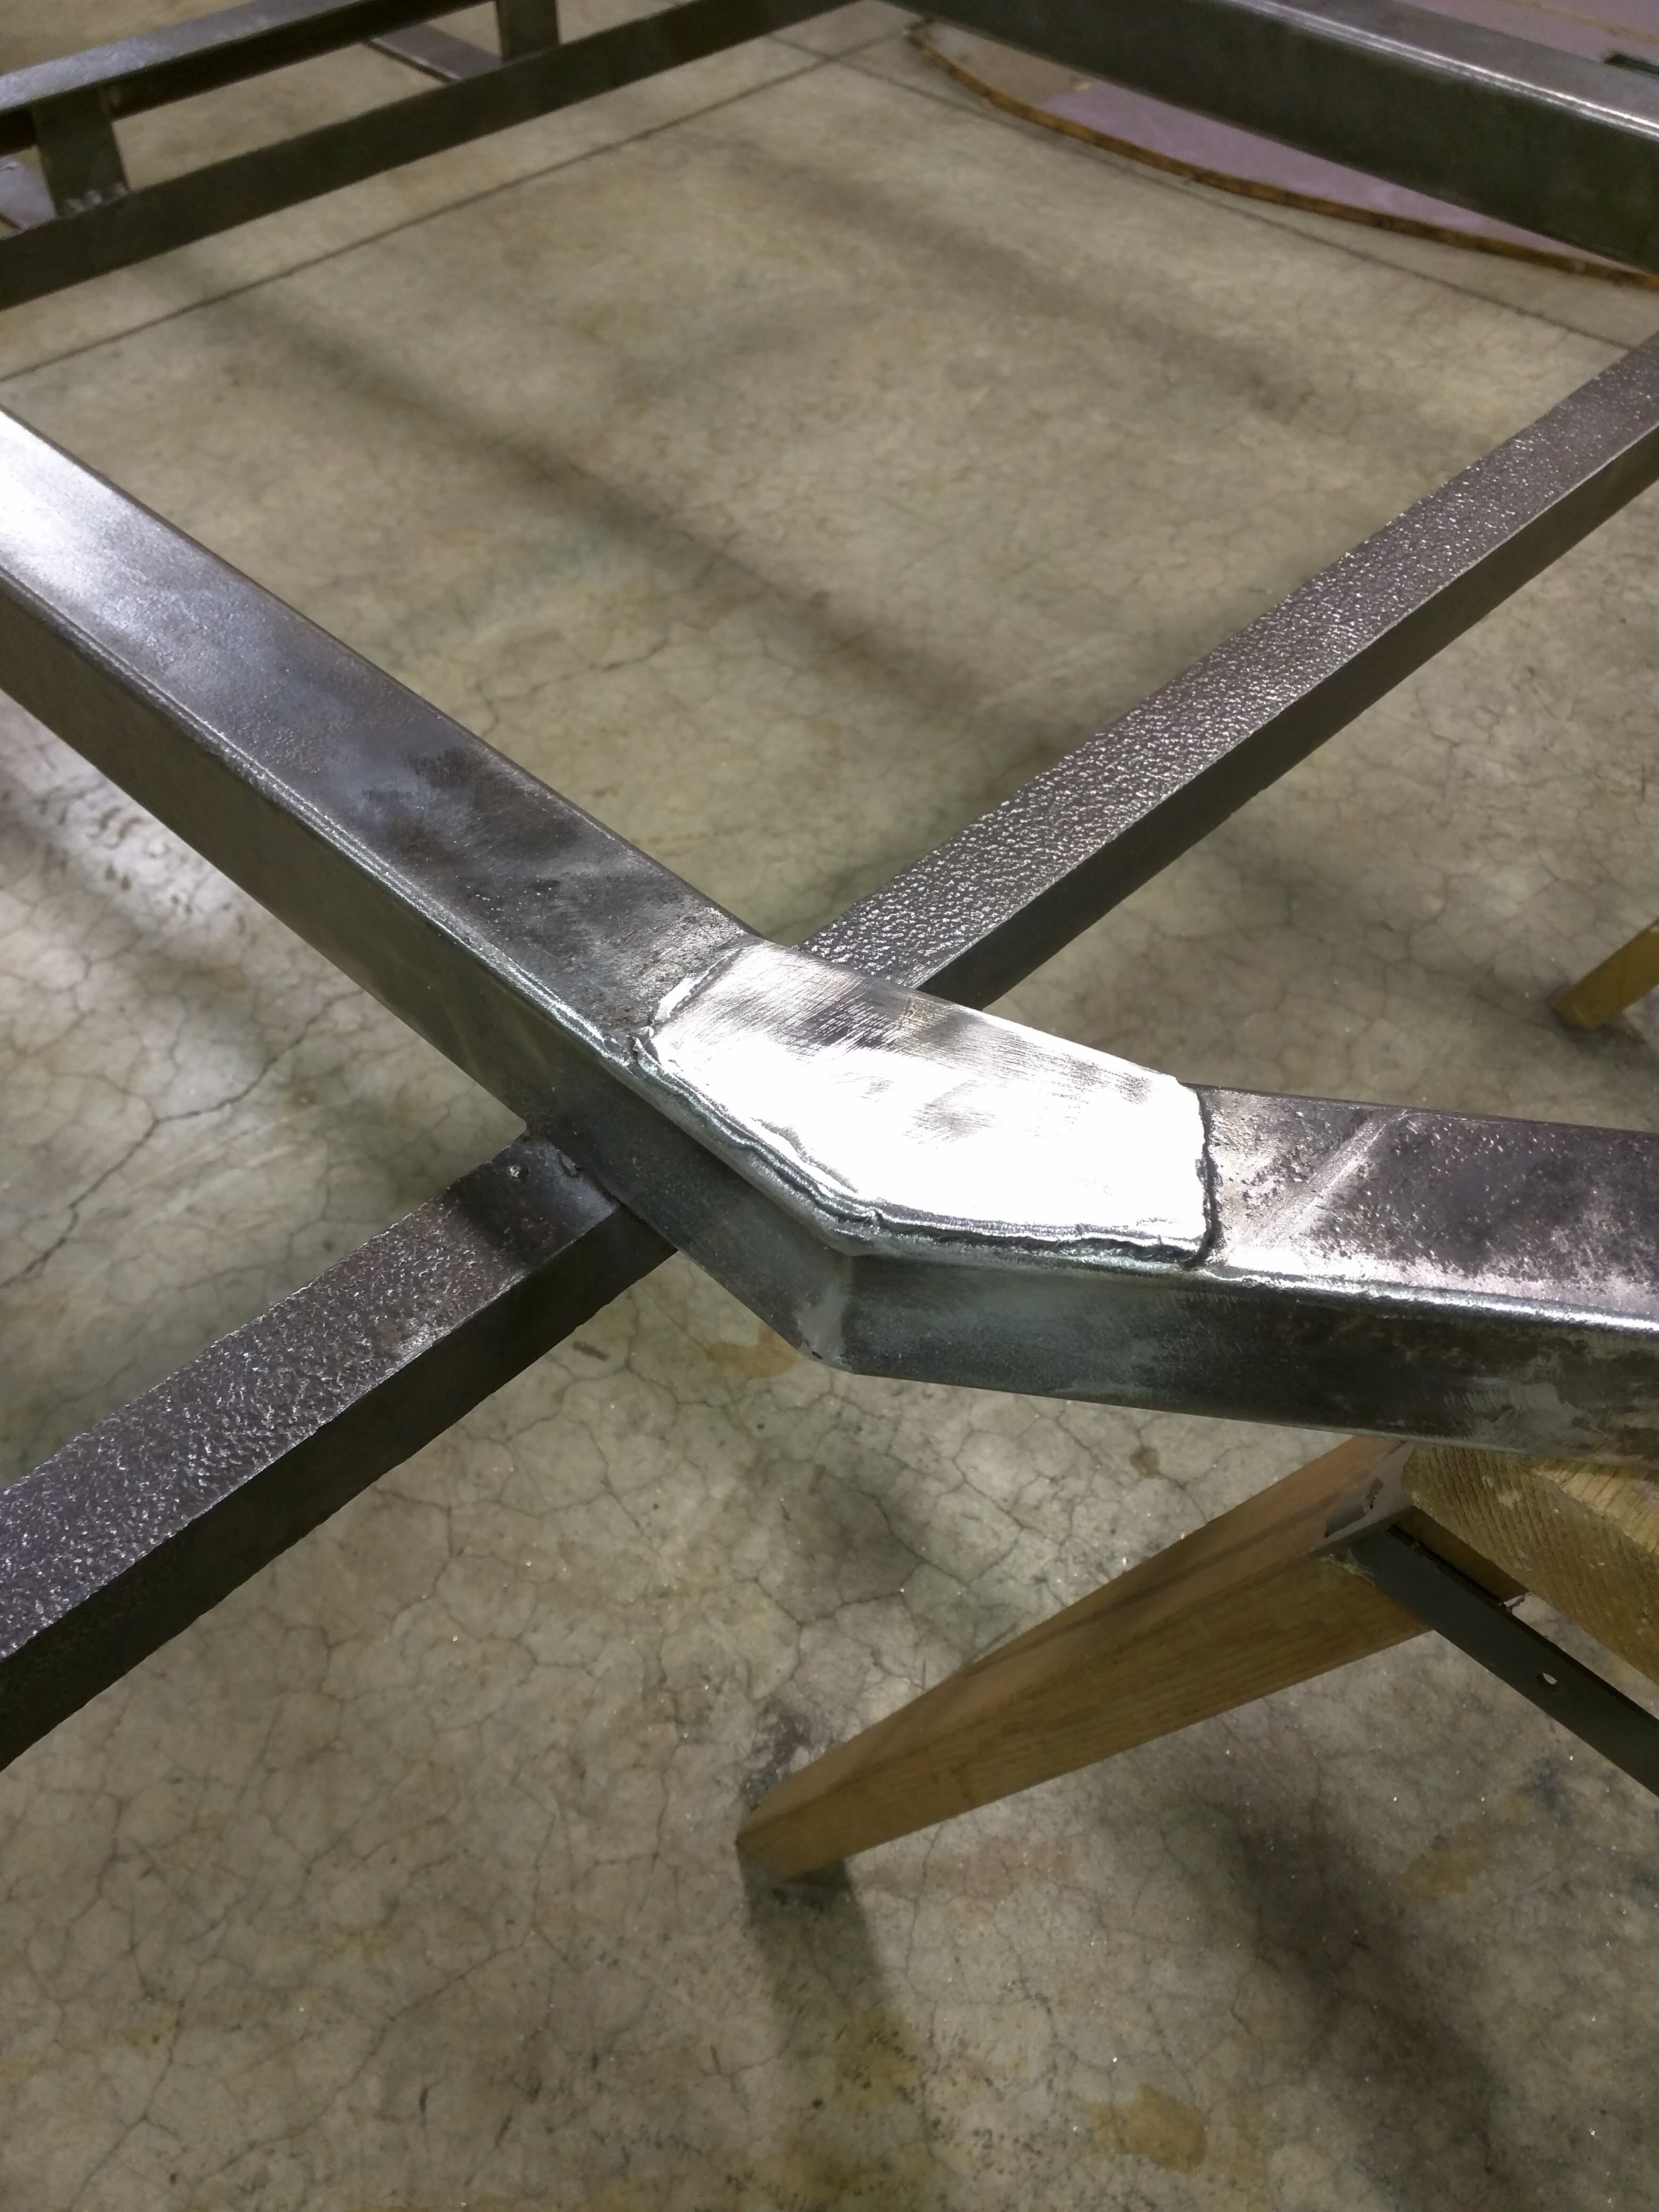
Both sides at this point have stress cracks. These will be ground down, re-welded and then reinforced with plates. These spots are under the cabin, so won't be seen later. This is also the reason we didn't notice these before we towed it home. Would have scared the hell out of me had I known those were there.
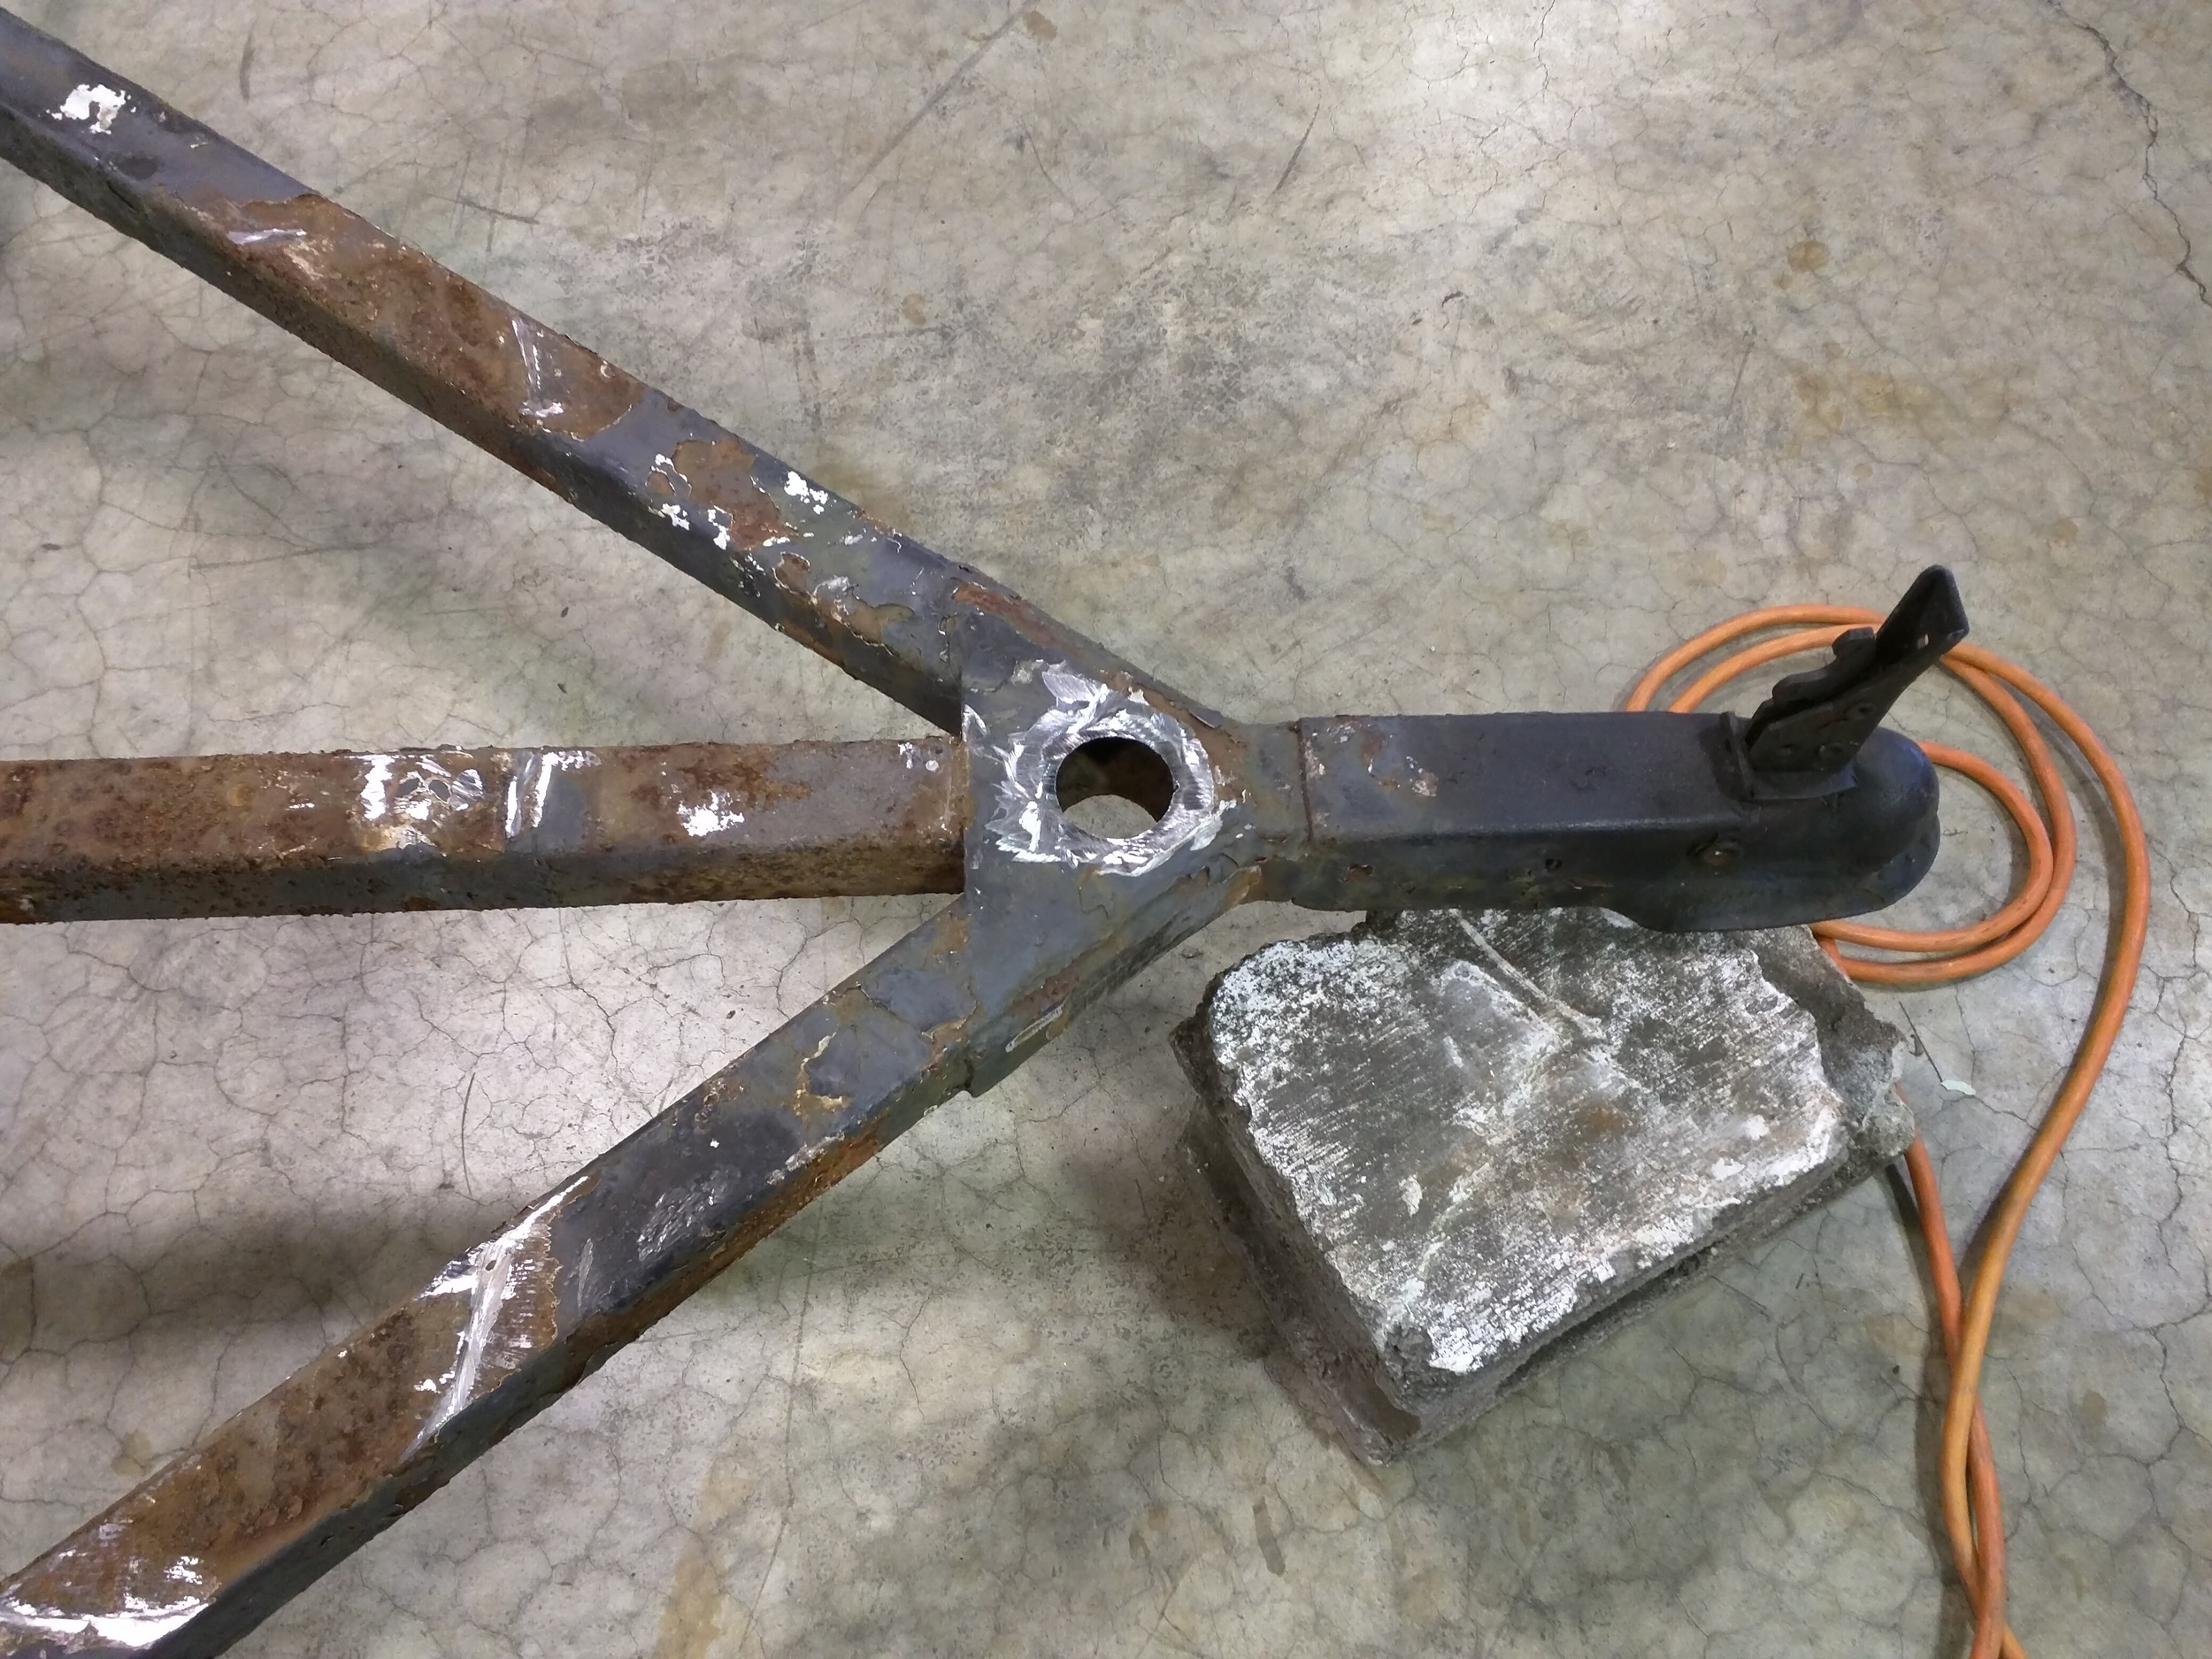
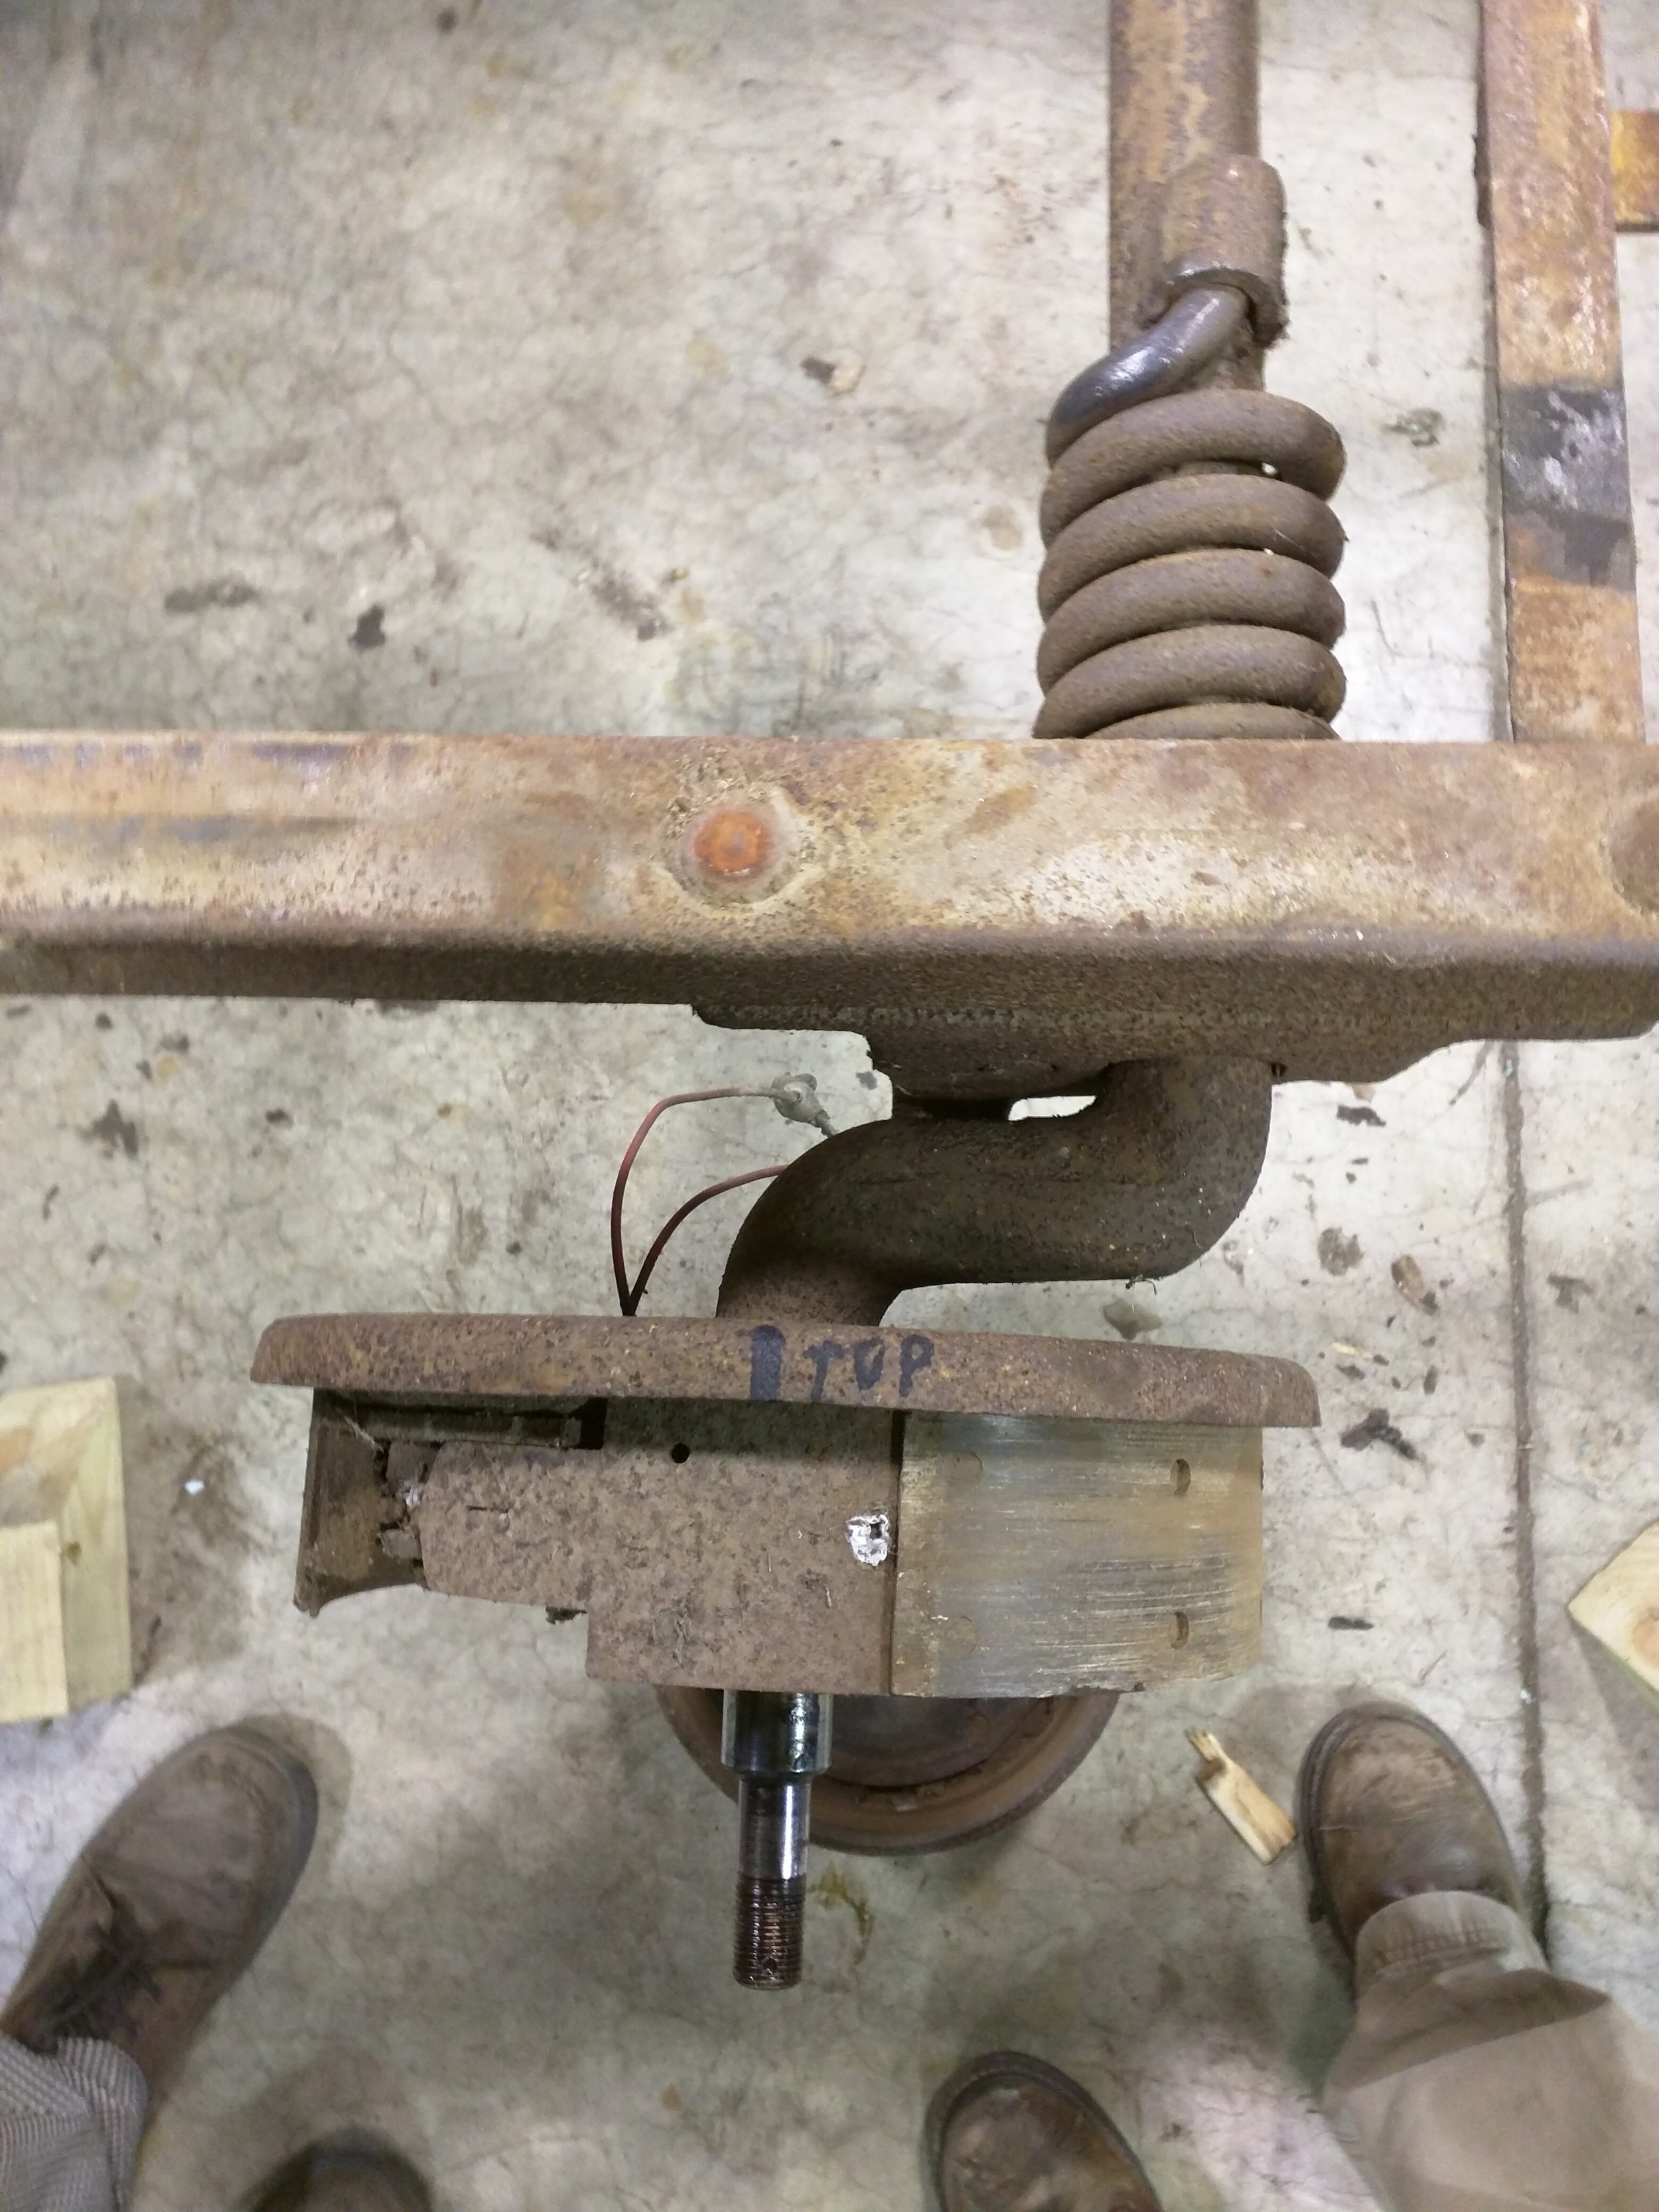
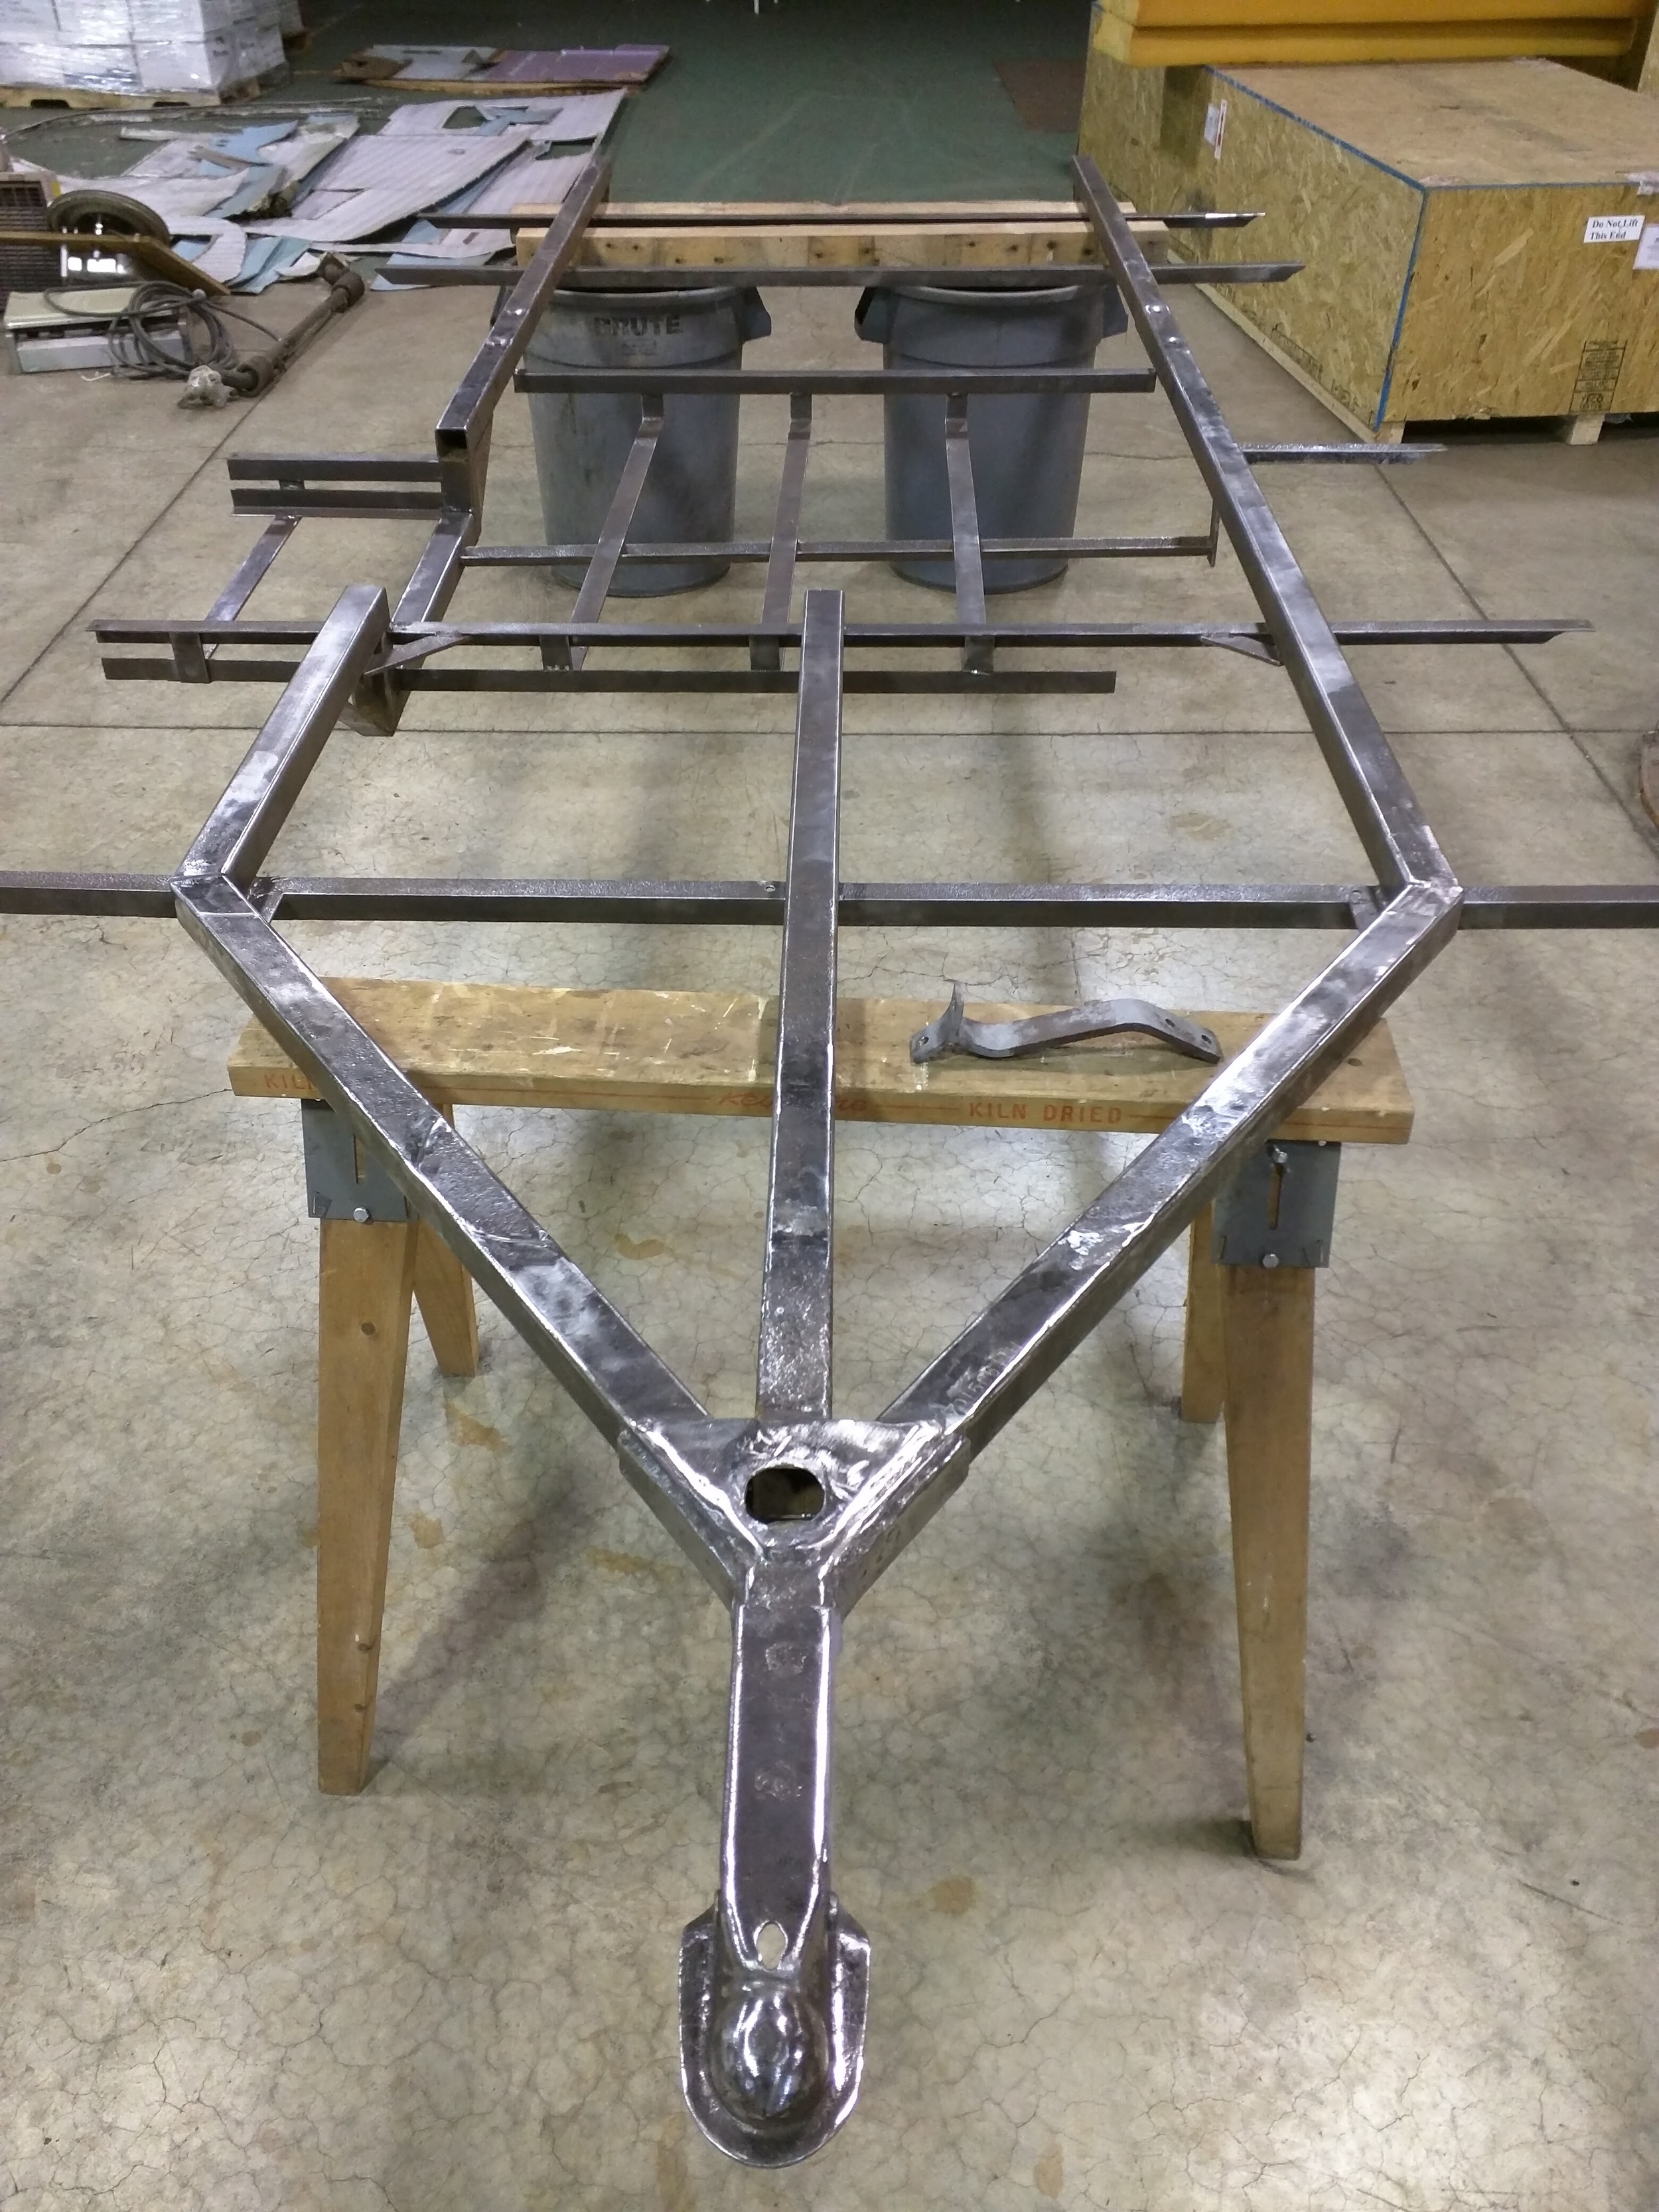
The other stress crack at the tongue joint.
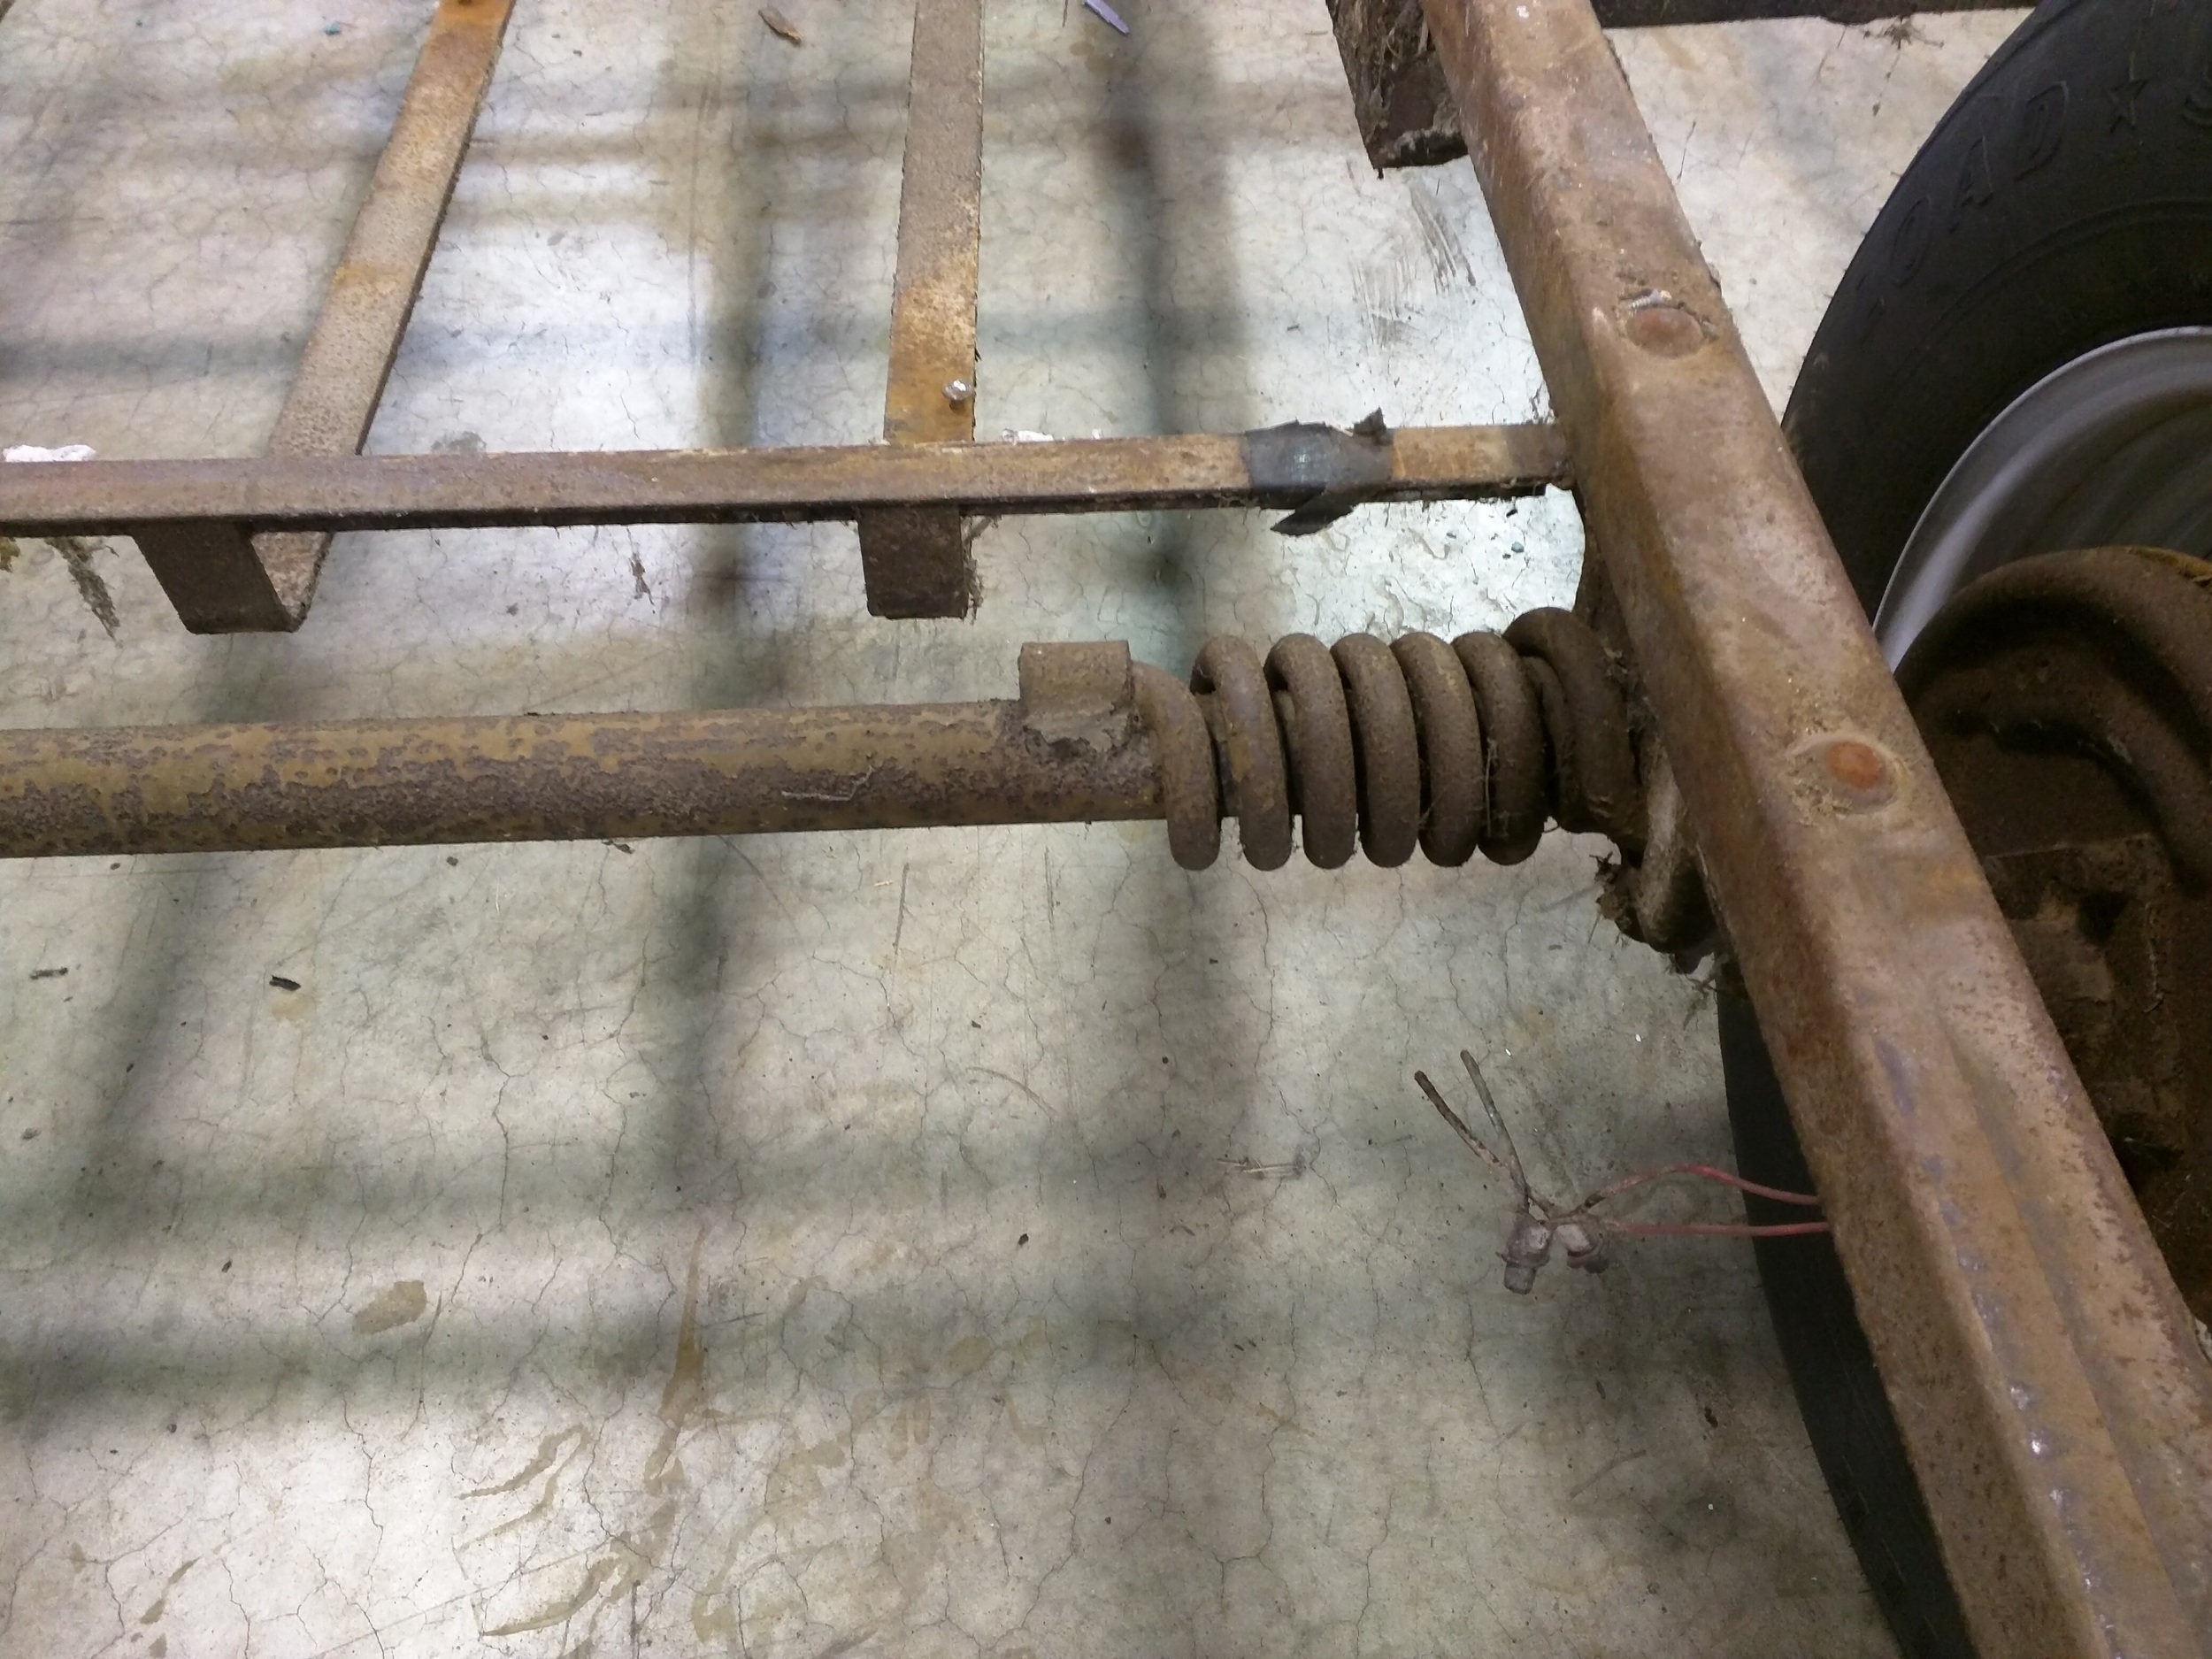
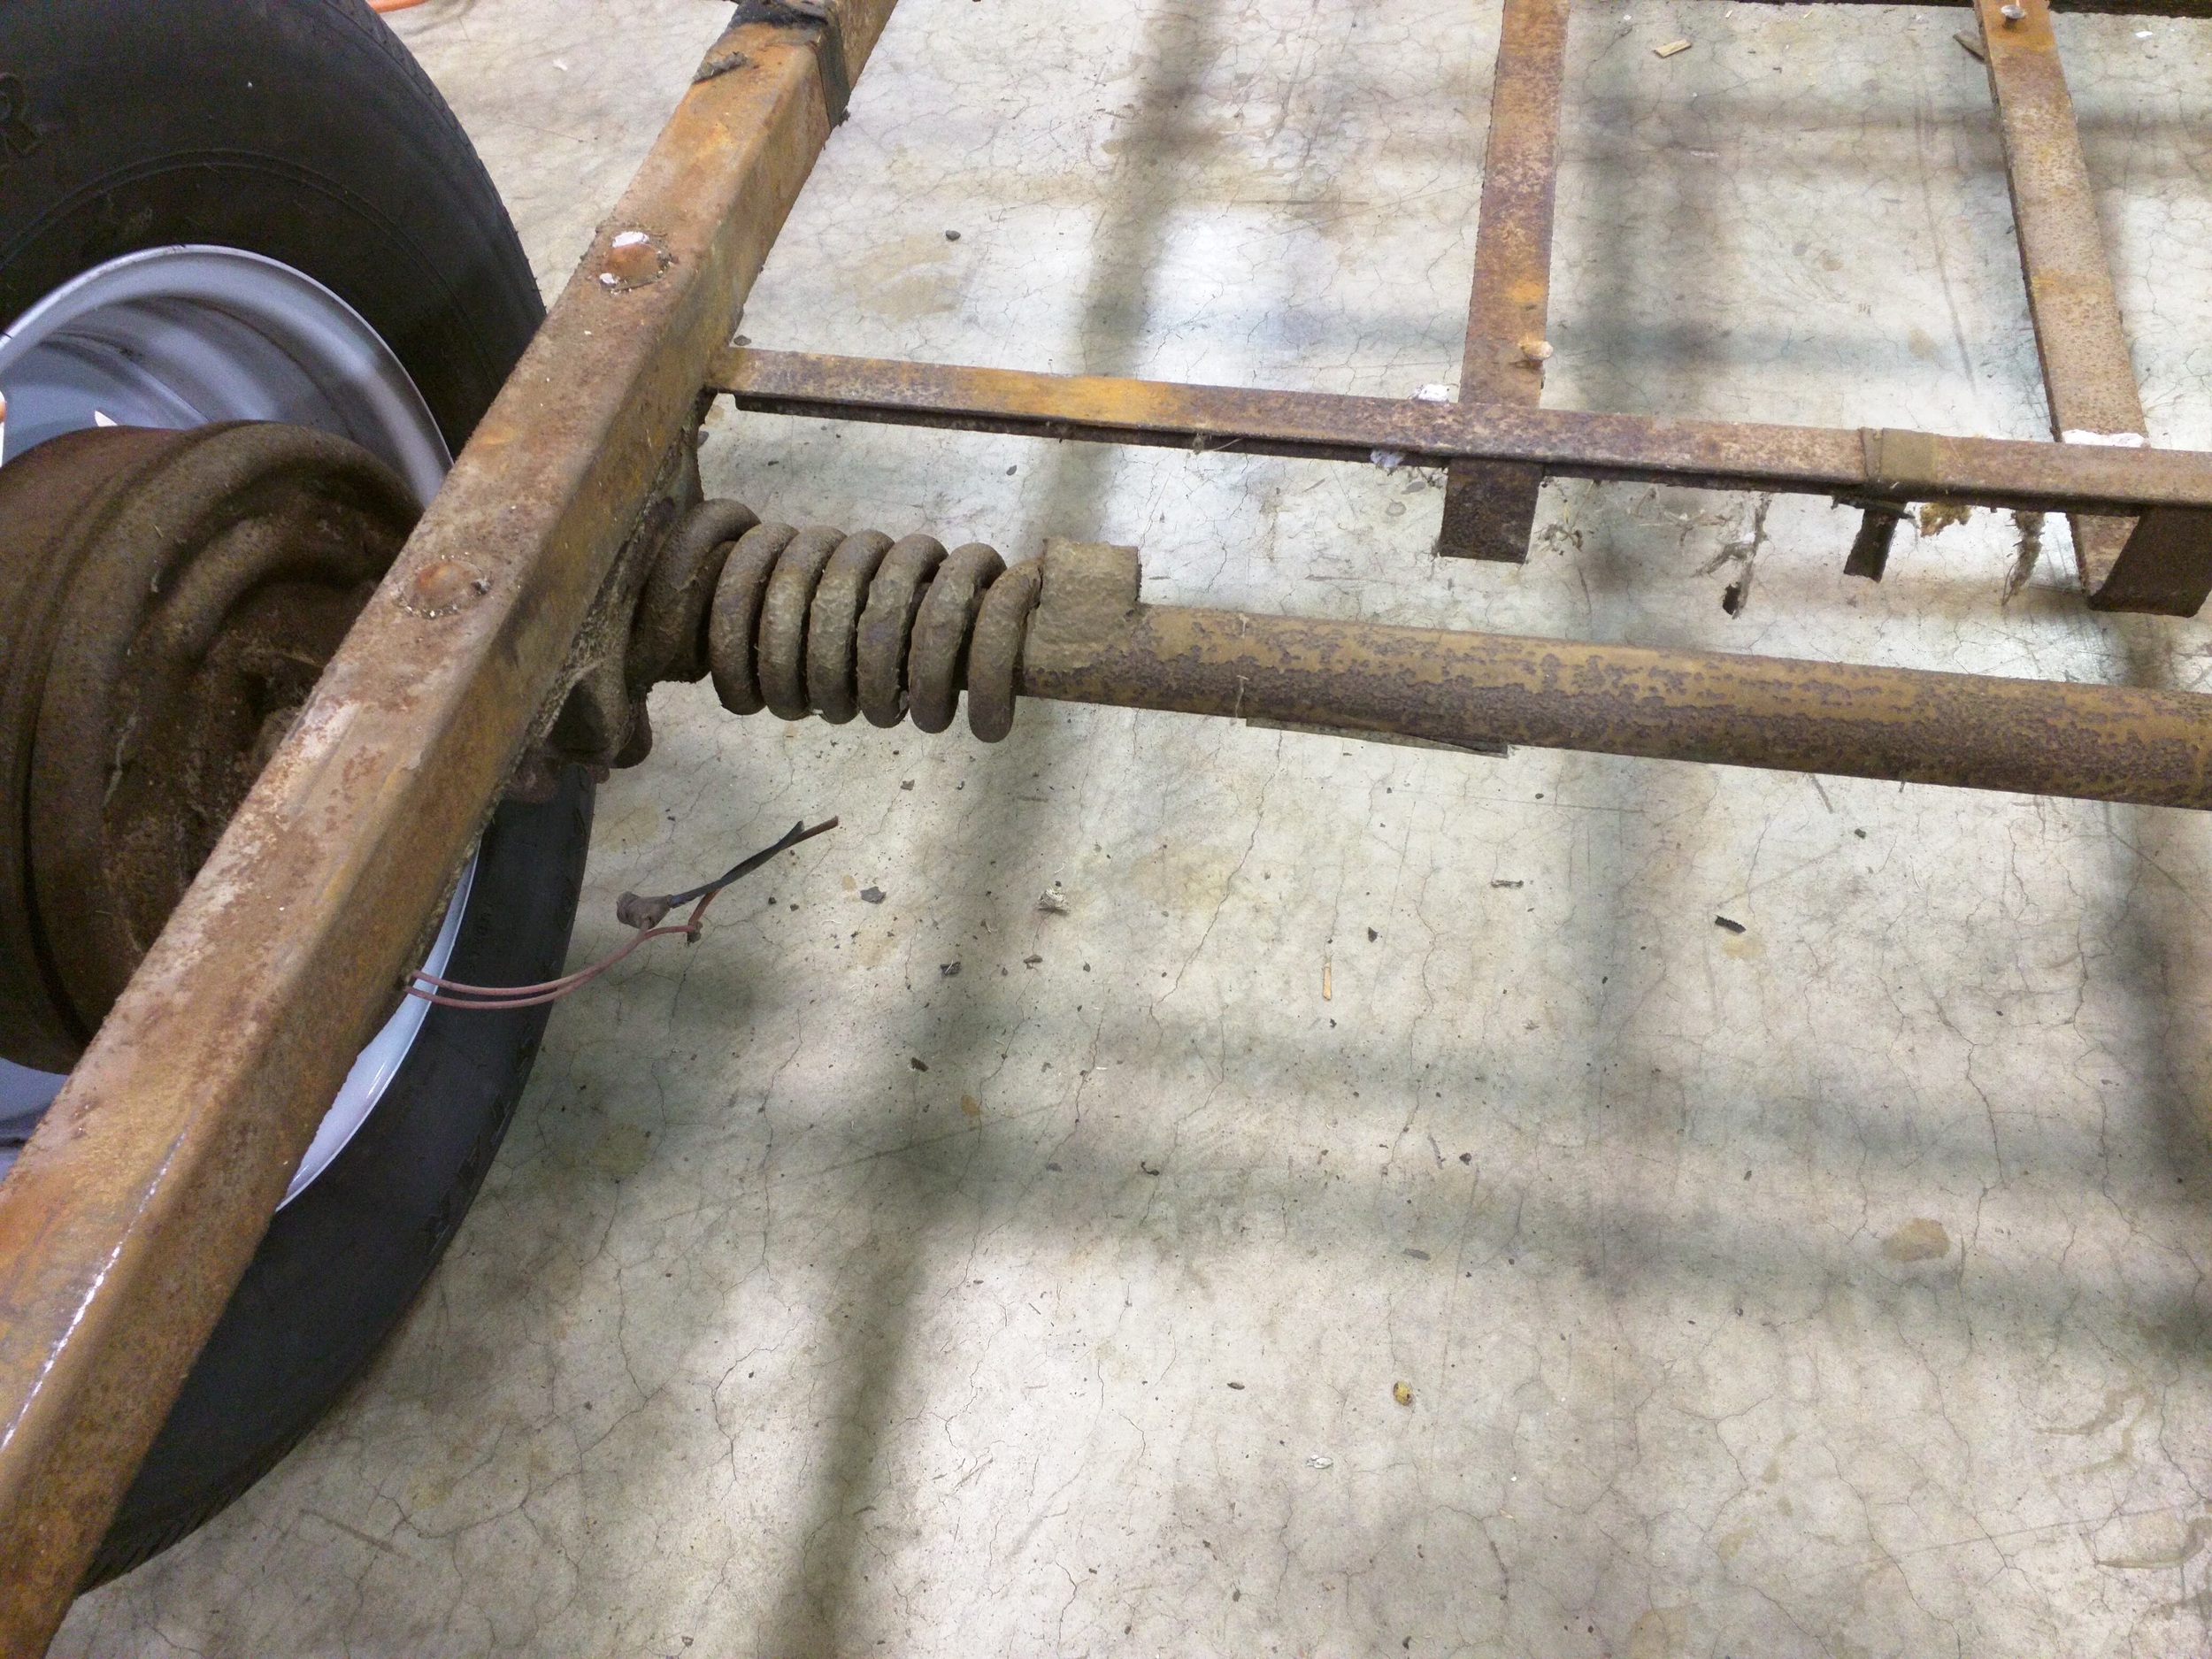
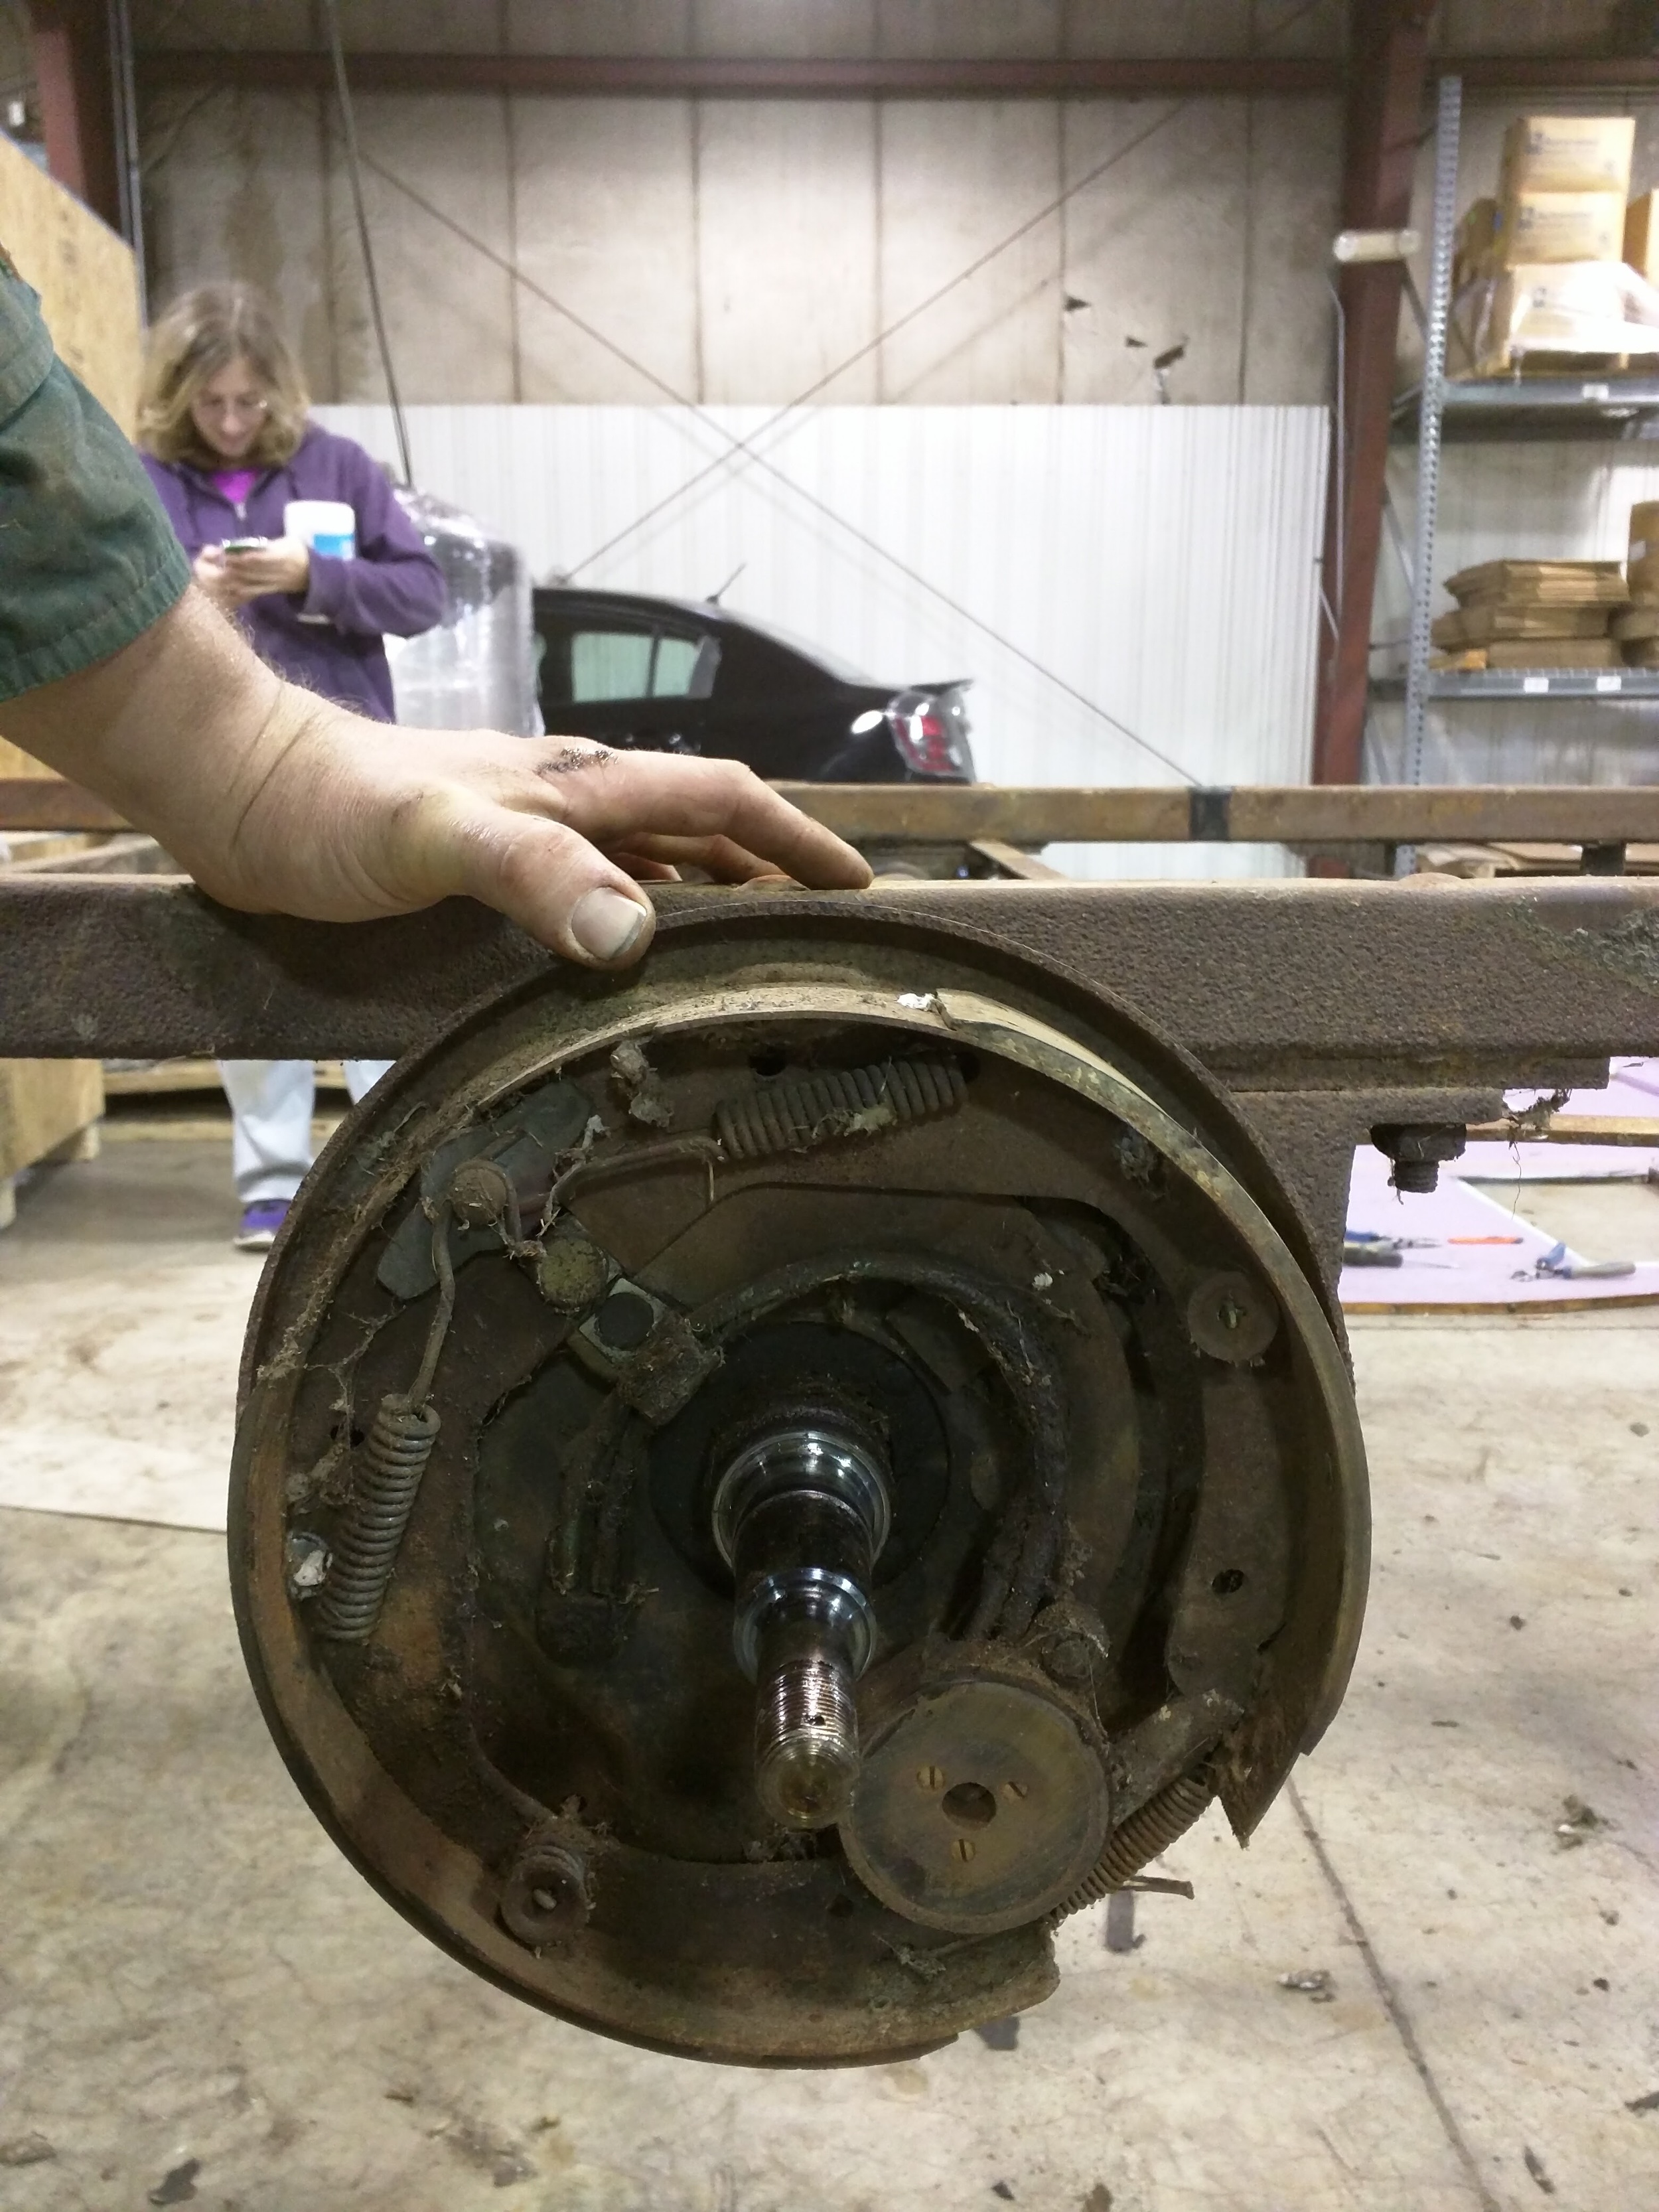
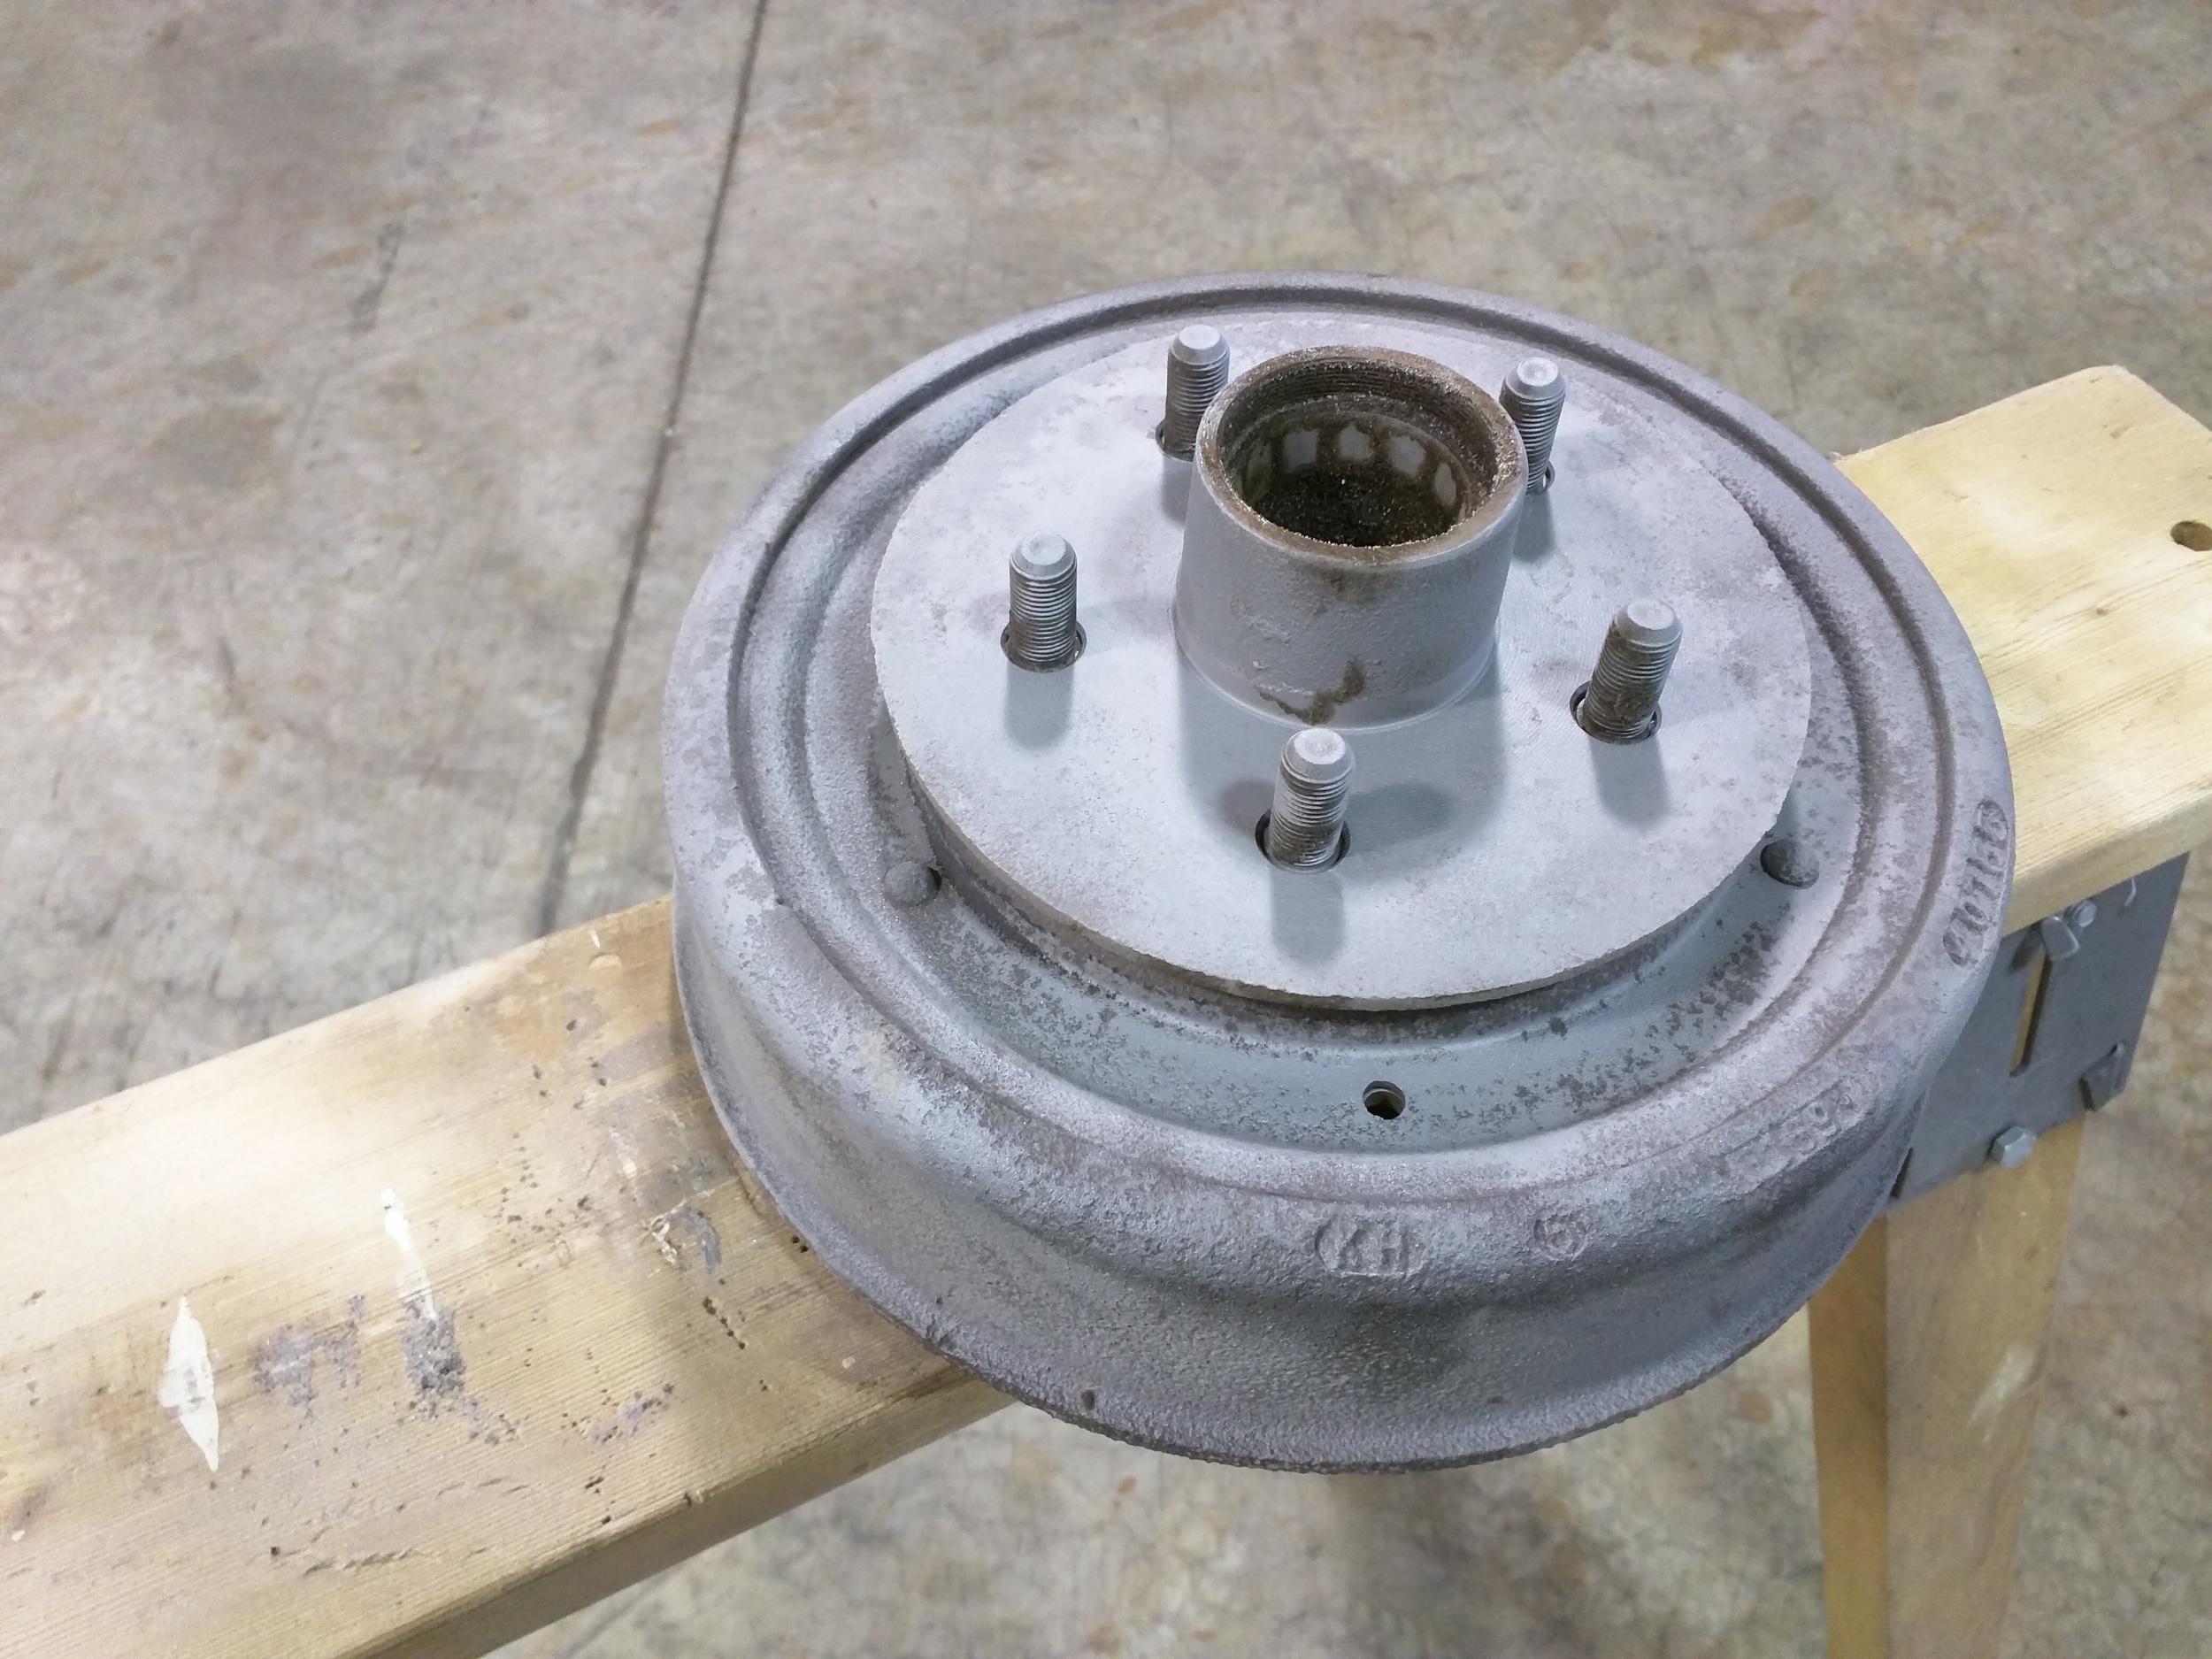
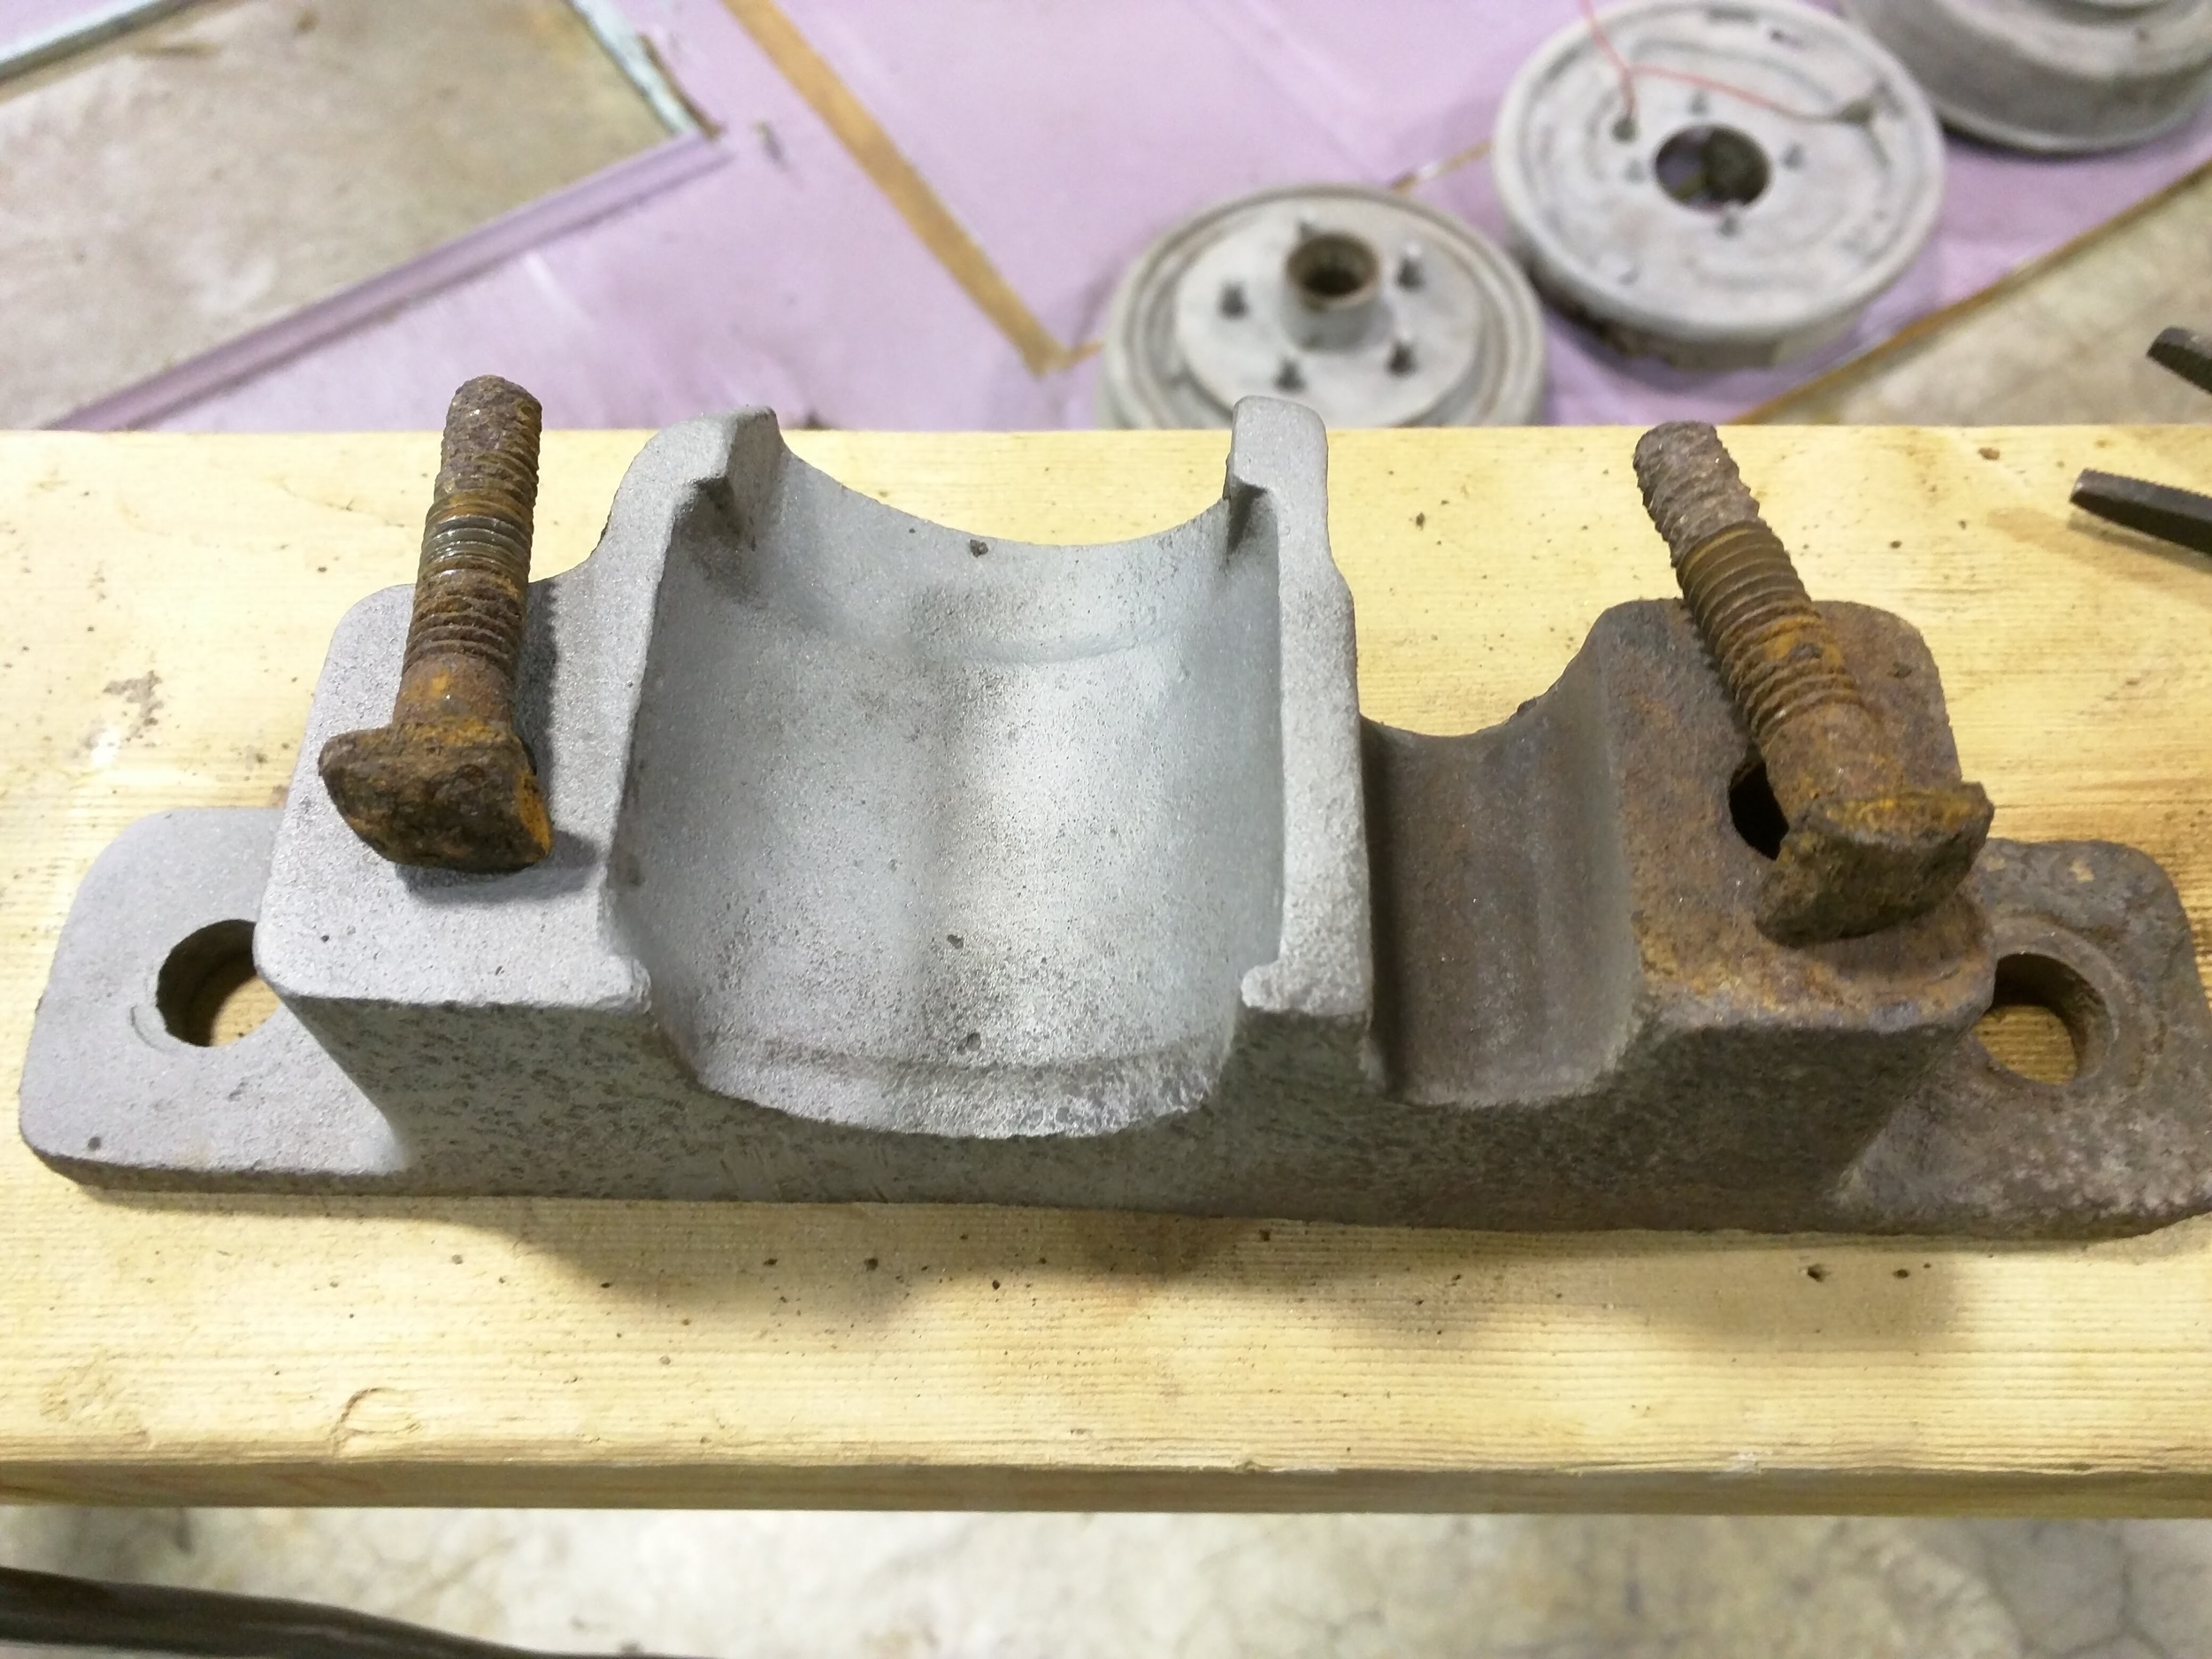
Yep, believe it or not this little 15' trailer has electric brakes. Will be an interesting rebuild on those. And what an interesting bit of engineering they are. Really simplicity at it's best. An electromagnet (circle thingy at the bottom) grabs the inside of the drum, which swings a lever to push the pads against that same drum. Check out this animation: http://caravanhandboek.biod.info/plaatjes/anibrake2.gif
Also an interesting bit of engineering.
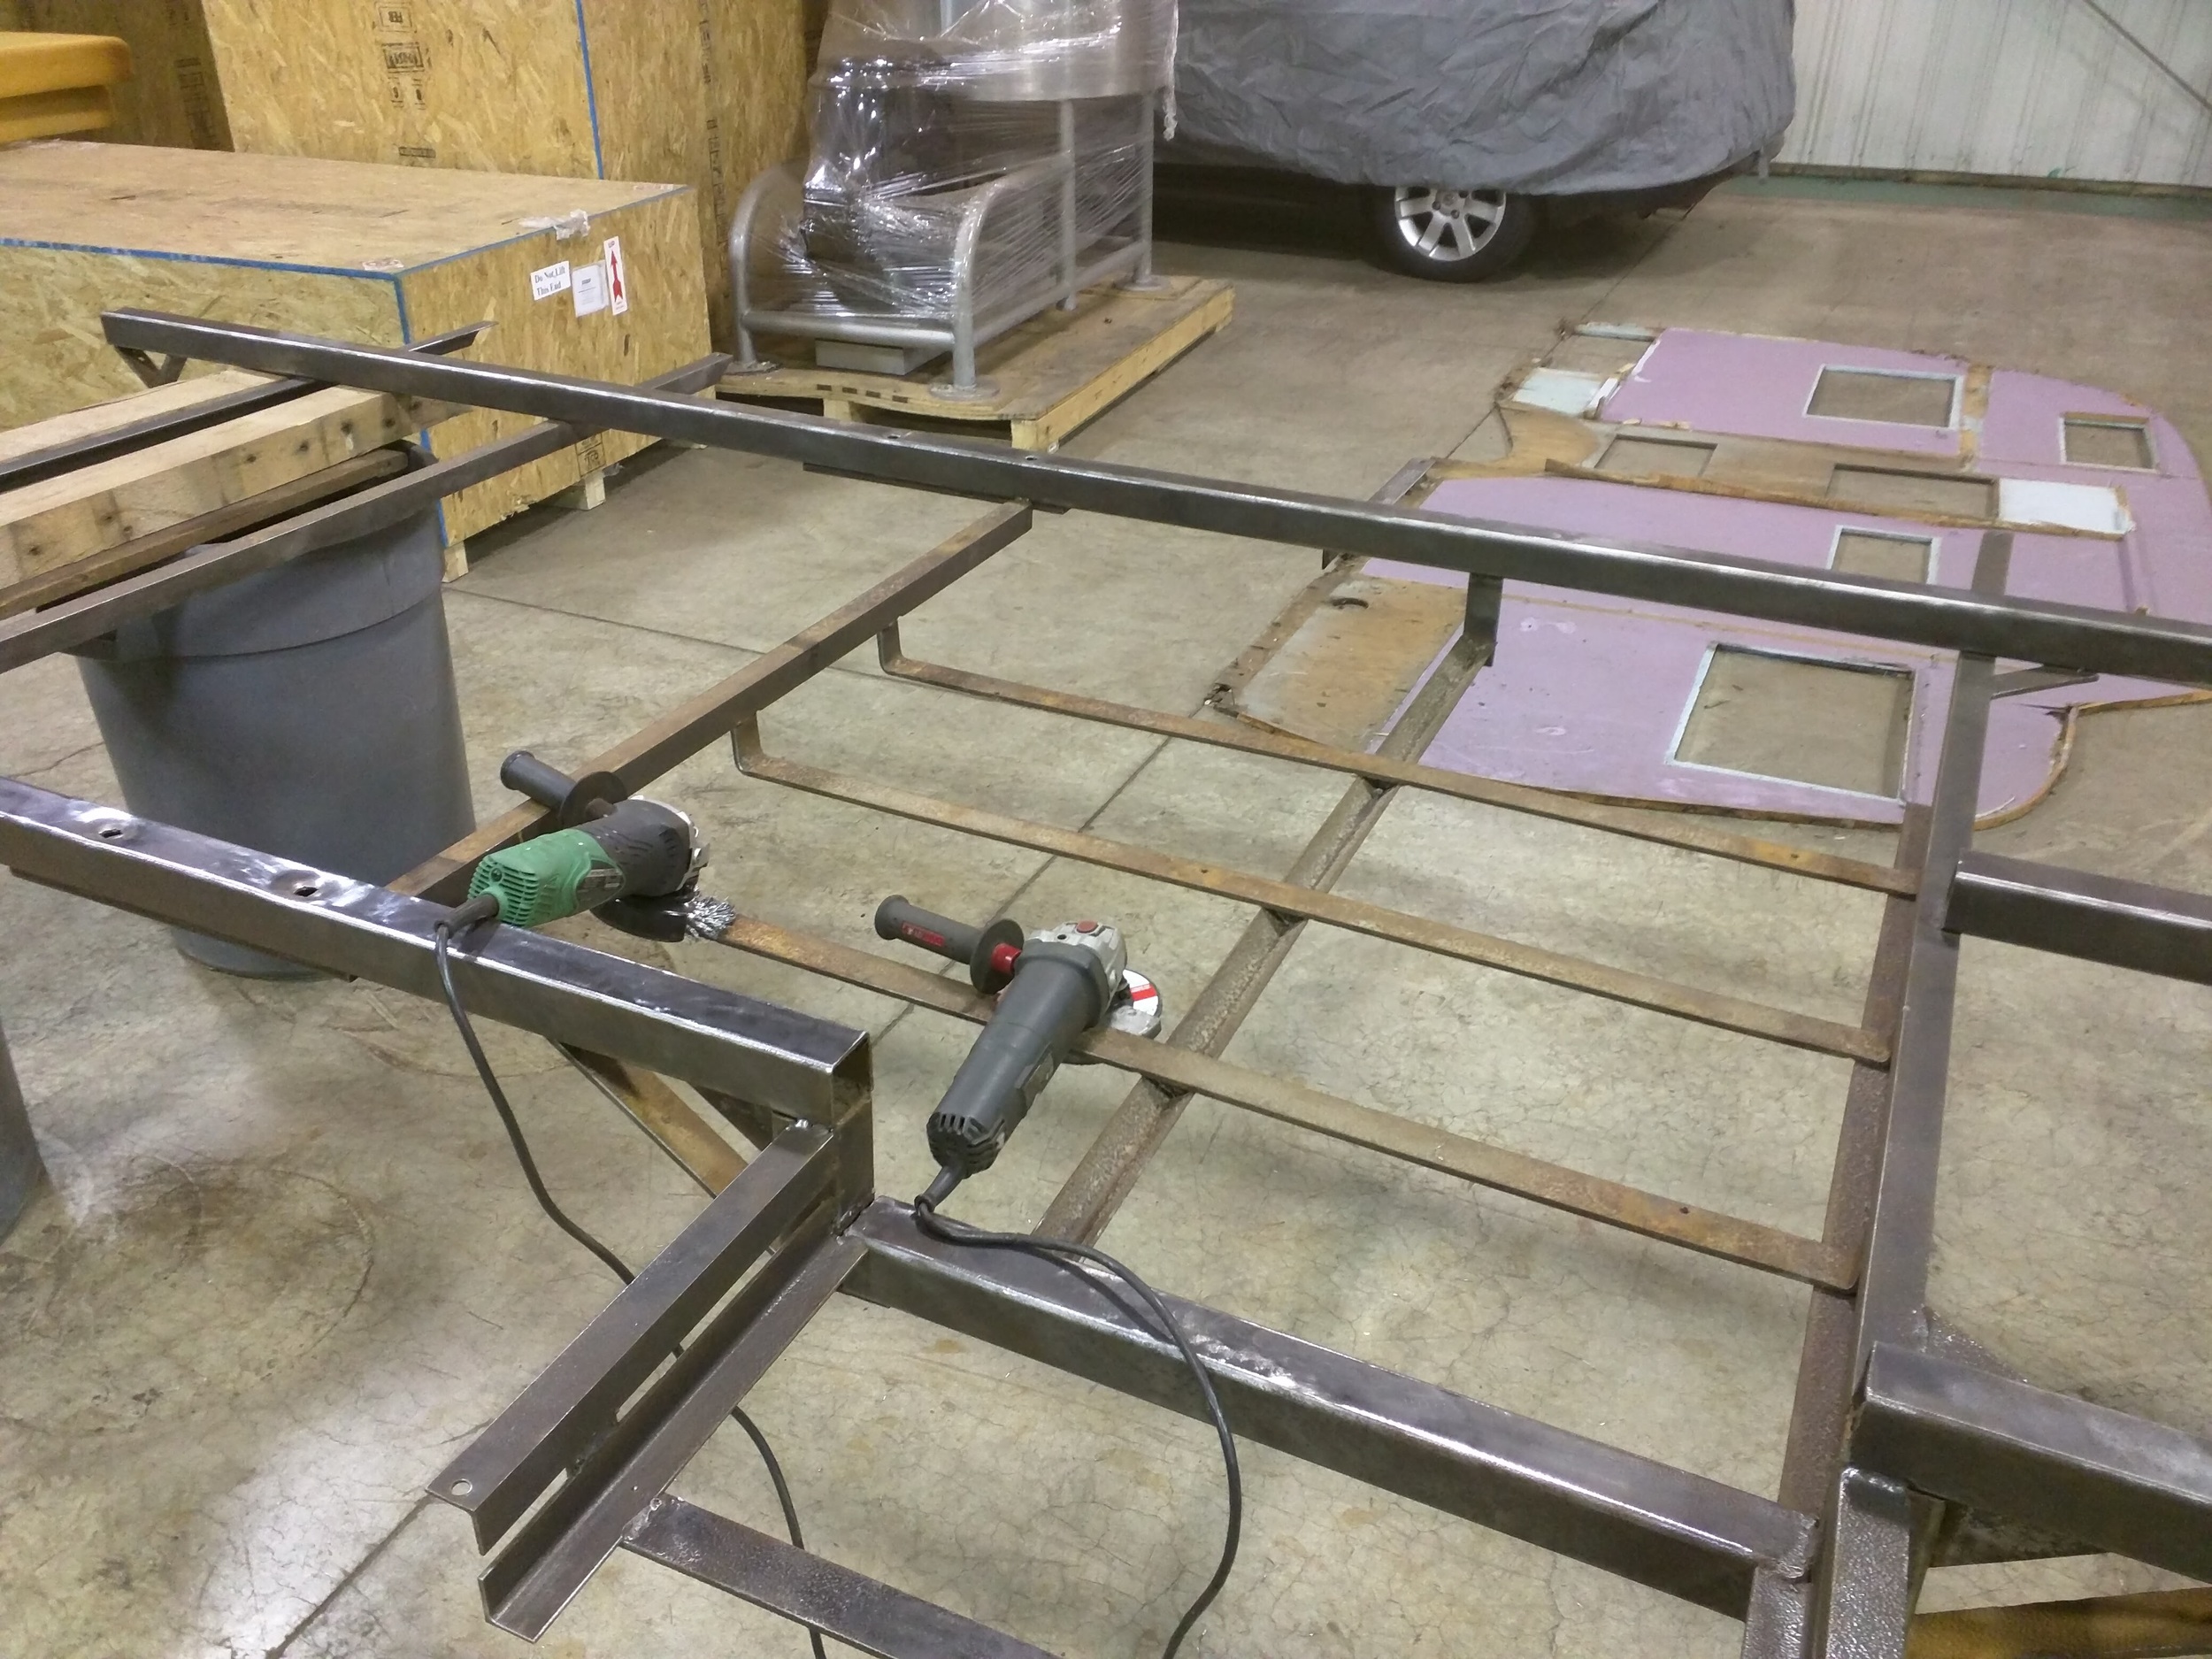
Frame flipped over to start the wire wheel and flap disk work from hell.
Hours...
and more hours...
and more hours...
The rusty dust could hangs over head in the shop. In case you're wondering I wore all the appropriate safety gear - respirator, safety glasses AND face shield, and gloves of course. When those knotted wire wheels start coming loose, it's not pretty, your pants look like you startled some kind of metal porcupine with it's bristles stuck in your legs.
Finally the bottom is done, start on the top of the frame.
Switching between the flap disk and wire wheels helped break it up and helped a bit with arm fatigue.
Chris brought over his blasting tank and I took a break from the grinders to give it a go on the brake drum/wheel hubs.
I was super happy with how it worked, it will save so much time and effort.
Hi-Ho, Hi-Ho, it's off to grind I go.
This is becoming intolerable!
Gonna have to come back to that!
It had a real bad case, I may have to do something to pretty that up...or just cover it with the diamond plate...you see where I'm going, uh huh.
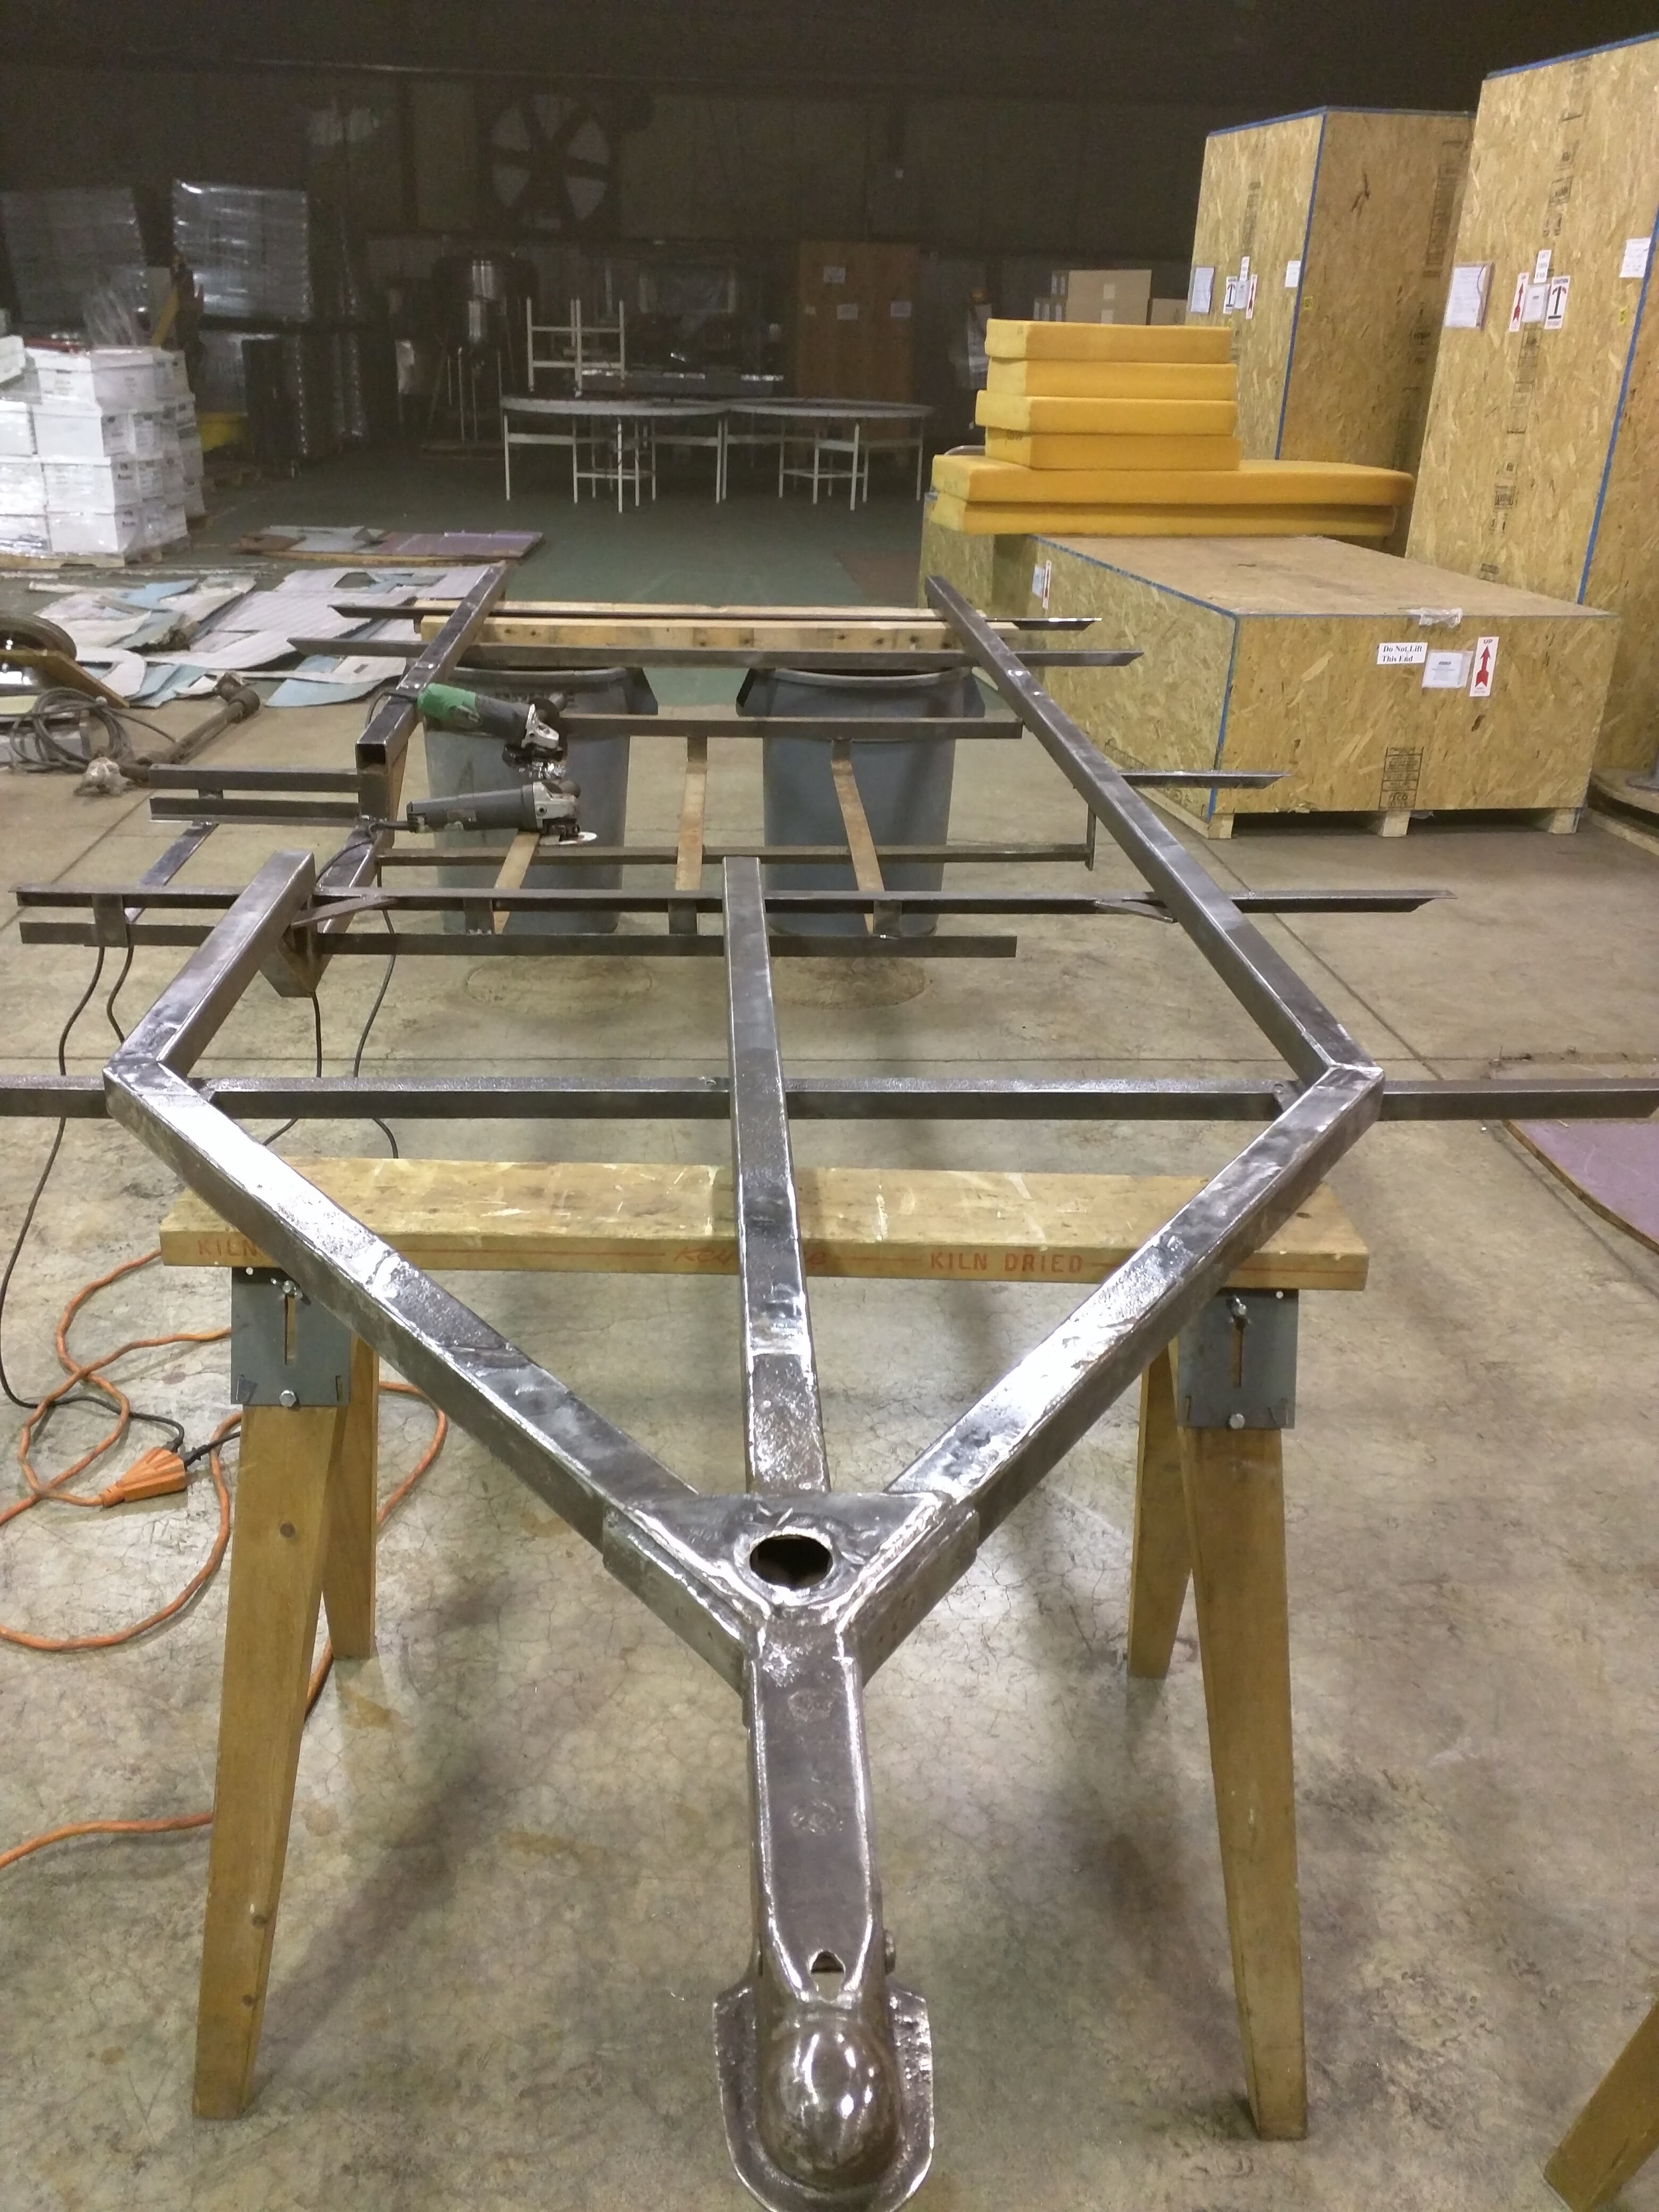
Yes, finally some real RESTORATION!
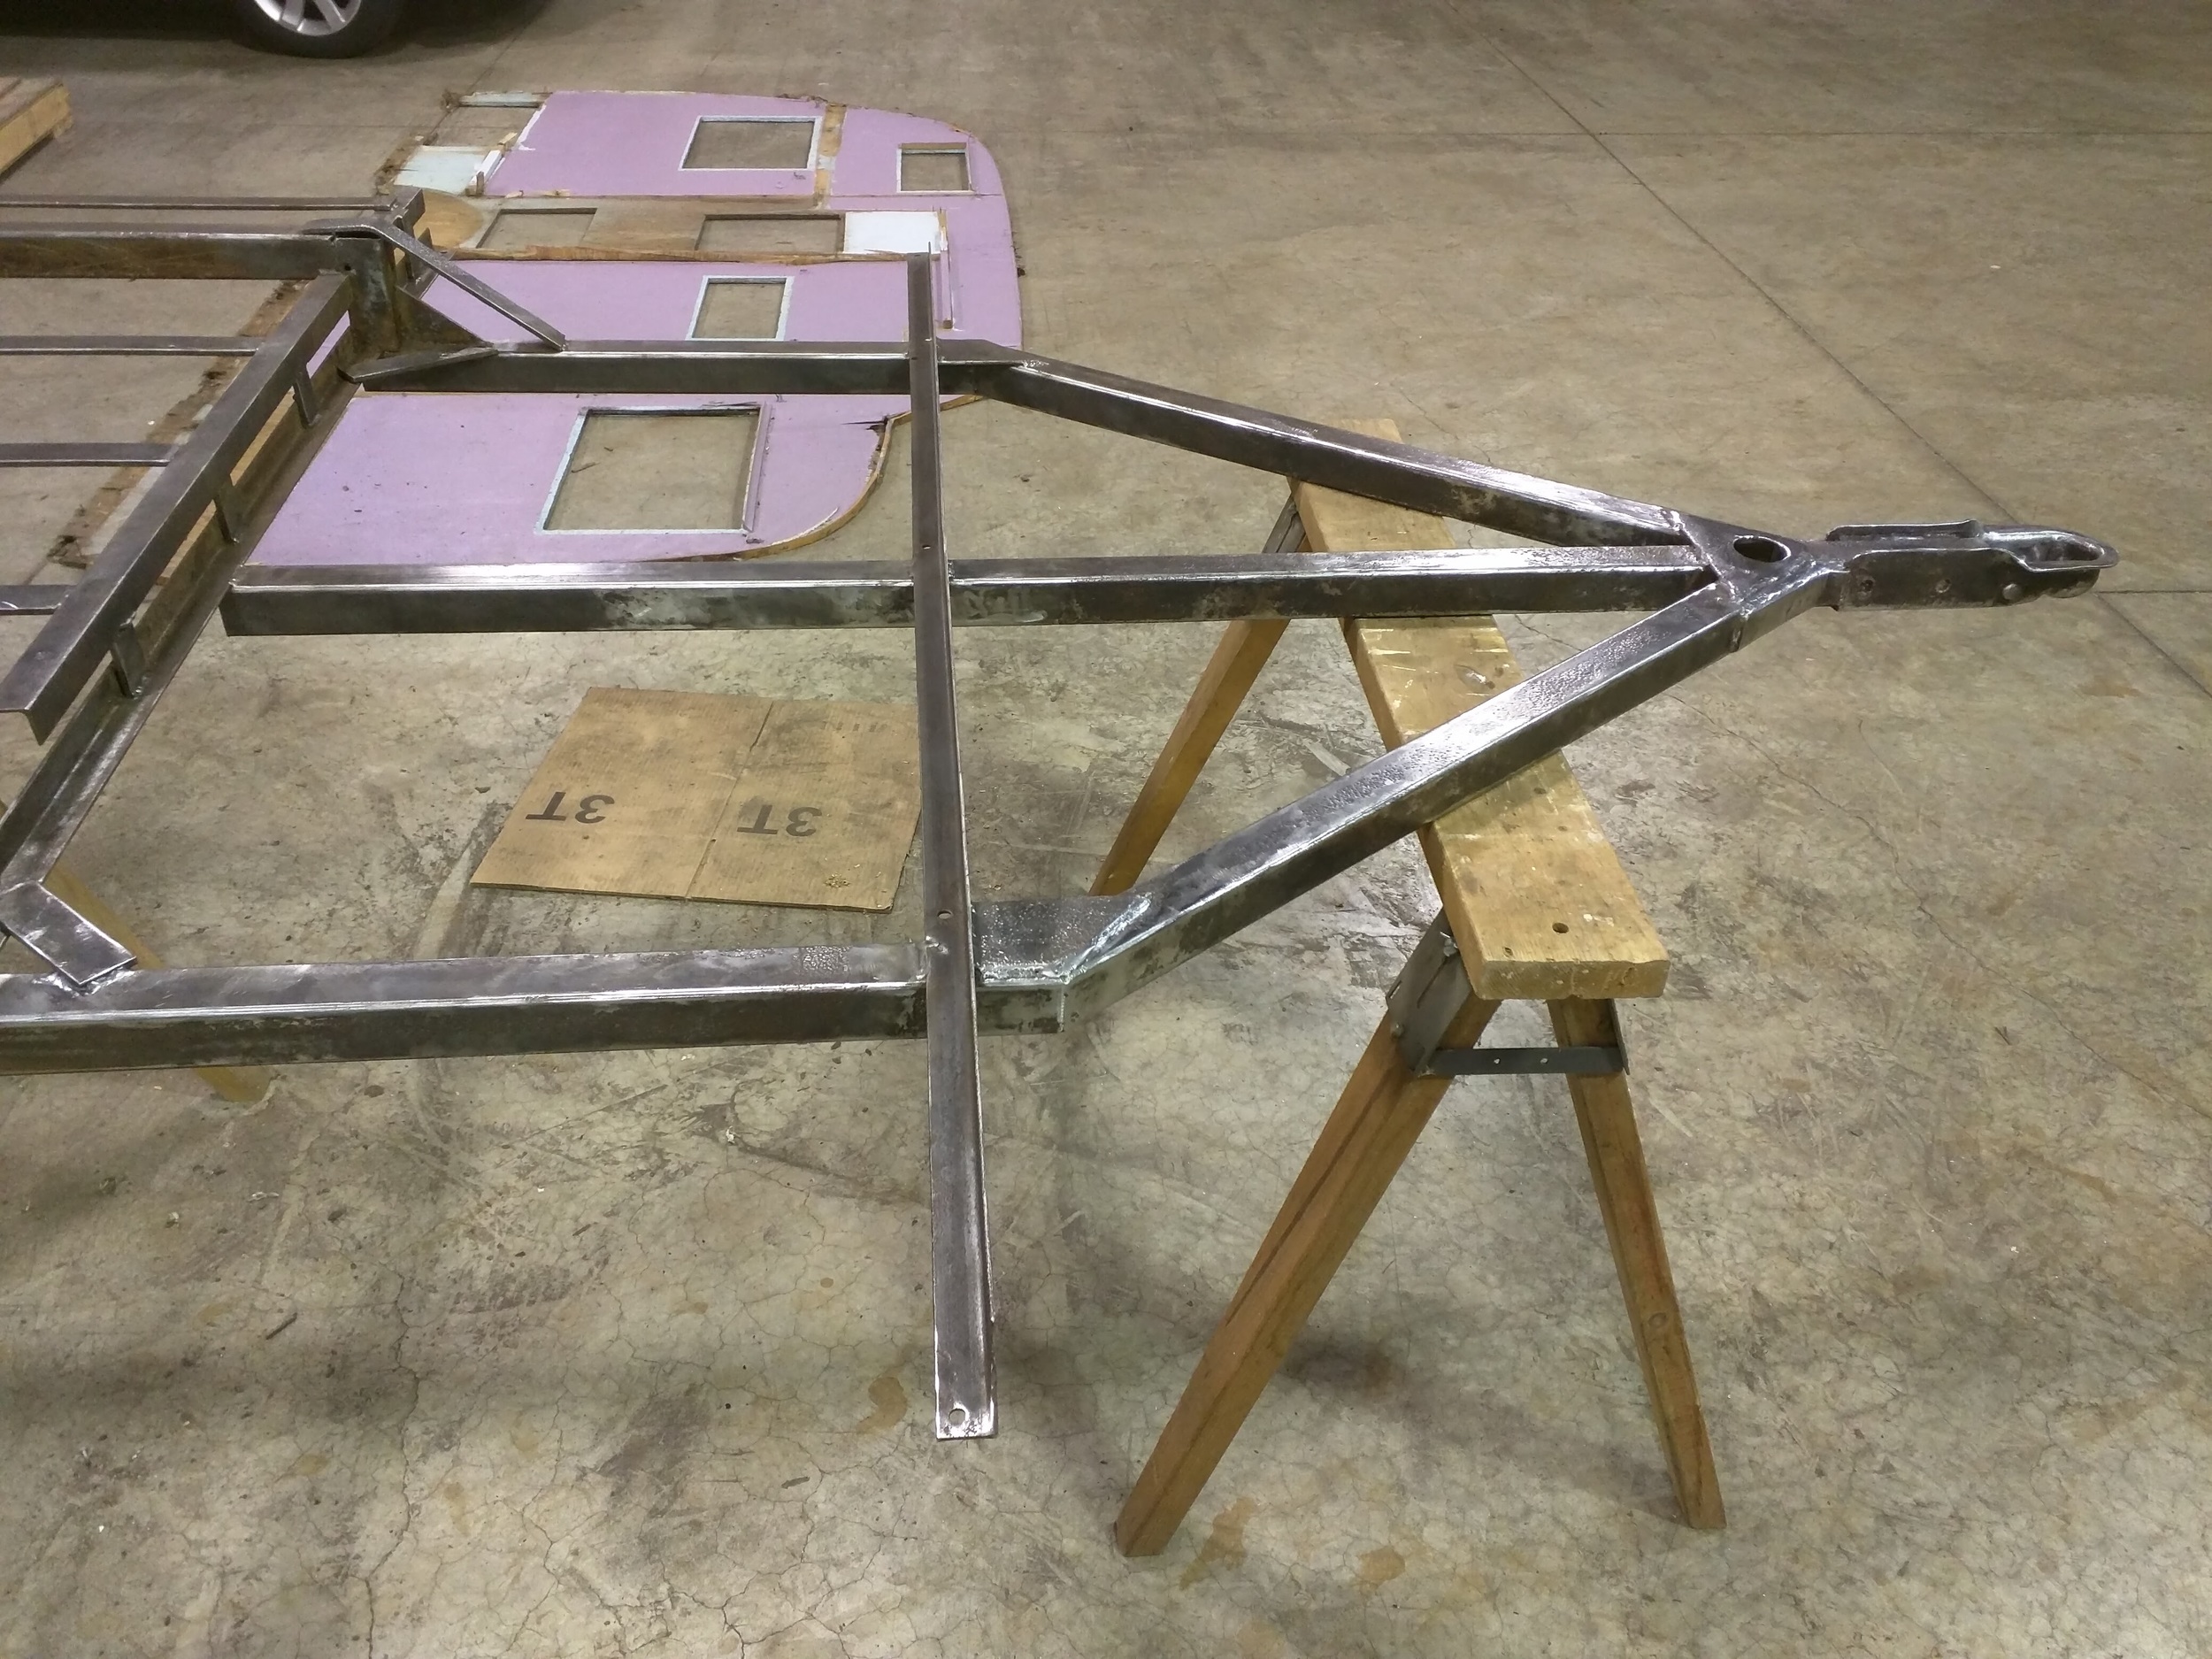
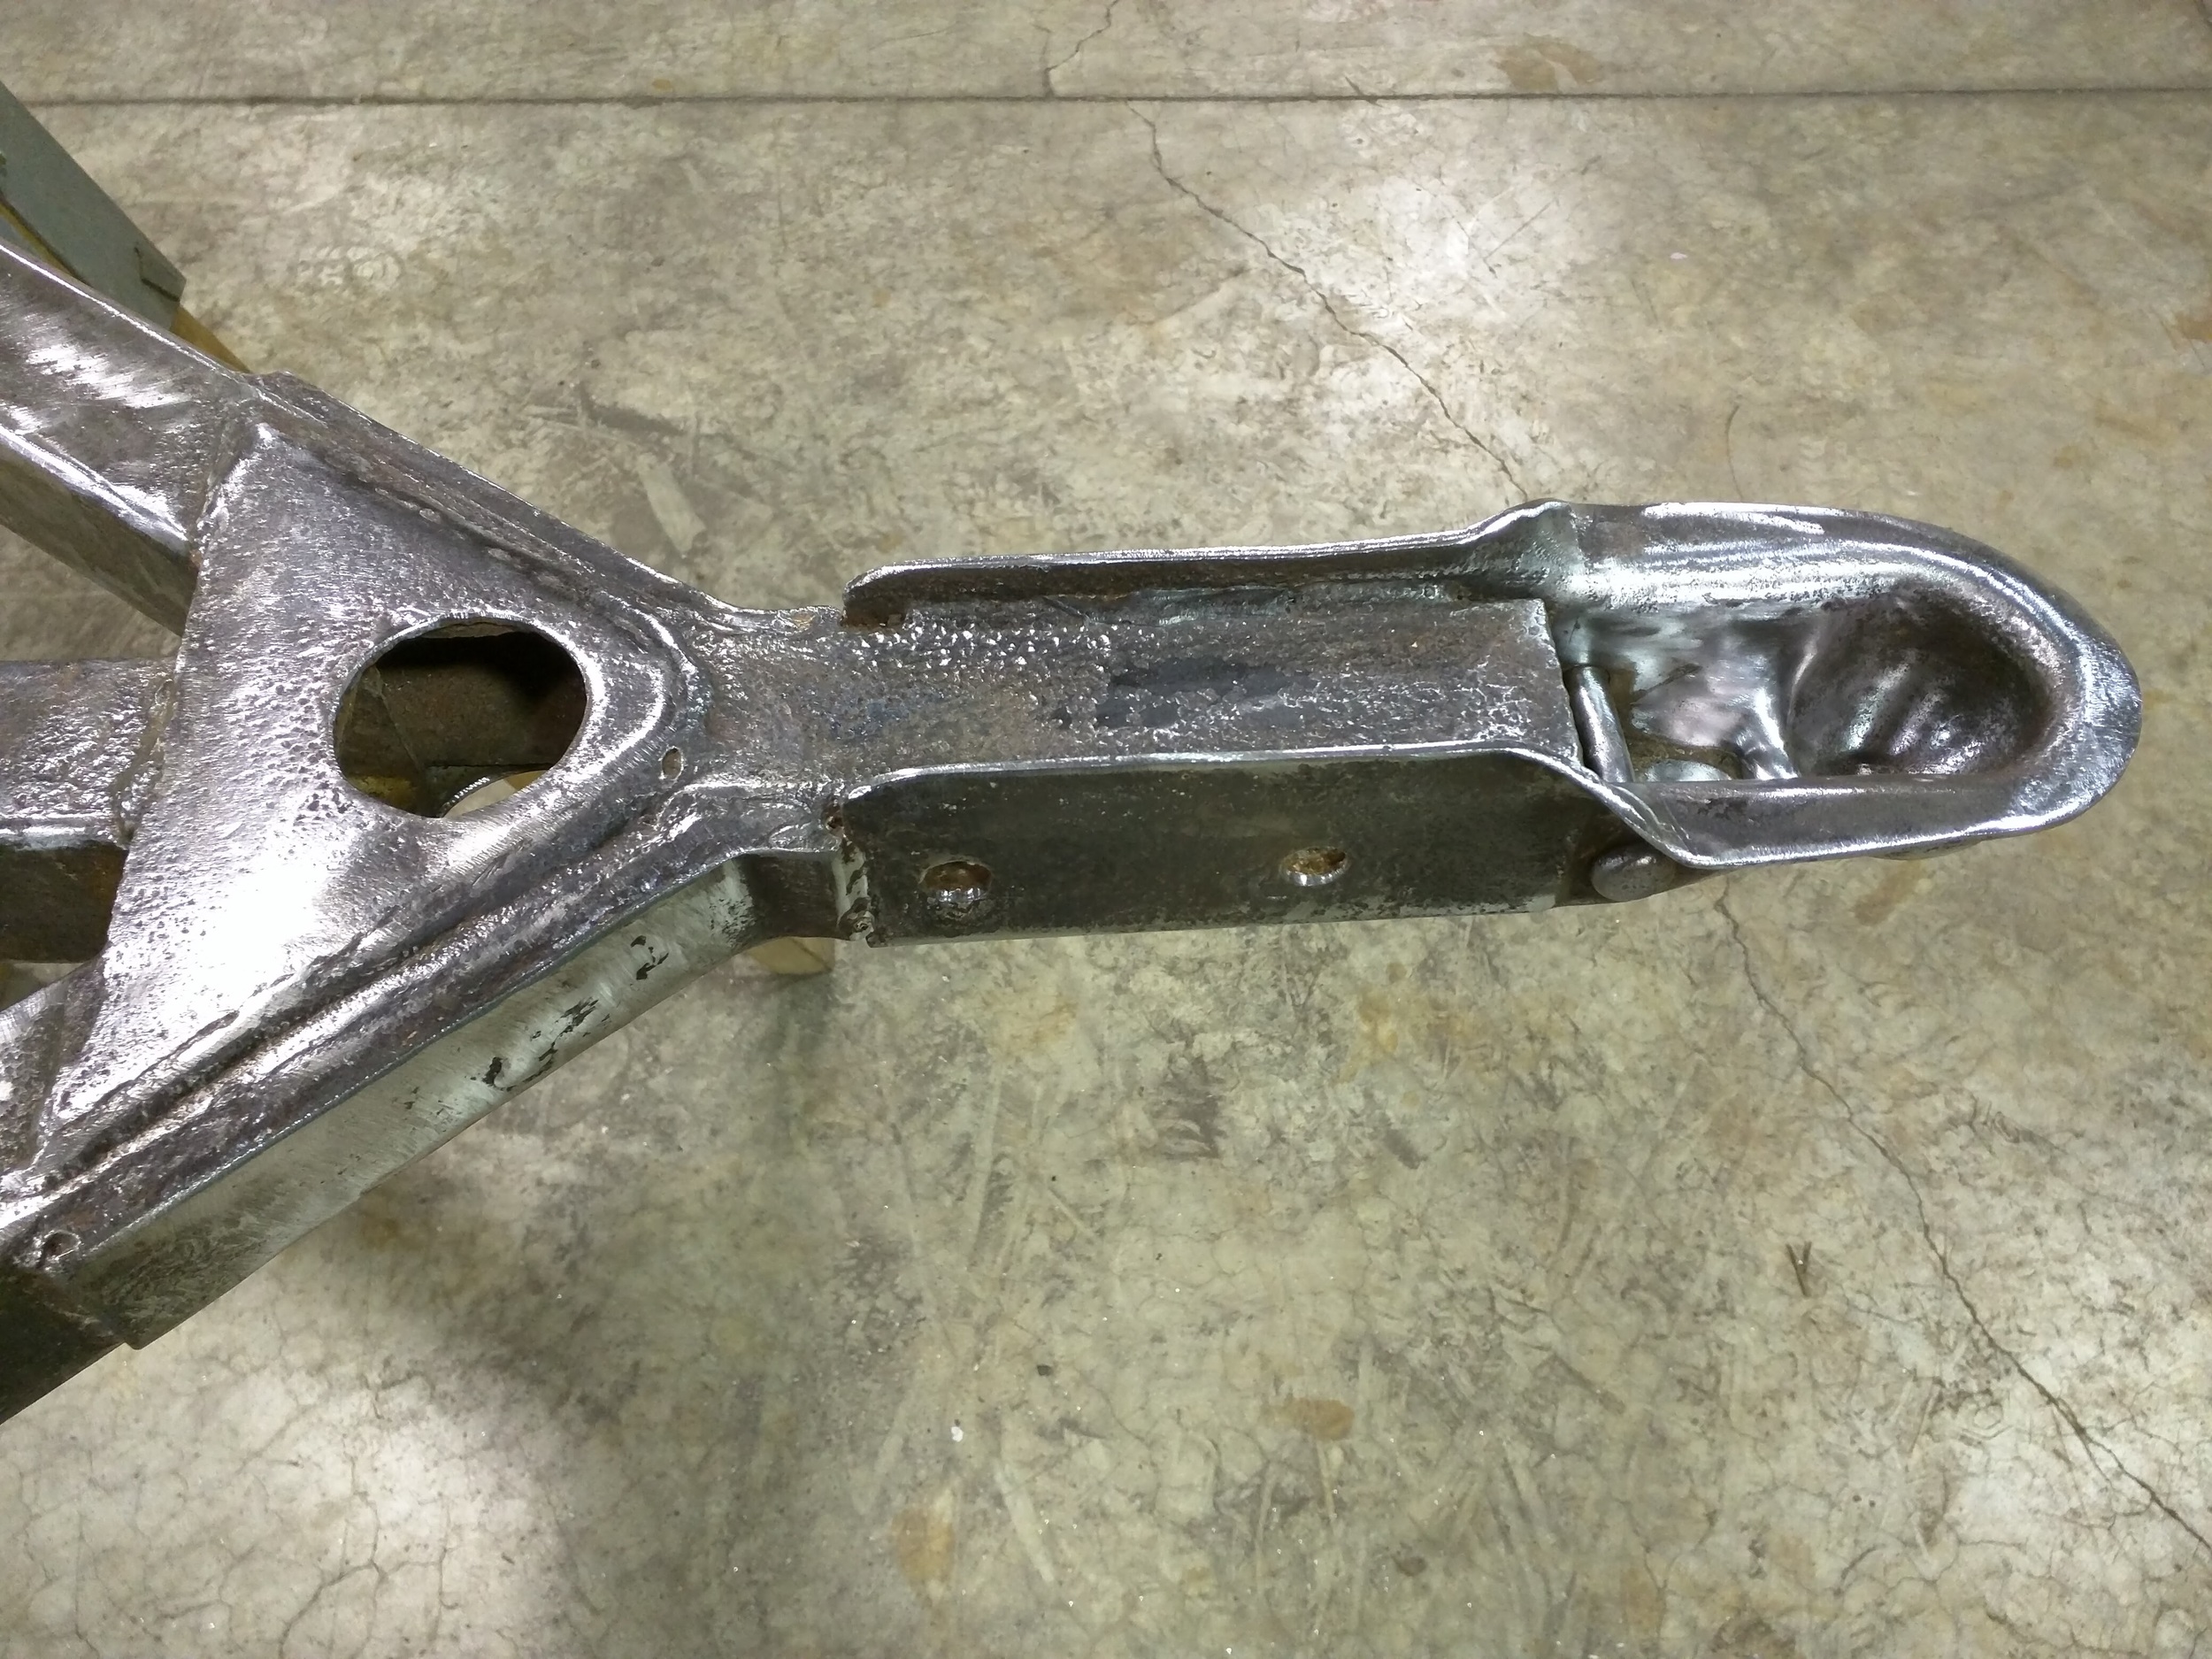
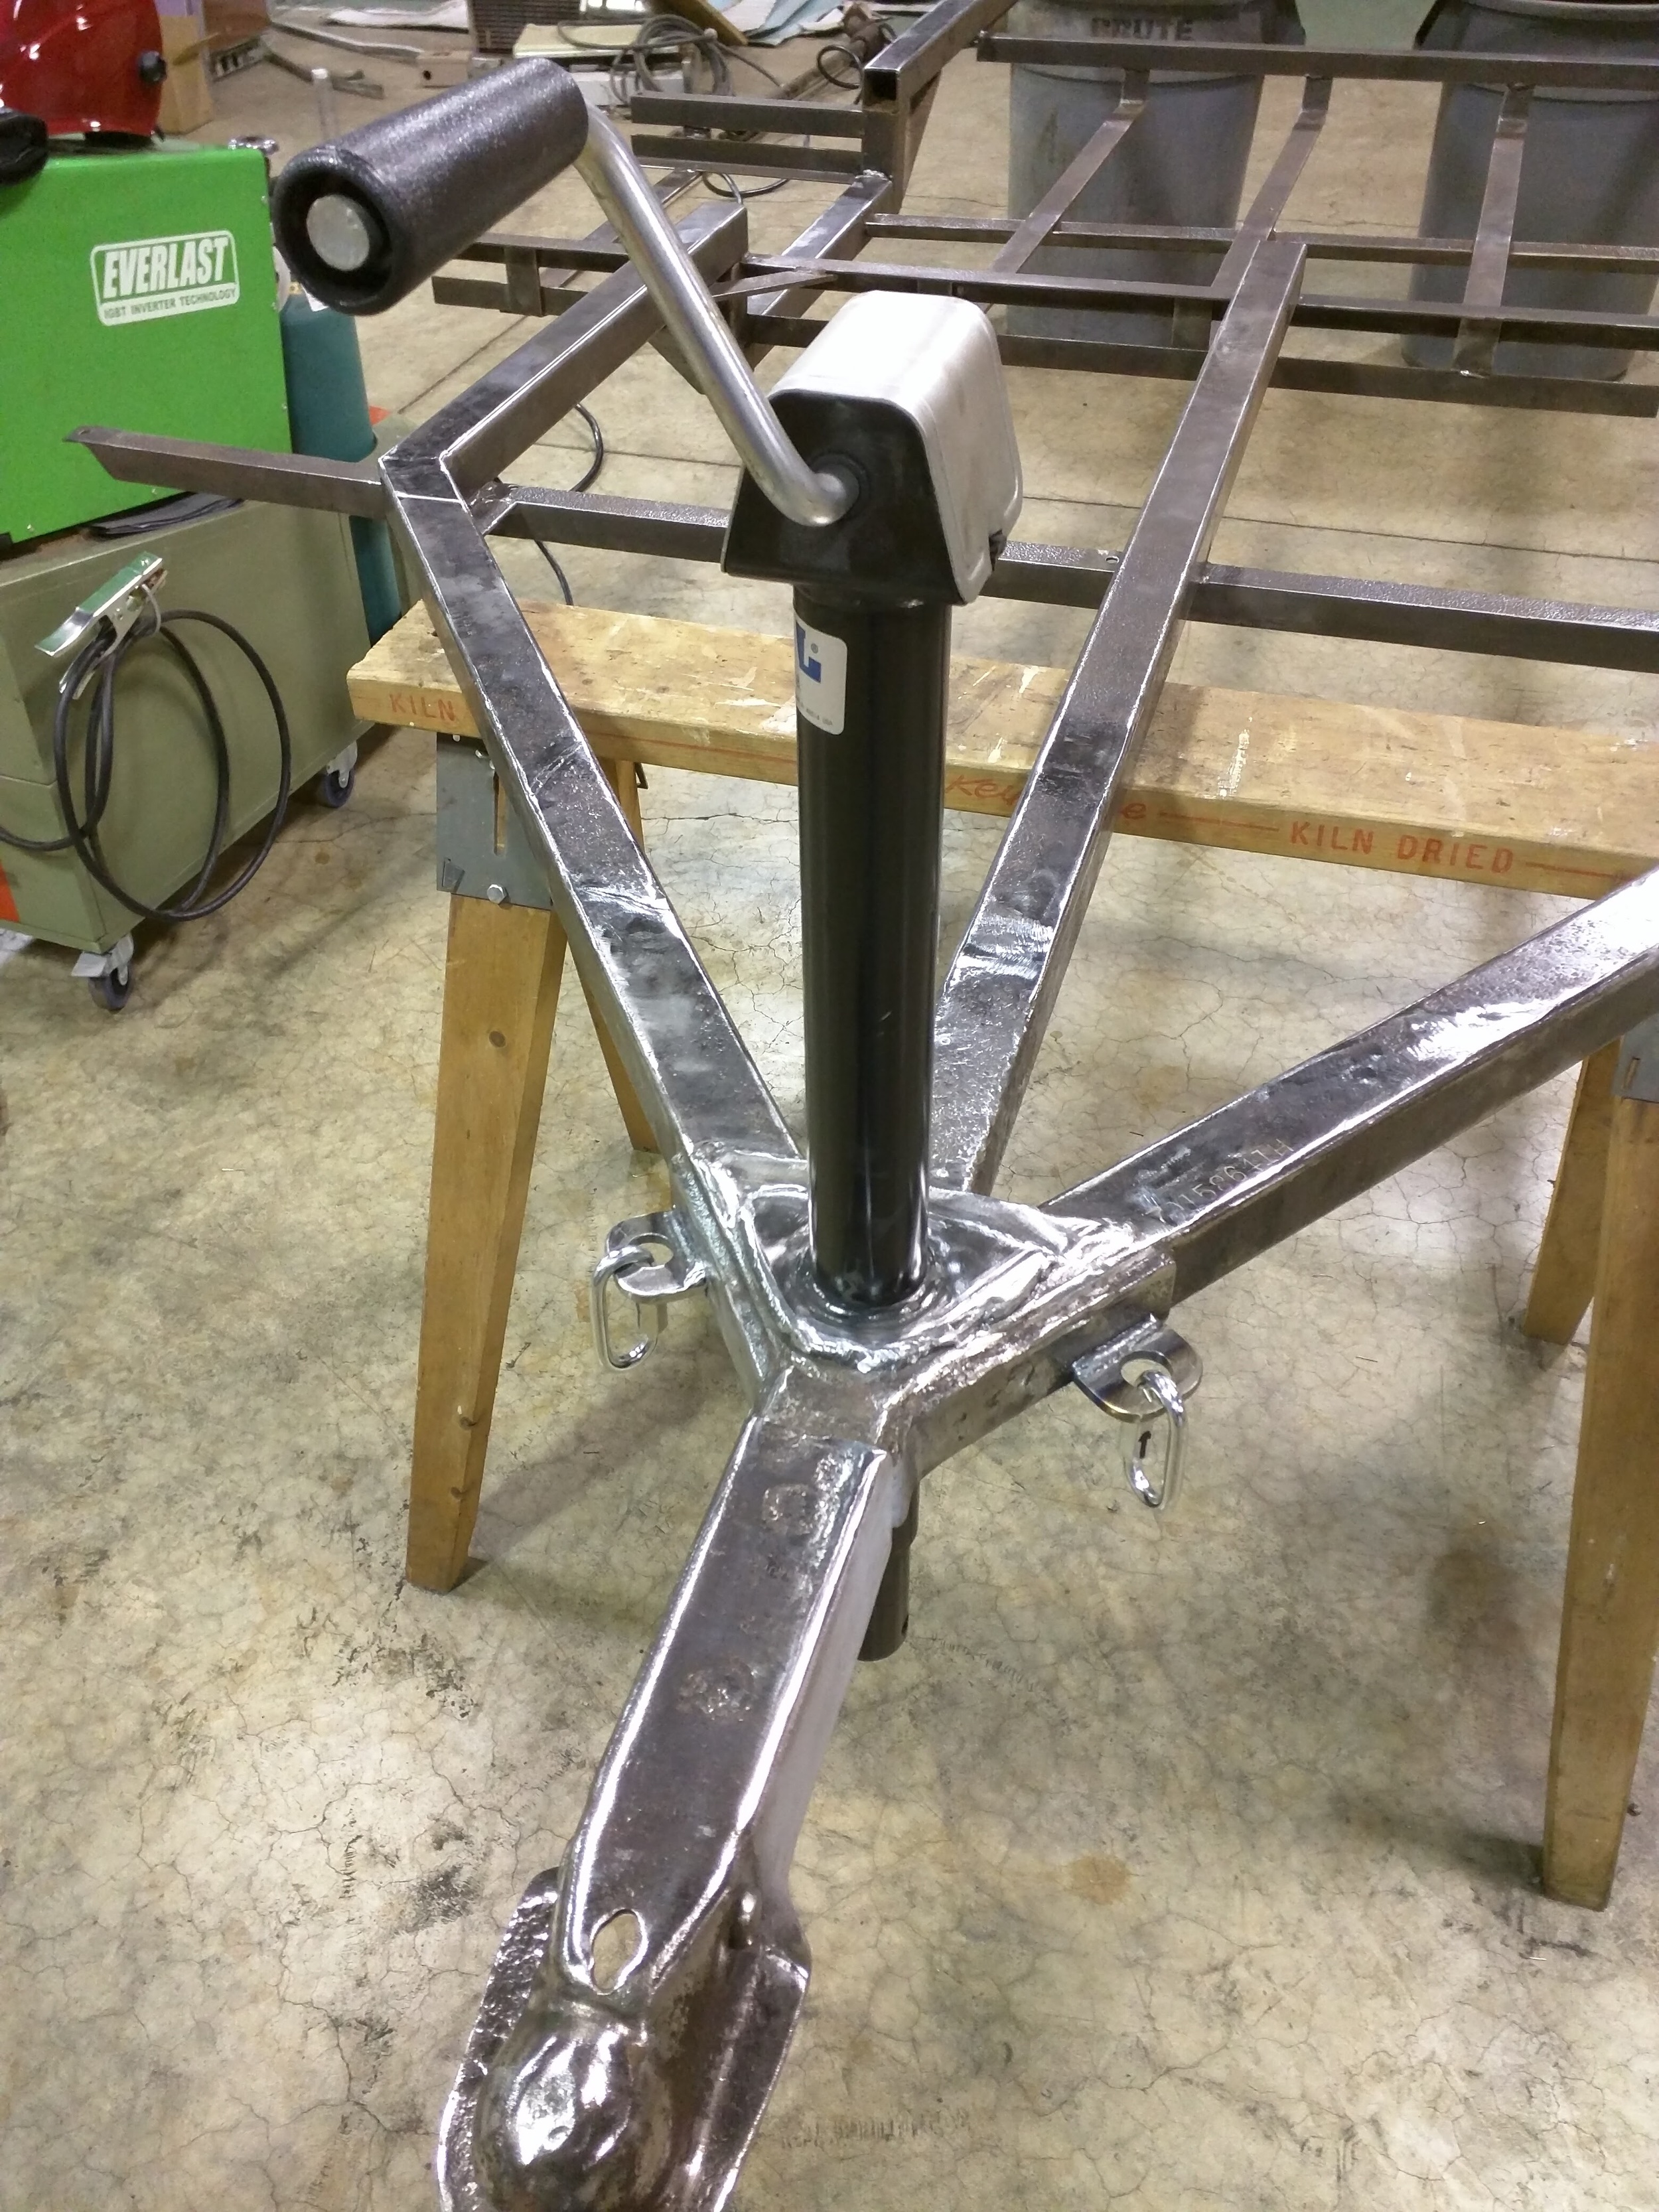
The shape of the mounting plate didn't lend itself well to the tongue geometry. So, I got after it with the grinder to make it conform better and make the welding easier on myself later.
Success!
The new jack is welded in place, and the new safety chain stays as well. Pretty darn happy with how it turned out.
How do you eat an elephant?
One bite at a time...
By the way, for anyone needing to know, the jack is sort of special. It has a main tube diameter of 1-7/8". I found it here at Vintage Trailer Supply: http://www.vintagetrailersupply.com/Sidewind-Jack-p/vts-714.htm
Continue to be giddy about how well the blasting is working and how nice it will be to finish the parts.
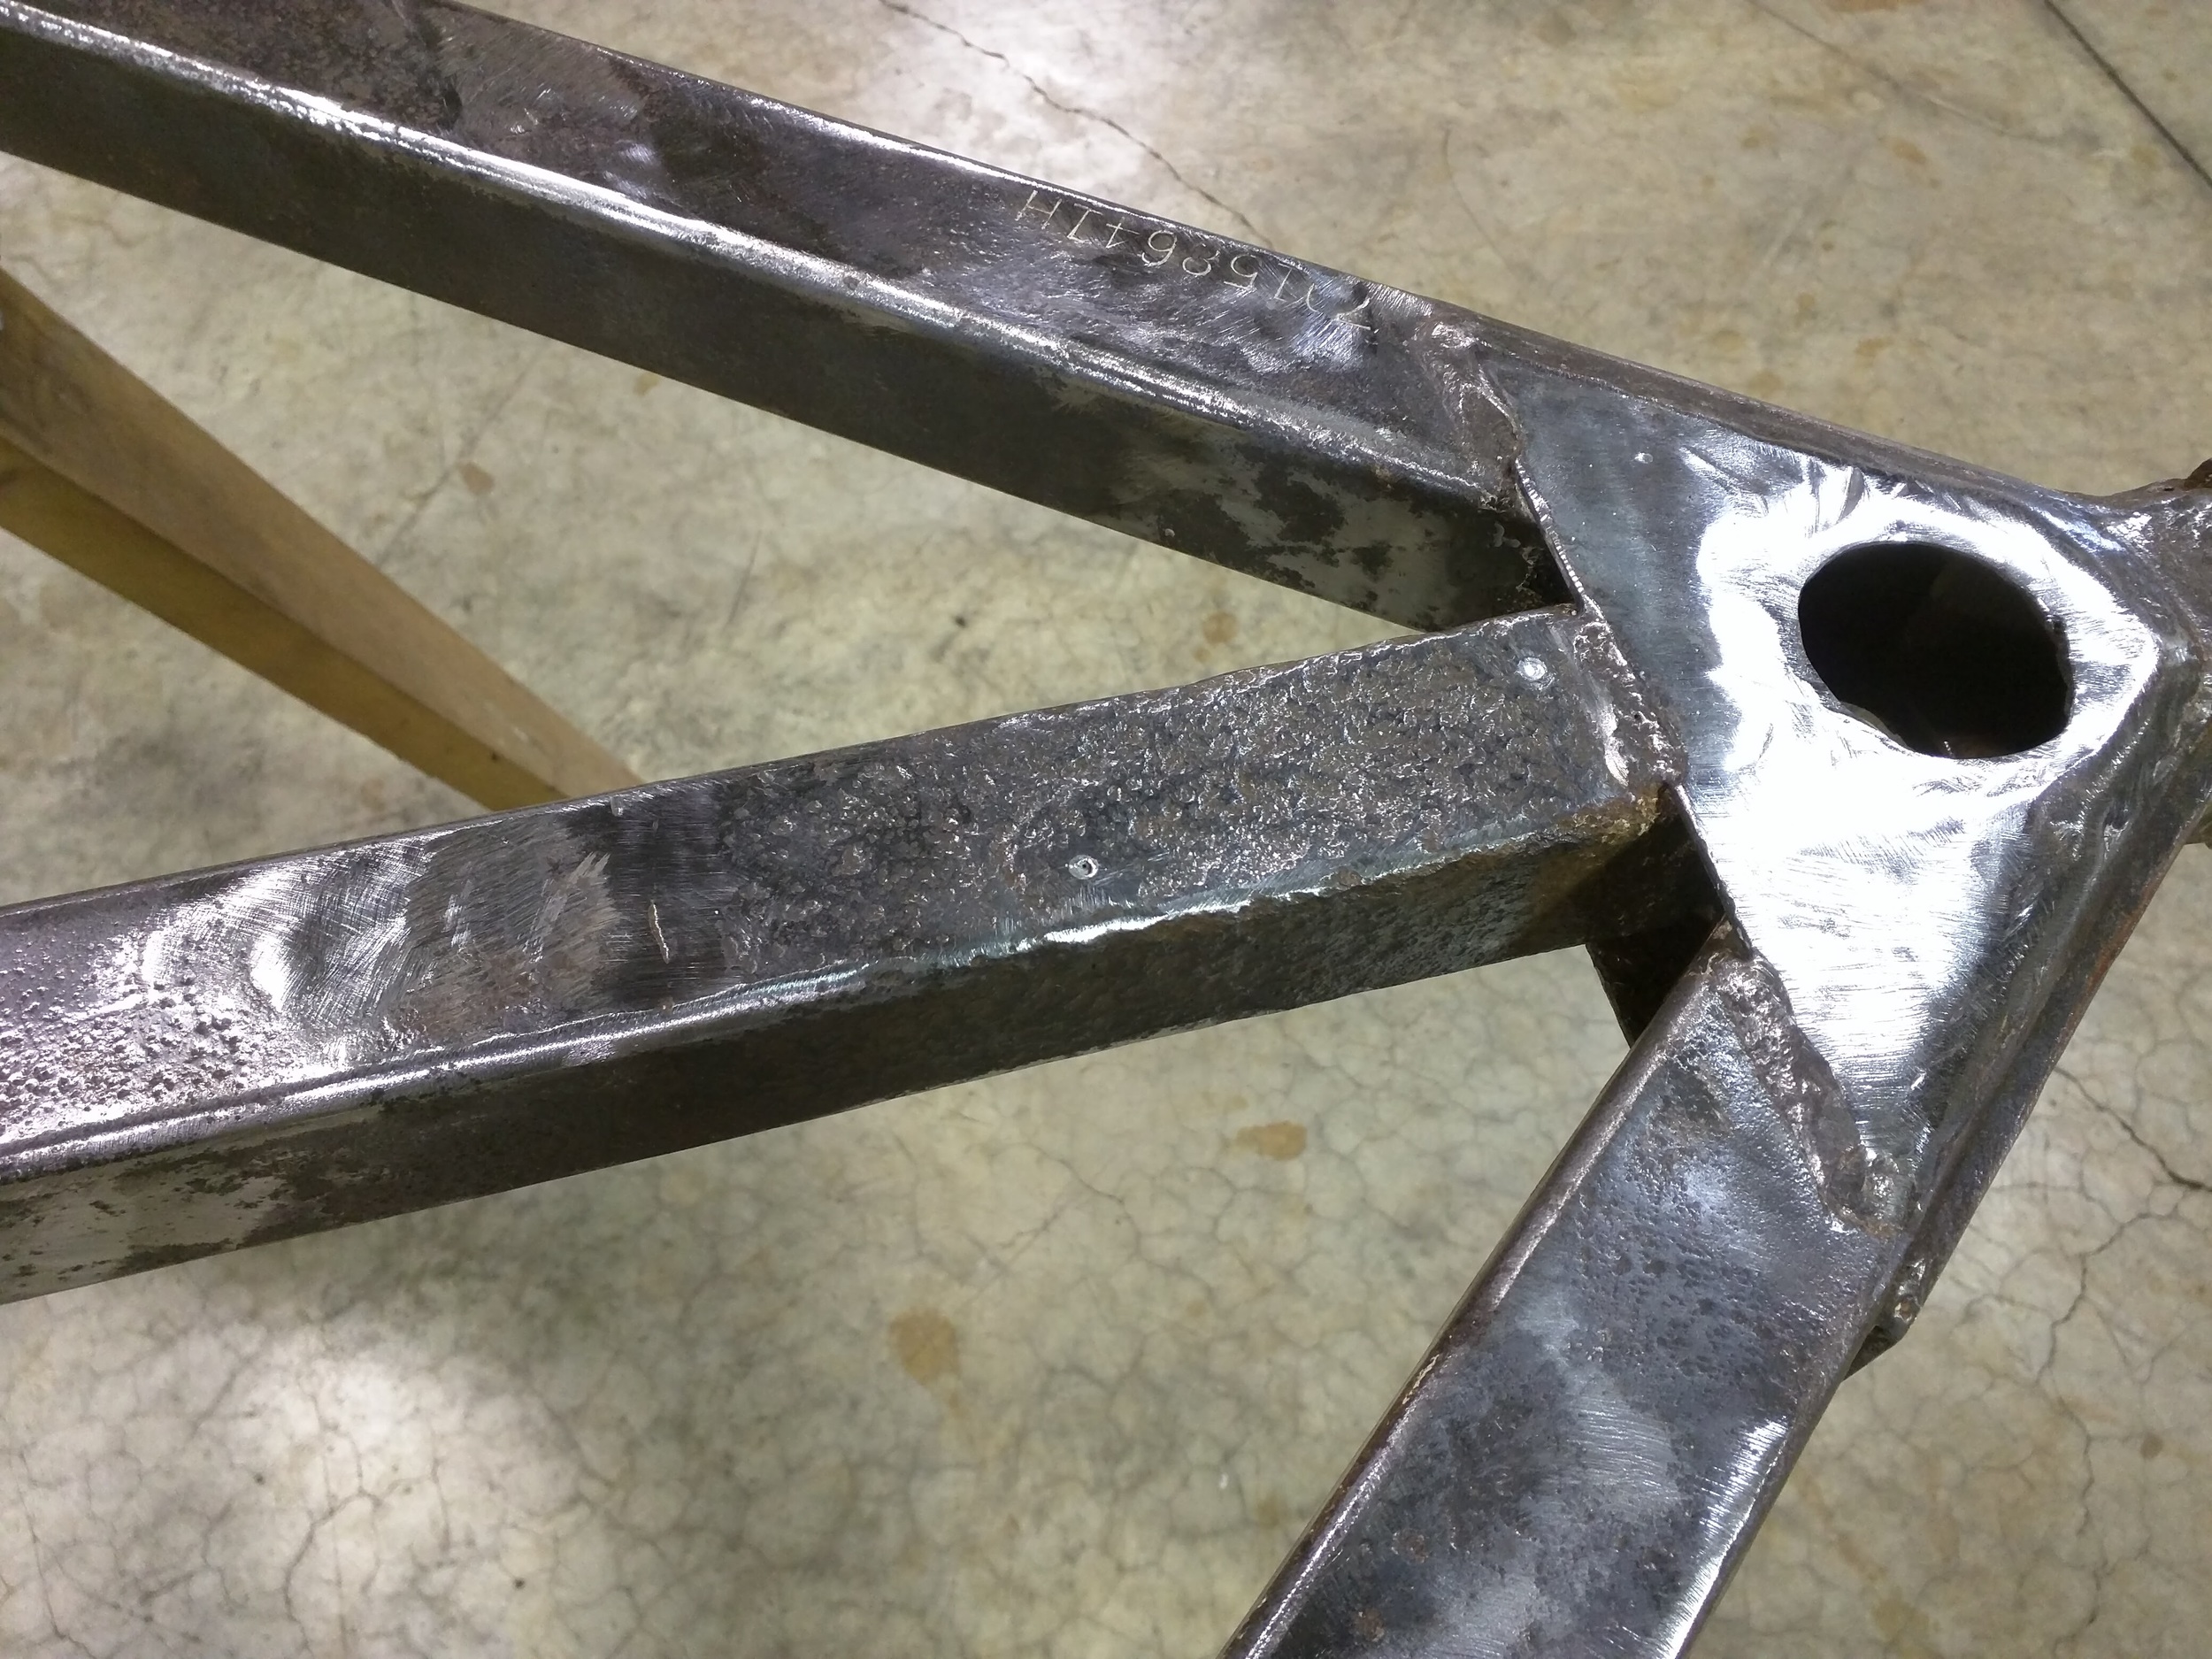
Fab'd and welded up the plates to reinforce the joints that were cracked. The cracks were ground and re-welded prior to these being added.
Number two done.
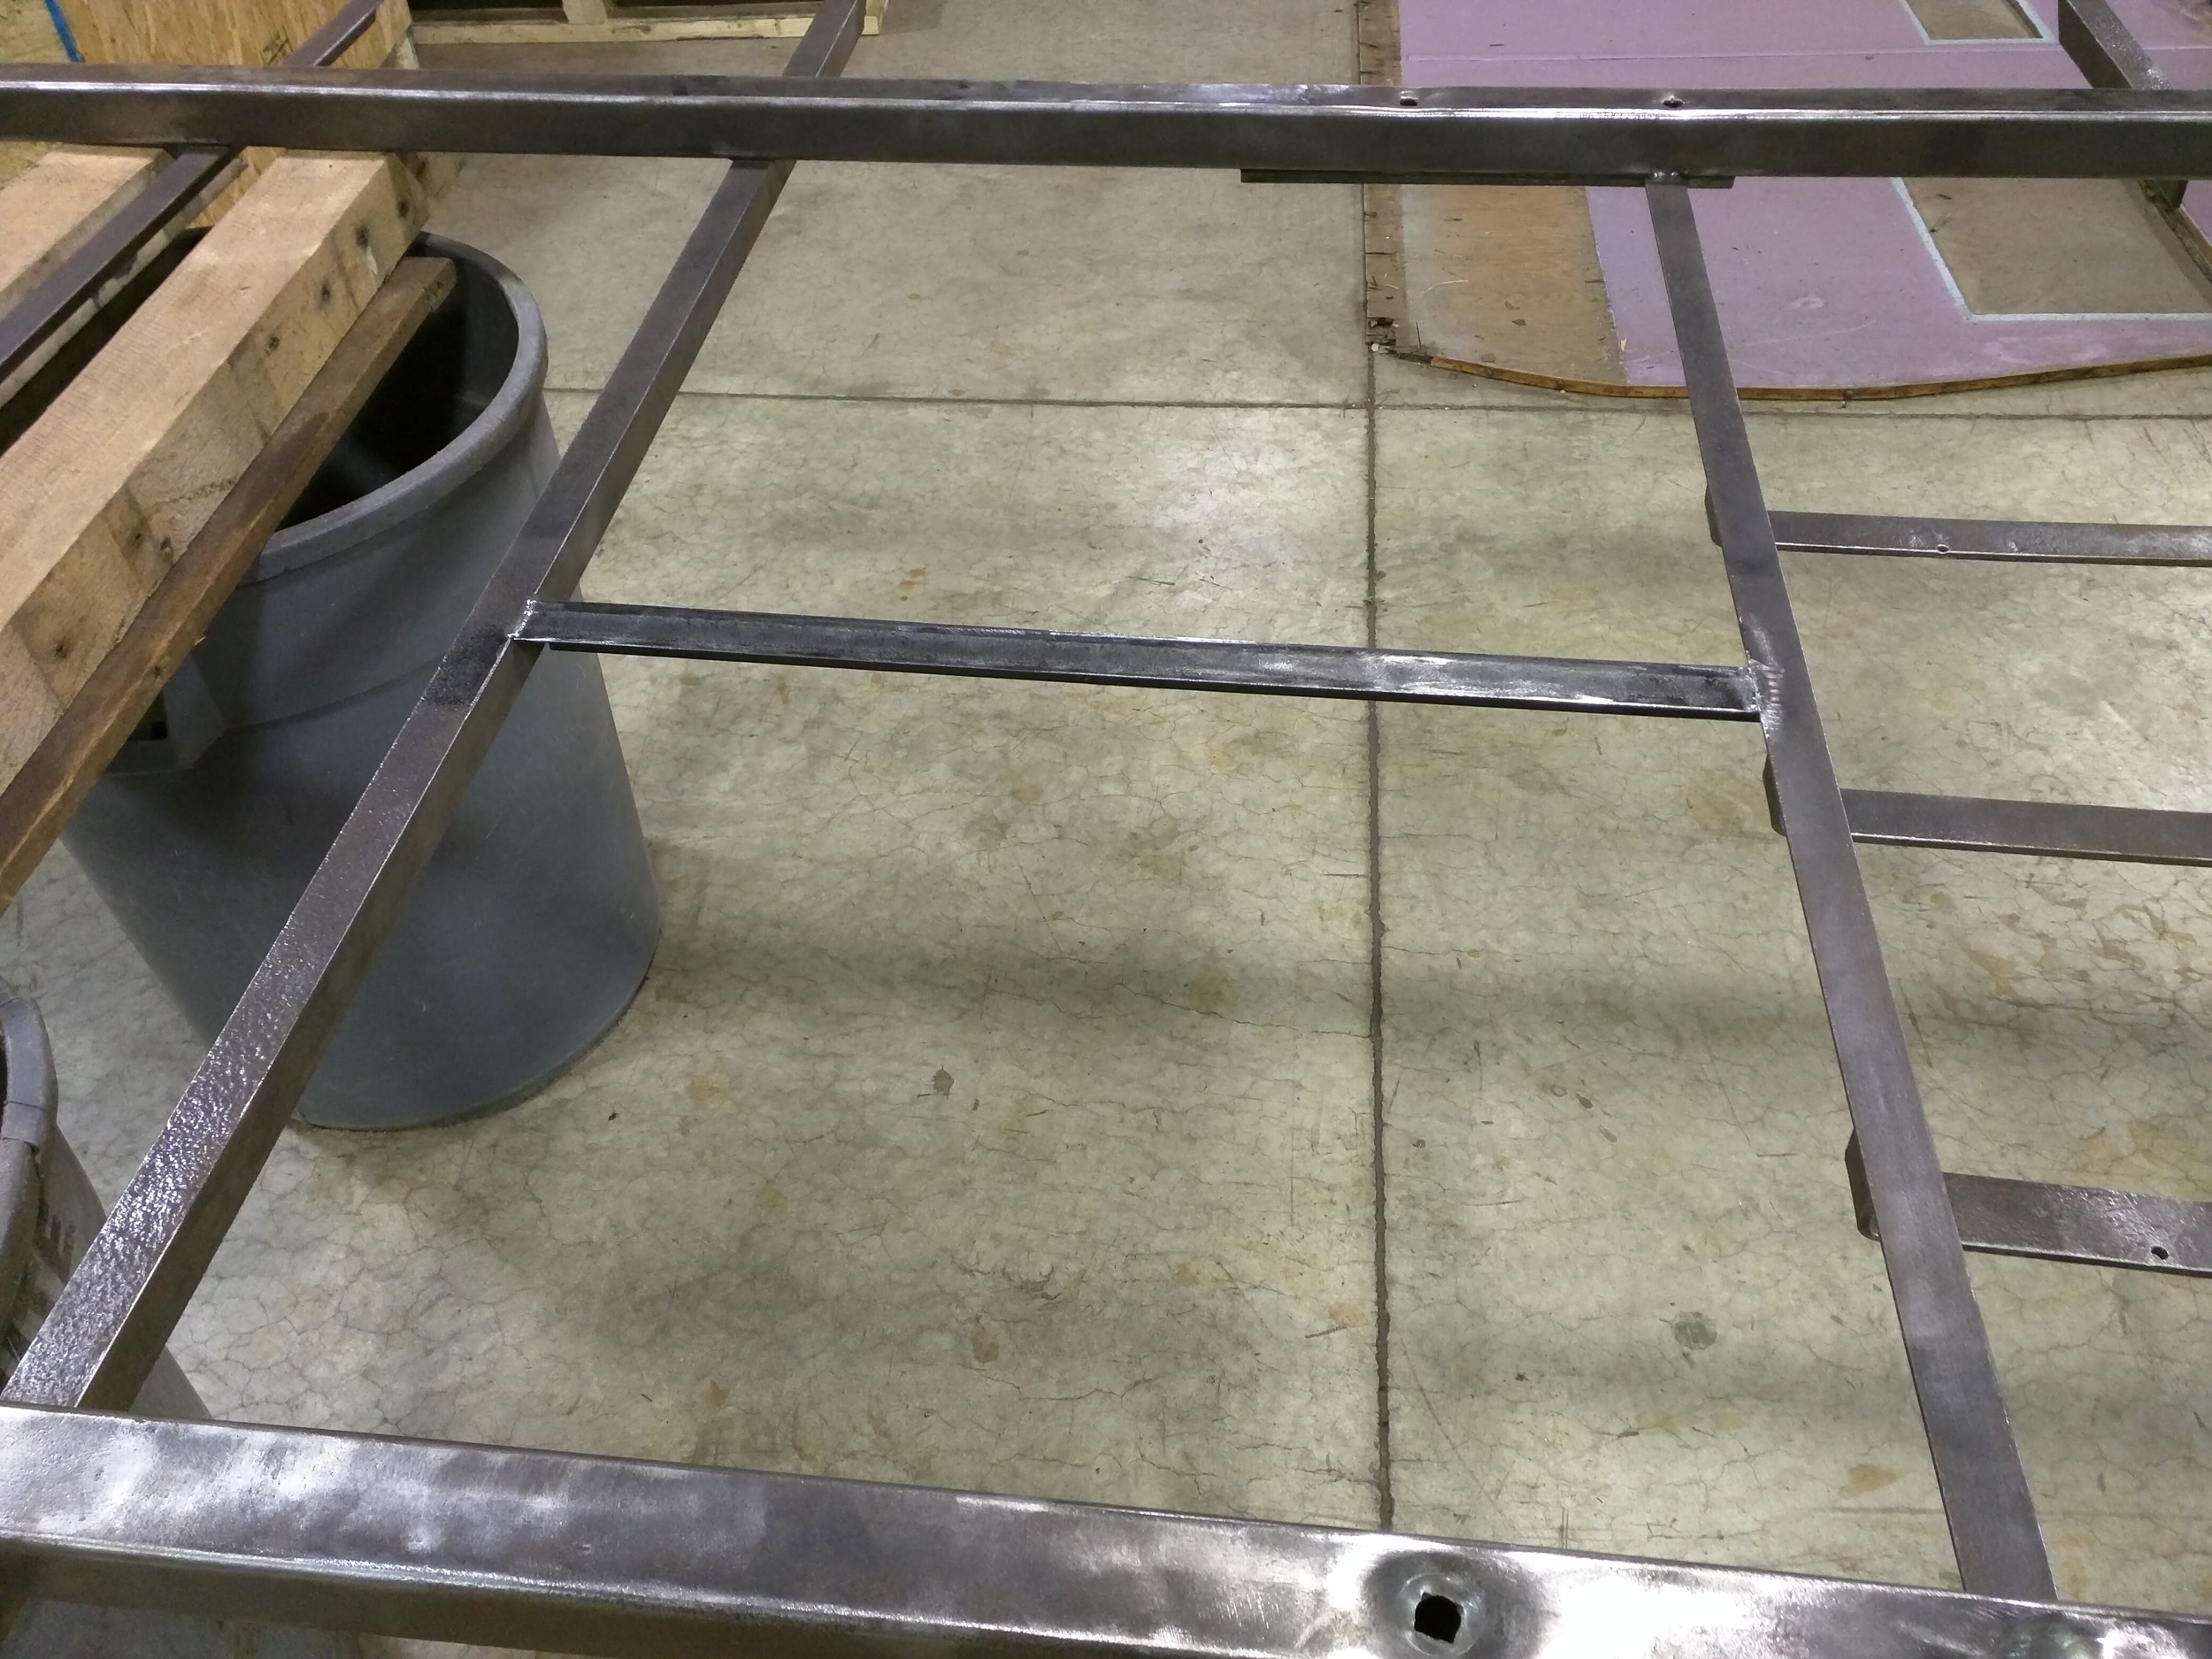
Mostly for grins I added a piece of angle iron to provide an extra tie point for the sub-floor studs.